How to Safely Remove Burrs from a Dog’s Fur: A Complete Guide
If you’re a dog owner, you’ve probably experienced that awful moment when you find your dog covered in burrs after a walk. Whether you’re navigating through a dense patch of grass or your furry friend simply loves exploring the outdoors, burrs are the kind of pesky nuisance that seem to have a mind of their own. It’s frustrating, and if not dealt with properly, burrs can cause discomfort and even skin irritation. In my years as a Veterinary Technician specializing in nutrition and animal care, I’ve had plenty of opportunities to remove burrs from dogs. Let me share with you how to safely remove burrs from a dog’s fur without causing them any harm or stress. Trust me, there’s a technique to this—one that involves patience, the right tools, and a little know-how!
Why Burrs Can Be Dangerous for Dogs
Burrs might look harmless at first glance, but they can actually be pretty dangerous for your dog, especially if they’re not removed promptly. Burrs are designed to cling to things—whether it’s your dog’s fur, your clothes, or even the soles of your shoes. They can embed themselves deep into the coat, making it tough for both you and your dog to get them out. The longer they remain, the more discomfort they can cause. In severe cases, burrs can lead to skin irritation, abrasions, or even infections if left untreated.
Additionally, burrs can be sharp and cause your dog to experience pain when they try to move. Imagine someone having tiny, sharp objects poking into their skin, and you’ll understand why it’s so important to get rid of them as soon as possible. Plus, some burrs can be toxic, and if they’re ingested by a curious pup, they can cause digestive issues. So, let’s get to it—here’s everything you need to know to safely remove burrs from your dog’s fur.
Tools You’ll Need to Safely Remove Burrs
Before you start attacking those burrs, make sure you’re armed with the right tools. Over the years, I’ve learned that having the proper equipment can make the job a lot easier (and less stressful for both you and your dog!). Here’s a list of items that can make the process smooth:
- Fine-toothed comb: A good, fine-toothed comb can help loosen the burrs without tugging too harshly at your dog’s fur.
- Rubber gloves: Wearing gloves can help protect your hands from the sticky burrs and reduce the chances of skin irritation. It also makes the whole process more comfortable.
- Scissors: If a burr is deeply embedded or tangled in a knot, a pair of sharp scissors can be helpful for cutting it out carefully. Just make sure you’re not too close to your dog’s skin.
- Detangling spray: This is optional, but a gentle detangling spray can make the burrs a lot easier to remove, especially if your dog has long hair.
- Tweezers: For smaller burrs, tweezers can come in handy for a more precise removal.
Optional: Dog-Friendly Oil or Conditioner
If you’re dealing with a particularly tough burr or a thick, matted coat, using a dog-safe oil or conditioner can help. It acts as a lubricant to help loosen the burrs from the fur and makes them easier to comb out. Just make sure whatever product you use is safe for your dog’s skin and coat—no human products here! I’ve found that coconut oil works wonders, and it also leaves the fur soft and shiny once the burrs are gone.
Step-by-Step Guide: How to Safely Remove Burrs from Your Dog’s Fur
Alright, now that you’re prepared with your tools, let’s dive into the process. Removing burrs is all about being gentle and taking your time. If you’re anything like me, you don’t want to make your dog more uncomfortable than they already are, so patience is key.
1. Calm Your Dog

Before you even think about touching your dog’s fur, take a moment to calm them down. Burr removal can be a stressful experience for some dogs, so it’s important to set the right tone. A little bit of petting, a treat, or just a calm, soothing voice can work wonders. If your dog is particularly nervous, you might want to consider having someone else help hold them steady during the process.
2. Assess the Situation
Take a good look at your dog’s fur and identify where the burrs are. If they’re small and easy to access, you might be able to remove them quickly. But if they’re matted deeply or if they’ve caused some tangling, you may need to spend a little more time gently teasing them out. Make sure you get a good look at the areas where burrs are most likely to hide—around the paws, ears, and underbelly are common spots.
3. Start Gently Pulling Out the Burrs
Now comes the real work. Using your fingers or a fine-toothed comb, gently work through the fur to pull out the burrs. If the burr is stuck tightly, don’t force it. Instead, try to use the fine-toothed comb to loosen it up a little. I always recommend starting from the outer edge of the burr and working inward, as this is less likely to tug at the skin.
For burrs that are deeply embedded or causing tangles, a little detangling spray or a gentle oil can help. If the burr still refuses to budge, you might need to use tweezers or scissors for more stubborn ones. Just remember: never pull at the burrs forcefully, as this could hurt your dog or cause skin damage.
4. Be Mindful of Sensitive Areas
When removing burrs from sensitive areas like the ears, eyes, or paws, be especially careful. These areas are more prone to injury, so use extra caution. For example, if a burr is stuck between the pads of your dog’s paws, it’s best to carefully cut it out with scissors or use tweezers, ensuring not to cut the fur too short or nick their skin.
What to Do If the Burrs Are Too Stubborn
There are times when burrs simply refuse to budge. No matter how gentle you are or how many times you comb through, they’re stuck in there. It can be a frustrating situation, especially when your dog is starting to get restless. But don’t worry, you’re not out of options. When the burrs are particularly stubborn, here are some steps you can take to loosen them without causing stress to your dog or making matters worse.
Use a Lubricant to Loosen the Burrs
If you’re dealing with a burr that won’t come out with just a comb or your fingers, adding some lubrication can help. I’ve personally found that a little dab of coconut oil or olive oil can do wonders in loosening stubborn burrs. The oil doesn’t just soften the burr but also helps separate the fur fibers, making it easier to work the burr out. Simply apply a small amount to the area where the burr is stuck, wait a minute or two, and then try gently working the burr free.
Another product that works well is a dog-safe detangling spray. These sprays are specifically designed to help with matting and tangles, so they can be a great addition to your toolkit. Just make sure the product is safe for your dog’s coat type, as some dogs have sensitive skin and might react to certain ingredients.
If All Else Fails, Cut the Burr Out
Sometimes, you just have to admit defeat when it comes to those tough burrs. If after all your efforts the burr is still stuck and your dog’s comfort is at risk, cutting the burr out may be your best option. I’ll be the first to tell you that cutting burrs should be a last resort, but it’s often necessary, especially for large, tough burrs embedded deep in the coat.
When using scissors, always make sure you’re cutting carefully and away from your dog’s skin. If you’re not comfortable with this step, you might want to ask a professional groomer for help. One thing I’ve learned through experience is to never rush this part. Cutting too quickly or recklessly can lead to cuts or nicks on your dog’s skin, and that’s the last thing you want!
If the burrs are located in particularly tricky spots, like between your dog’s toes or near their ears, it’s extra important to proceed cautiously. Some dogs get a little sensitive around their paws or faces, so try to keep them calm and relaxed during this process.
How to Prevent Burrs from Sticking to Your Dog’s Fur in the Future

Once you’ve removed all those stubborn burrs, you’ll likely be wondering how you can prevent this from happening again. As a veterinary technician with years of experience, I know that while we can’t always avoid burrs (especially if your dog loves running through grassy fields), there are several strategies to reduce the chances of them getting stuck in the first place.
1. Regular Grooming
One of the best ways to avoid burrs in the future is through regular grooming. Brushing your dog’s fur regularly helps keep the coat clean, reduces tangles, and removes loose hair that could easily trap burrs. If you have a dog with a longer coat, such as a Golden Retriever or a Collie, regular brushing is essential for preventing matting and burr build-up. Even for short-haired dogs, I recommend giving them a quick once-over with a brush after walks, especially if you’ve been in an area where burrs are more common.
Some dogs love the attention they get during grooming sessions, while others may need a bit of training to get used to it. If you’re working with a dog that’s not fond of grooming, make sure you start slow, offering plenty of praise and rewards along the way. A relaxed dog will be far easier to groom than a stressed one!
2. Avoiding High-Risk Areas
If you know certain areas are loaded with burrs, consider steering clear of them. Of course, this isn’t always possible, especially if your dog loves to explore, but keeping an eye out for high-risk areas (like tall, wild grass or fields filled with thistles) can minimize your dog’s exposure to burrs. Sometimes, simply sticking to paths or well-trodden areas can help keep burrs at bay.
Another tip is to take your dog on regular walks along paved paths or in areas that are less likely to have high grass or burrs. If your dog is an avid adventurer and loves the outdoors, consider protecting their paws with booties. They might look a little silly, but they can prevent burrs from getting between your dog’s toes and making them uncomfortable.
3. Coat Treatment Options
Some pet owners swear by using specialized coat treatments that can make fur less “sticky” to burrs. These treatments usually come in the form of sprays or conditioners that reduce static and help the hair resist tangling. While these won’t guarantee 100% protection against burrs, they can help make your dog’s coat less of a magnet for those annoying little hitchhikers.
If you’re not sure what kind of product to use, it’s always a good idea to consult with your vet. They can recommend products that are both effective and safe for your dog’s specific coat type and skin sensitivity. The last thing you want is to try a product that irritates your dog’s skin, so always choose options that are designed with pets in mind.
What to Do After Burr Removal
After you’ve successfully removed all the burrs, it’s a good idea to give your dog’s coat a quick once-over. Take the opportunity to check for any remaining tangles or irritations caused by the burrs. Sometimes, burrs can leave behind small cuts or scratches, especially if your dog was pulling at them while you were trying to remove them. Be sure to check the skin closely for any signs of redness or infection.
1. Clean and Soothe the Skin
If your dog’s skin looks irritated or scratched, apply a gentle, soothing ointment to help speed up the healing process. Aloe vera gel (pure and without additives) is a great option for calming irritated skin. You can also use a dog-safe wound spray if there’s a risk of infection. Again, if you’re unsure about the best product, a quick consultation with your vet can ensure you’re choosing the right one for your dog.
2. Keep an Eye on Your Dog
It’s important to keep an eye on your dog after burr removal, especially if you had to cut or apply a treatment to their skin. Watch for signs of infection like excessive licking, swelling, or redness around the area where the burrs were. If anything seems off, don’t hesitate to call your vet. It’s always better to be safe than sorry!
When to Seek Professional Help for Burr Removal
Despite all your best efforts, there may be times when burrs are just too much to handle on your own, and that’s perfectly okay. It’s important to know when to call in a professional. As a veterinary technician, I’ve often seen owners struggle with especially stubborn burrs, or in cases where their dog’s skin might have been injured in the process of burr removal. The first thing to remember is that your dog’s comfort and safety should always come first. If you ever feel like you’re at your wit’s end or if your dog starts showing signs of stress, it might be time to consult a professional.
1. If Your Dog Is in Pain or Shows Signs of Infection
Sometimes, burrs can create small wounds in your dog’s skin. If the burrs have caused any scratches, abrasions, or if your dog begins to lick or bite at the area excessively, it could be a sign of irritation or infection. Infection can develop quickly if the burr has been embedded for too long or if the removal process has caused damage to the skin. If you notice signs like redness, swelling, or discharge, it’s best to take your dog to the vet to prevent any further issues.
If you’re unsure whether your dog’s skin has been injured during burr removal, a professional vet or groomer can help assess the situation. Vets are trained to treat skin injuries and infections, so they can properly clean the wound, prescribe any necessary medications (like antibiotics or soothing ointments), and give you advice on how to care for the wound at home.
2. When Burrs Are Deeply Embedded or Too Difficult to Remove
There are cases where burrs may become so deeply tangled in your dog’s fur or coat that they’re nearly impossible to remove without causing pain. If you’ve tried everything—combing, oil treatments, scissors, and tweezers—and still can’t remove the burrs, a professional groomer or veterinarian will have the tools and expertise to safely remove the burrs without harming your dog.
Some dogs may even have an aversion to burr removal because of the discomfort they feel during the process. If your dog is particularly sensitive or skittish, it might be easier and less stressful for both of you to have a professional handle the situation. Groomers, especially those familiar with handling more complex situations, can remove the burrs without stressing your dog out too much, and their experience helps ensure the process is done quickly and efficiently.
How Burrs Affect Different Dog Breeds
Not all dogs are created equal when it comes to dealing with burrs. Different breeds and coat types present different challenges when it comes to burr removal, and understanding your dog’s specific needs can help you handle burr-related issues better.
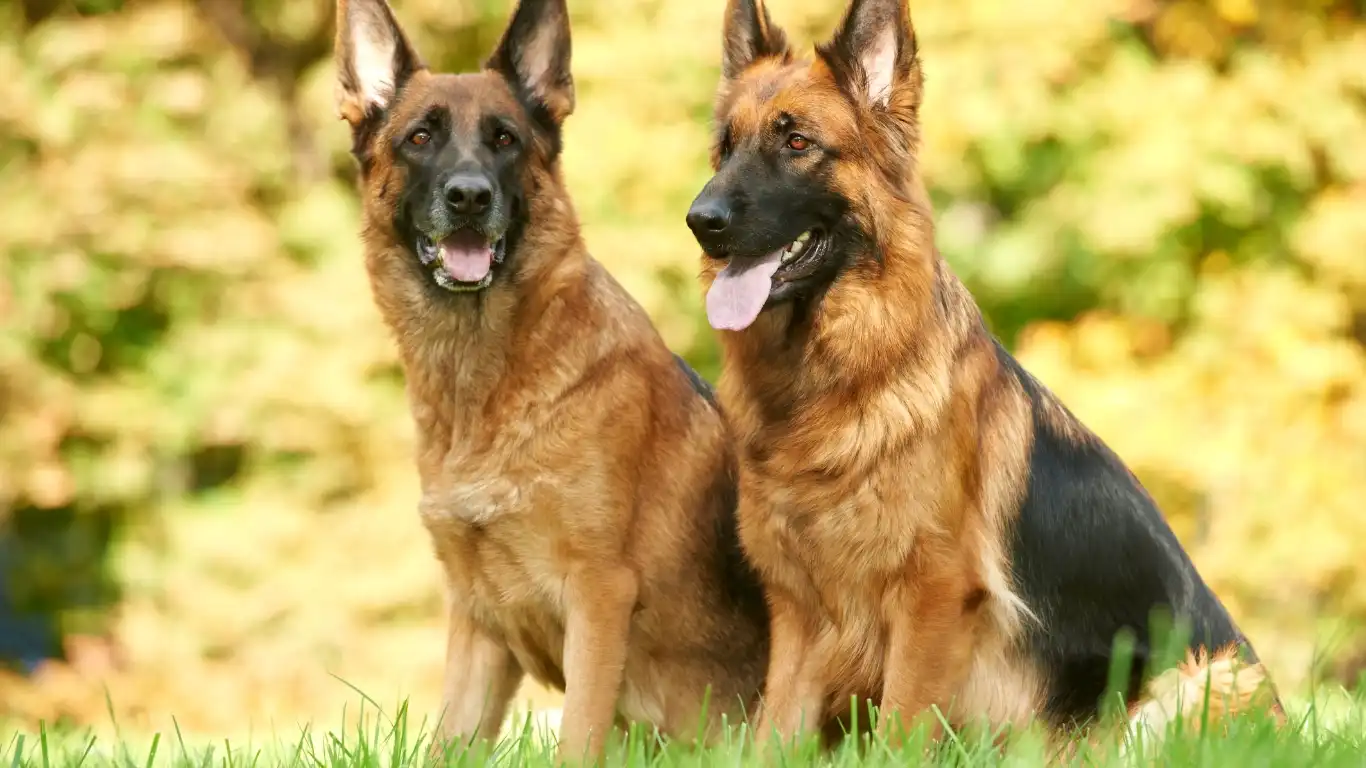
1. Long-Haired Breeds
If you have a dog with a long, flowing coat (think Golden Retrievers, Collies, or Afghan Hounds), you’ll quickly discover that burrs love to cling to their fur. Long fur provides plenty of space for burrs to nestle into, and the longer the coat, the harder it can be to get them out. This is one reason why regular grooming is absolutely essential for long-haired breeds.
In my experience, long-haired dogs often require a bit more patience when removing burrs. The key is to take your time and gently work through the fur with a comb or your fingers, starting at the ends of the fur and working towards the root. If the burrs are particularly tangled, a detangling spray or conditioner can help loosen them. When burrs are stuck in longer coats, it’s important not to rush—hurried movements can lead to further tangling or even injury.
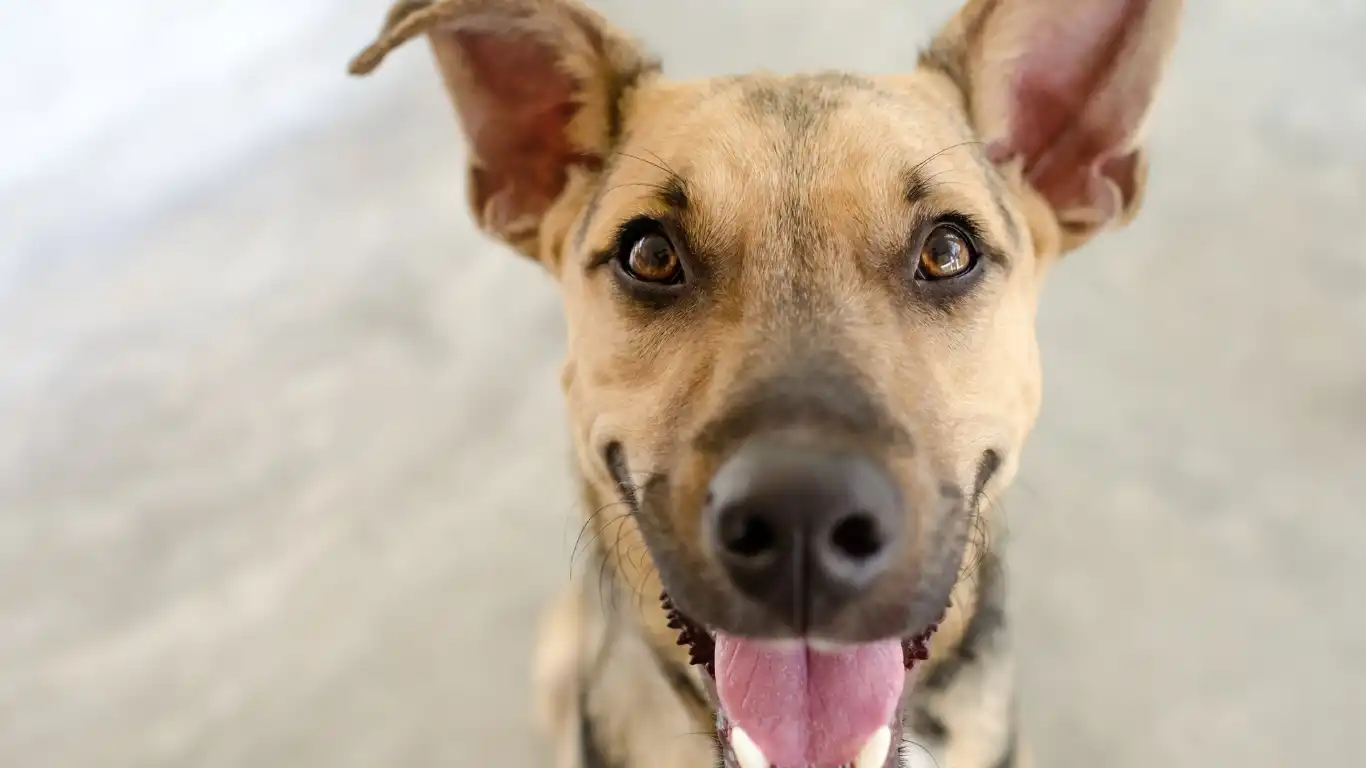
2. Short-Haired Breeds
Short-haired dogs (like Beagles, Dachsunds, and Boxers) tend to attract fewer burrs, but they’re not immune. Burrs may not get caught as easily, but they can still latch onto the fur, especially around the paws, face, or the underside. Fortunately, removing burrs from short-haired breeds is typically a bit easier since the fur is less dense and more manageable.
For short-haired dogs, using your fingers or a fine-toothed comb to gently remove the burrs should usually do the trick. If you notice that your short-haired dog frequently ends up with burrs, I recommend giving them a quick once-over after every outdoor excursion—especially in areas where burrs are common.
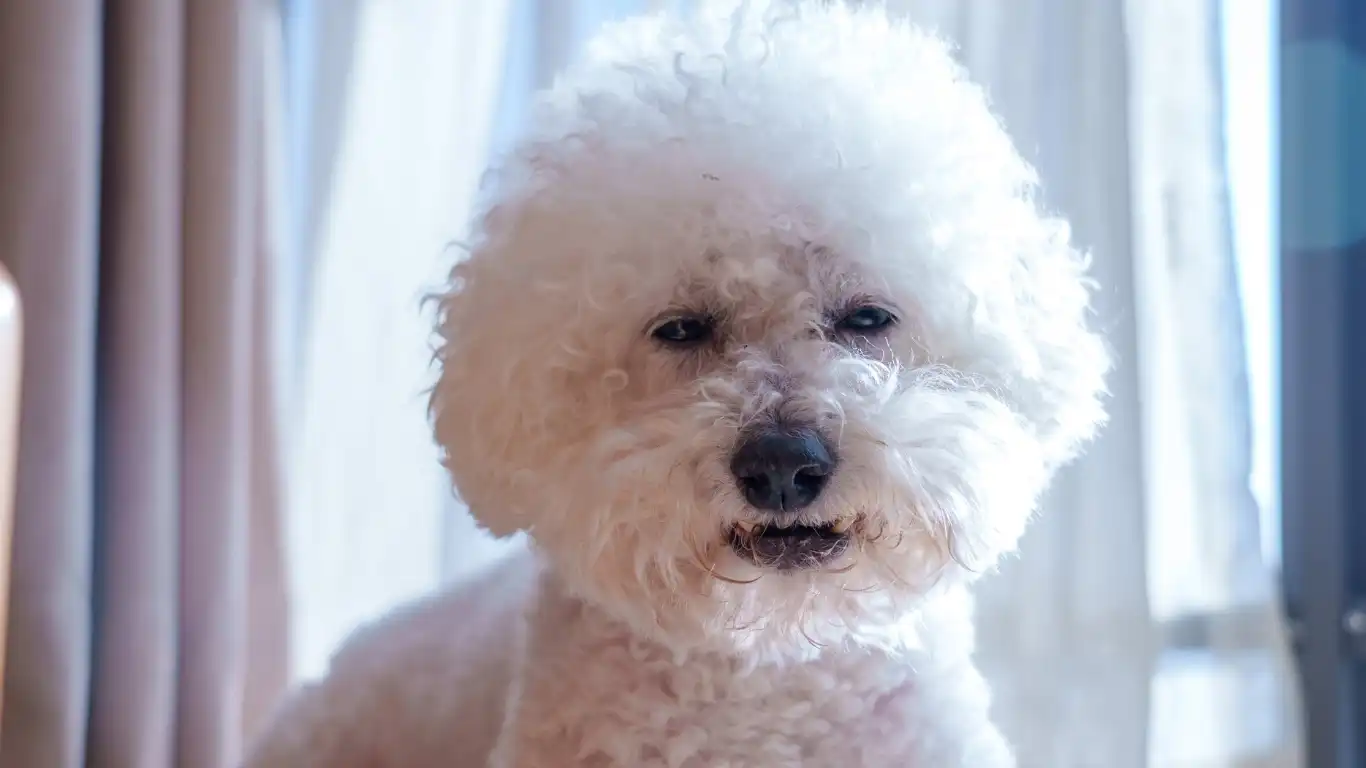
3. Curly or Wiry Coat Breeds
Breeds with curly or wiry coats, such as Poodles, Schnauzers, and Terriers, present their own set of challenges when it comes to burrs. The texture of their fur can trap burrs, creating a tighter knot that can be more difficult to remove. In these cases, regular grooming and even hand-stripping (for some breeds) may be necessary to prevent burrs from causing matting or discomfort.
If you have a curly or wiry-coated dog, make sure to use grooming tools designed for their coat type, such as a slicker brush or comb. Be extra gentle around areas where the coat is thickest, as pulling too hard can cause pain and skin irritation.
References
- American Kennel Club – For all things dog breeds, health, and training tips.
- PetMD – Veterinary advice and pet care information.
- National Institutes of Health – Reliable health information for both humans and pets.
Disclaimer
The information provided in this article is intended for general informational purposes only and is not a substitute for professional veterinary advice, diagnosis, or treatment. Always seek the advice of your veterinarian with any questions you may have regarding your pet’s health or medical conditions. Never disregard professional medical advice or delay in seeking it because of something you have read in this article.