How to Make DIY Dog Paw Balm for Cracked Paws (Simple & Effective)
Cracked paw pads? Oh, I’ve seen it more times than I can count. Working as a veterinary technician specializing in pet nutrition, I’ve had plenty of concerned dog parents ask me *how to make DIY dog paw balm for cracked paws*—especially during the rough winter months or after long summer hikes. Our pups do so much for us, and those little feet take a beating. Commercial products can help, sure, but many contain ingredients that either don’t do much or, worse, can be harmful if your dog licks their paws (and you know they will!). So, let’s talk about making your own paw balm—safe, natural, and effective. I’ll walk you through it step-by-step, with personal tips sprinkled in to keep it real.
Why Your Dog’s Paws Crack (And Why You Should Care)
First things first—why do dog paws crack in the first place? While it’s easy to blame the weather (and that’s a big part of it), the truth is there are several causes that contribute to those dry, painful paw pads:
- Cold weather and snow: Ice, snow, and sidewalk salt are brutal on paws. Think chapped lips but for feet.
- Hot pavement: In summer, pavement can get scorching. If you can’t walk on it barefoot, neither should your dog.
- Dry air: Just like your skin dries out with low humidity, so do your dog’s pads.
- Over-walking or rough terrain: Hiking, running on rocky trails, or long walks can wear down even the toughest paw pads.
- Nutritional deficiencies: Yes, it matters! As someone focused on pet nutrition, I always ask about diet when I see cracked paws.
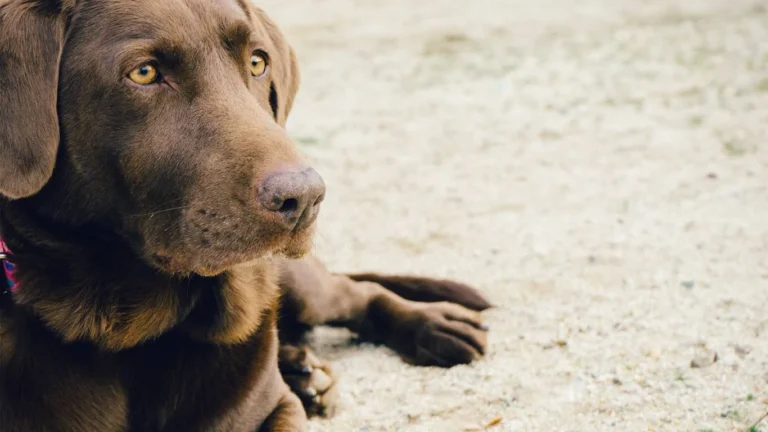
When your dog’s paws are cracked, it can lead to pain, infection, limping, and even behavioral changes. You’d be surprised how many dogs I’ve seen come in with “mystery” limps that turned out to be sore feet. That’s why having a paw balm on hand isn’t just pampering—it’s proactive care.
What Makes a Good Paw Balm (And What to Avoid)
Now let’s talk ingredients. Not all paw balms are created equal, and some store-bought ones can actually do more harm than good—especially if they contain petroleum derivatives or artificial fragrances. Here’s a quick rundown of what I recommend (and what I avoid) when it comes to making your own:
Must-Have Ingredients for DIY Paw Balm
- Beeswax: This is your barrier ingredient. It helps seal moisture in while protecting from external irritants.
- Coconut oil: Naturally antimicrobial and deeply moisturizing—plus, dogs generally love the smell.
- Shea butter or mango butter: I’m partial to mango butter—it’s light, non-greasy, and doesn’t clog pores. But both work great.
- Olive oil or sweet almond oil: These oils soften the skin and help soothe inflammation.
- Optional: Essential oils like lavender or chamomile (just a tiny bit!): Only use pet-safe, diluted oils. I usually skip them unless I know the dog has no sensitivities.
What to Avoid
- Petroleum jelly: Common in commercial balms, but it can clog pores and isn’t safe for ingestion.
- Tea tree oil: I can’t tell you how many times I’ve had to warn against this. It’s toxic to dogs, even in small amounts.
- Artificial scents or dyes: Just no. Dogs don’t need fancy smells—trust me, they’ll lick it off either way.
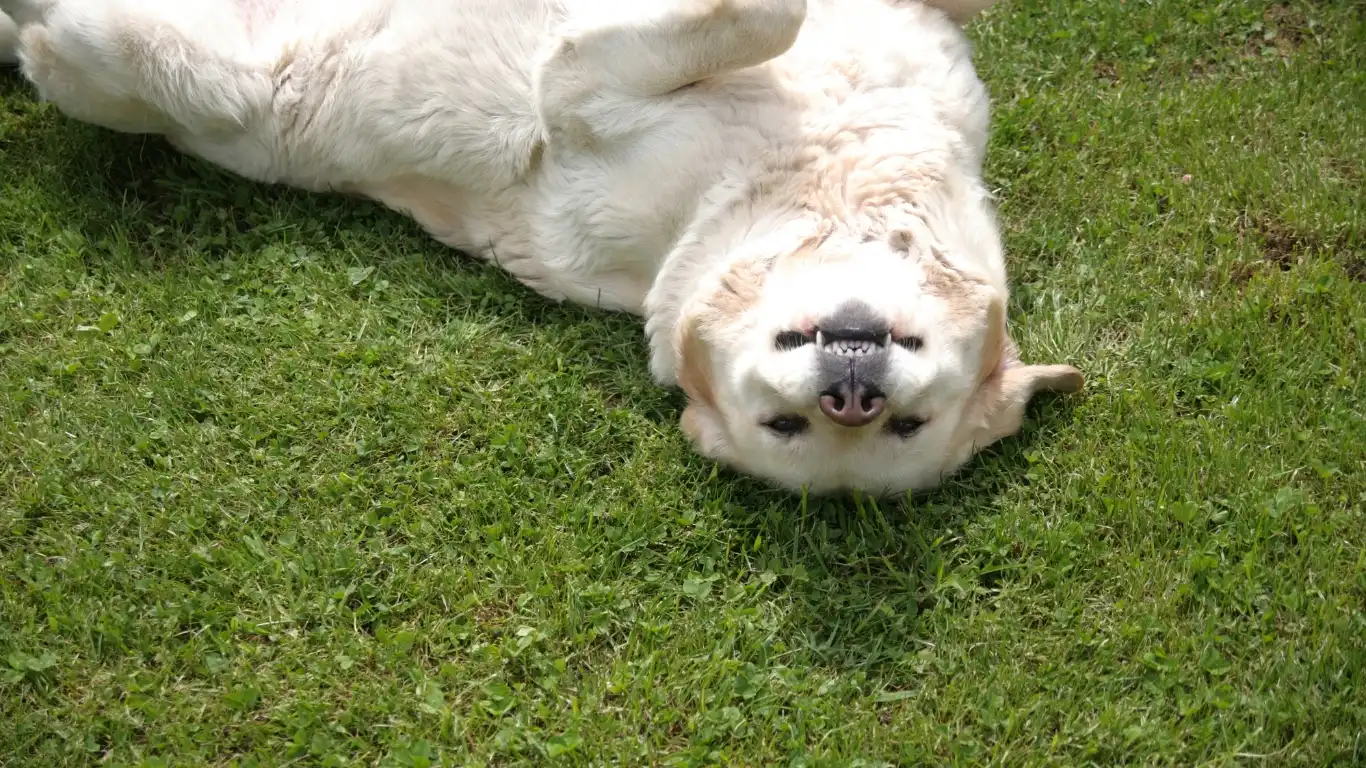
When I make a batch for my clients (or my own Golden, Marley), I always go for a blend that’s soft enough to apply easily but solid enough to store in a small tin. That way it can be tossed in a hiking pack or diaper bag without melting into a mess.
How to Make DIY Dog Paw Balm for Cracked Paws
Alright, let’s get into the fun part—making your own paw balm at home. You don’t need to be a chemist or a culinary genius to whip up a paw-saving balm. If you can melt things in a pot and stir, you’re more than qualified.
DIY Dog Paw Balm Recipe (Vet Tech Approved!)
Yields: Approx. 4 ounces of balm (enough for several small tins)
- 2 tablespoons coconut oil
- 2 tablespoons olive oil or sweet almond oil
- 1 tablespoon shea butter or mango butter
- 1 tablespoon beeswax pellets (or grated beeswax)
Directions:
- In a small saucepan or double boiler, combine all the ingredients.
- Heat gently over low-medium heat until everything melts together. Stir to combine.
- Once melted, pour the mixture into clean tins or silicone molds. Let it cool and harden completely (about 30–60 minutes).
- Store in a cool, dry place. For extra shelf life, keep it in the fridge.
Application tip: Use clean hands or a soft cloth to rub a small amount onto your dog’s paw pads. I like to apply it after walks or at bedtime when they’re more relaxed. Bonus: it makes for a sweet bonding moment, especially if your pup’s the cuddly type.
Storage & Shelf Life
If you store the balm in a sealed tin at room temperature, it’ll last a good 6–12 months. Just keep it out of direct sunlight. If your house runs hot (hello, summer), toss it in the fridge to prevent melting. I usually make a few small tins and keep one in my car, one by the leash, and one in my pet first-aid kit.
And remember—this isn’t just for emergencies. Regular use helps prevent cracks from forming in the first place, which means fewer vet visits and a happier pup. I’ve seen firsthand how something so simple can make a big difference in a dog’s comfort and overall well-being.
When to Apply Paw Balm (And How Often Is Too Often?)

One question I hear almost every time I hand over a tin of balm is, “How often should I put this on?” Great question—and honestly, it depends on your dog’s activity level, the season, and the condition of their paws.
If your pup is dealing with cracked, dry, or irritated paw pads, I recommend applying balm twice daily until things start to heal. Morning before walks and evening before bed is a solid routine. Once those paws are back in business, you can drop to a maintenance schedule—3–4 times a week usually does the trick.
Here’s what I usually tell my clients in the clinic:
- Winter months: Daily application if you’re walking on salted sidewalks or snow-covered trails.
- Summer heat: Use before and after walks to protect from hot pavement and dry air.
- Indoor-only dogs: A couple of times a week is enough to keep those pads soft and supple.
Pro tip from experience: if your dog is a licker (and let’s face it, most are), try applying the balm right after playtime or a meal when they’re a little distracted. You can also pop on some doggy socks for 10 minutes—makes a huge difference and helps the balm soak in without being licked off immediately.
Seasonal Variations: Adjusting Your DIY Dog Paw Balm Recipe
Now here’s something a lot of people overlook—adjusting your balm formula based on the season. Yup, just like how we switch up skincare products between summer and winter, your pup’s paw balm can benefit from a few tweaks too.
Winter-Proof Paw Balm
Winter can be especially harsh on paws—snow, salt, ice, and dry air are the usual suspects. When I make a winter batch, I add a touch more beeswax. This helps create a stronger barrier between the pad and the elements.
- 2 tablespoons coconut oil
- 1 tablespoon shea or mango butter
- 2 tablespoons olive oil
- 2 tablespoons beeswax (instead of 1)
This thicker formula won’t absorb as quickly, which is actually a good thing for outdoor walks. Just be sure to wipe off any snow or debris before applying. I usually keep a paw towel by the door in winter—one of the little tricks I’ve picked up from years working in vet clinics.
Summer Soothe Paw Balm
In warmer weather, you want something that absorbs quickly and doesn’t leave a greasy mess on your floors (or your furniture). I tone down the beeswax and go heavier on moisturizing oils.
- 2 tablespoons coconut oil
- 2 tablespoons almond oil
- 1 tablespoon mango butter
- 1/2 tablespoon beeswax
This formula is lighter and ideal for quick absorption. I also store it in the fridge—feels amazing on hot paws after a long summer hike.
Troubleshooting Common DIY Paw Balm Mistakes
Let’s be honest—DIY projects don’t always go perfectly the first time. I’ve had clients come back with tins that never fully hardened, or that melted into an oily puddle in their purse. It happens. But the good news? Most issues are easy to fix.
If Your Balm Is Too Hard
Chiseling balm out of a tin isn’t exactly convenient. If it feels like you need a crowbar to apply it, your wax-to-oil ratio is too high. Just remelt the batch and stir in more coconut oil or shea butter until it reaches a consistency you like.
If Your Balm Is Too Soft
On the flip side, if your balm is more like a greasy soup, you probably need more beeswax. A good trick is to test a small spoonful in the fridge first. If it doesn’t firm up after 10–15 minutes, melt it again and add another tablespoon of wax.
If It Smells Weird or Goes Rancid
Oils can spoil, especially if exposed to heat or light. Make sure you’re using fresh ingredients—no bottom-of-the-pantry stuff. Store your balm in a cool, dark place (the fridge is even better in summer). And always use a clean spoon or finger when applying it to prevent contamination.
Bonus tip: I label my tins with a date using masking tape. Makes it easy to track how long I’ve had a batch—and lets me know when it’s time to whip up a fresh one.
Other Uses for Paw Balm (Yes, Really!)
This might surprise you, but DIY dog paw balm isn’t just for paws. I’ve used it on dry noses, rough elbows, and even minor skin irritations. One of my clients even rubbed a tiny bit on her own cuticles—no judgment, it’s that good!
Here are a few multi-purpose ways I’ve seen it used:
- Dry noses: A light dab helps soothe and moisturize cracked snouts.
- Elbow calluses: Large-breed dogs that lie on hard surfaces often get these. Balm helps soften them.
- Minor skin irritations: As long as it’s not an open wound, the ingredients can help soothe redness and itchiness.
- Boot alternative: Some pet parents use balm as a protective layer when boots aren’t an option.
Just be sure to monitor for any signs of allergies or sensitivity. While the ingredients are generally safe, every dog is different. I always recommend a spot test on a small area before full application—especially if you’re adding essential oils or using a new butter for the first time.
Advanced Tips for Making Your DIY Dog Paw Balm Even Better
By now, you’ve got the basics down for making a great DIY dog paw balm. But if you’re anything like me, you love to experiment and tweak things to make them even better. So, let’s dive into some advanced tips and ideas to elevate your paw balm game. This is where you can really make it your own, customizing it based on your dog’s specific needs and your personal preferences.
Customize with Essential Oils (Safely!)
Essential oils can offer wonderful therapeutic benefits, but there’s a big “but” here: you need to use them cautiously. Dogs have a much more sensitive sense of smell than humans, and some essential oils that are safe for us can be toxic for them. Always dilute your oils and make sure you’re using safe options.
Some essential oils that are considered safe for dogs, in very small amounts, include:
- Lavender: Calming and soothing—great for relaxing after a long walk.
- Chamomile: Perfect for irritated or inflamed skin.
- Frankincense: Helps with skin regeneration and is great for aging paws.
When adding essential oils, I recommend using no more than 1–2 drops per batch. Trust me, a little goes a long way, and you don’t want your dog to end up with an irritated nose from too much fragrance. Also, always consult your vet before introducing new oils, especially if your dog has known sensitivities.
Essential Oil-Free Balm: Perfect for Sensitive Paws
If your dog has a history of sensitivities or allergies, it’s best to stick with the essential oil-free versions of paw balm. Luckily, the ingredients we’ve already discussed (like coconut oil, shea butter, and beeswax) are plenty effective on their own. These ingredients are gentle, moisturizing, and naturally soothing, making them ideal for dogs with sensitive skin.
Another trick I’ve learned is to add a bit of vitamin E oil to your formula. Not only does it act as a preservative (extending the shelf life), but it’s also fantastic for healing cracked paws and providing extra moisture.
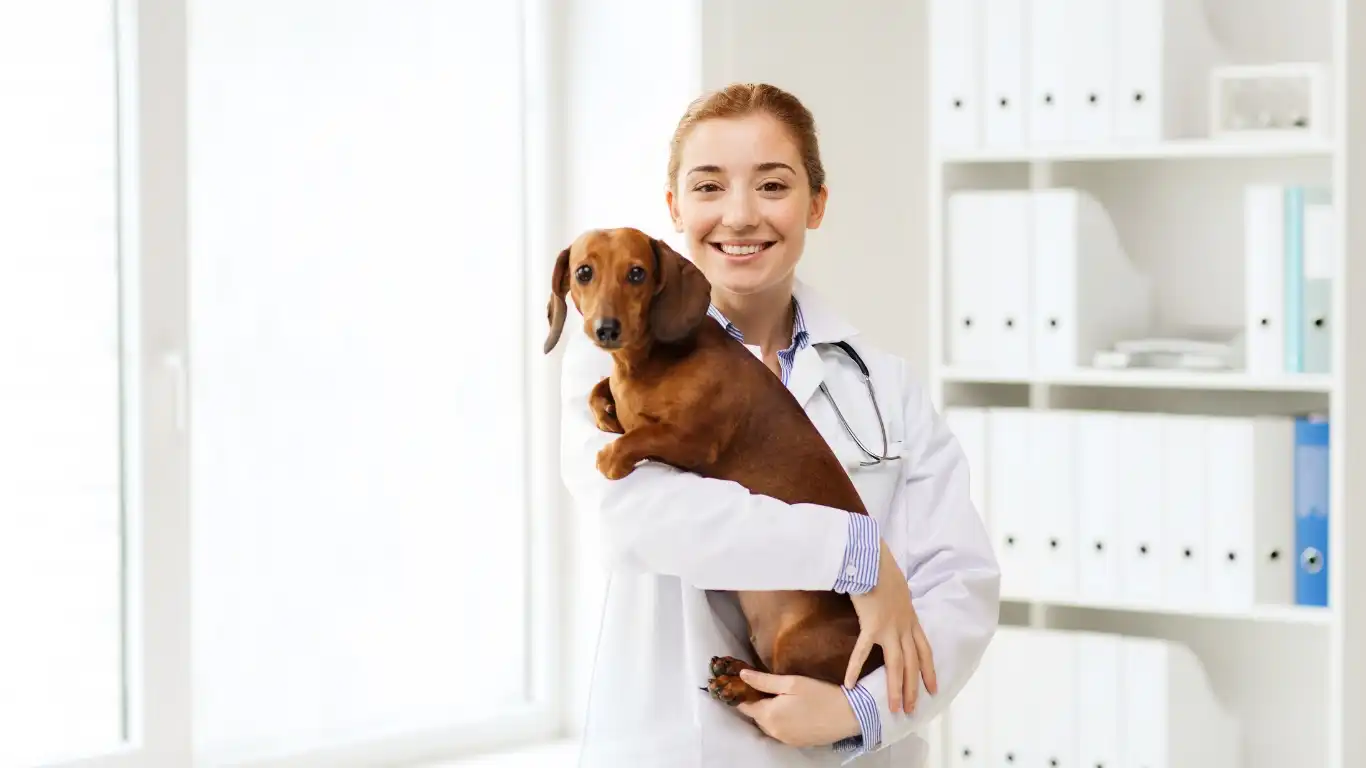
When to Visit the Vet: Signs That DIY Isn’t Enough
As much as we love DIY projects (and trust me, I’m all about them), sometimes a trip to the vet is necessary. While paw balm can work wonders for minor cracks, dry skin, and irritation, there are situations where it’s time to call in the professionals.
Signs Your Dog Needs Veterinary Care
- Persistent or worsening cracks: If your dog’s paw pads are constantly cracked or painful, despite using balm regularly, it might be a sign of a deeper issue.
- Signs of infection: If you notice redness, swelling, or pus, that’s a red flag. Infections need medical attention, and topical balm isn’t going to cut it.
- Limping or avoiding walking: If your dog is suddenly limping or avoiding walks altogether, something more serious might be going on with their paws.
- Unusual licking or chewing: If your dog is obsessively licking or chewing at their paws, this could indicate allergies, pain, or infection.
If you notice any of these signs, it’s best to visit your vet for a professional diagnosis. Sometimes the cause of cracked paws can be linked to underlying health issues, such as nutritional deficiencies, allergies, or even hormonal imbalances.
References for Further Reading
If you want to dig deeper into dog paw health, or if you’re curious about some of the ingredients we’ve discussed, I recommend checking out these trusted resources:
- PetMD – Dog Care Tips and Advice
- American Kennel Club – Dog Health and Grooming
- National Institutes of Health – Dog Care and Health Research
- Health – Skin Care for Pets
Disclaimer
The information provided in this article is intended for general informational purposes only. While I am a veterinary technician with experience in animal nutrition and care, this article should not be considered professional veterinary advice. For any serious health concerns or if your dog exhibits signs of injury or infection, please consult with your veterinarian for an accurate diagnosis and appropriate treatment. Always use caution when applying DIY products, and make sure your dog isn’t allergic to any of the ingredients.
DIY paw balm is a great way to keep your dog’s paws in top condition, but remember—every dog is different, and what works for one may not work for another. Pay attention to your pup’s unique needs, and don’t hesitate to reach out for professional care if needed. With the right ingredients, a bit of knowledge, and some love, you can help keep your dog’s paws happy and healthy!