How to Teach a Dog to Accept Nail Trimming – Easy Steps!
If you’ve ever wrestled a wiggly pup while holding nail clippers in one hand and trying to stay calm with the other, you’re definitely not alone. How to teach a dog to accept nail trimming is one of those topics that’s part art, part science—and trust me, as a veterinary nurse who’s worked with hundreds of dogs, I’ve seen it all. From drama queens who yelp before you even touch their paw, to the stoic types who’ll sit like champs if there’s peanut butter involved—each dog is different. But with patience, the right approach, and a sprinkle of humor, you can absolutely turn nail trimming into something your dog tolerates (or even, dare I say, enjoys).
Why So Many Dogs Hate Nail Trims (And What We Often Miss)
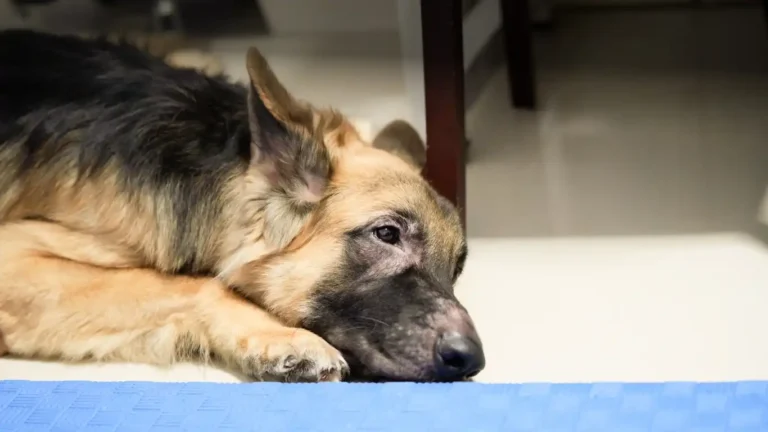
Let’s start by busting a myth: dogs aren’t just being dramatic. There’s usually a valid reason behind the resistance. For starters, their paws are loaded with sensitive nerve endings. Even a simple touch can feel weird—imagine someone rubbing between your toes unexpectedly. Now add the sound of clippers, the strange sensation of nail pressure, and maybe a bad experience from the past… yeah, I wouldn’t be thrilled either.
From my time working in clinics, I noticed many dogs who freaked out during nail trims had been rushed or restrained too tightly in the past. It’s not just about the act of trimming; it’s the whole emotional experience around it. If your pup associates the nail trim with stress, they’ll resist it harder every time.
How to Teach a Dog to Accept Nail Trimming: Start With Trust

Here’s where your journey really begins: not with clippers, but with trust. The best results I’ve seen—both in clinic settings and at home—came from slowing things down and letting the dog lead the pace. This is where your bond with your pup becomes your greatest tool.
1. Start with Desensitization
One of my favorite approaches is the “no-pressure” paw handling routine. Literally. Just hang out with your dog, and when they’re relaxed, touch a paw casually. No clippers yet. Just light contact. Then let go. Repeat. Reward. Done. That’s the whole first step.
- Do this during chill moments like Netflix time or after a walk.
- Use a calm voice and keep your energy grounded.
- Reward every time they let you handle their paw without flinching.
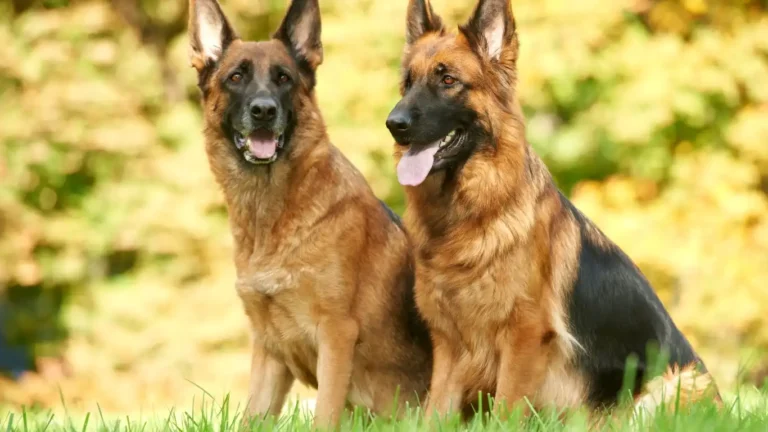
I once worked with a German Shepherd who wouldn’t let anyone near her feet. Her guardian was nearly in tears. We did three weeks of just paw massages with liver treats and gentle praise. By the end of it? She was practically offering her paw when she saw the treat jar.
2. Introduce the Tools Without Using Them
Next, let’s talk tools. Before you trim a single nail, introduce your clippers or grinder like it’s a toy. Leave it near their bed. Let them sniff it. Touch it to their paw without turning it on or clipping anything. Then reward.
- Show them the clipper or Dremel tool and let them investigate.
- Tap it gently on their paw like a touch cue.
- Gradually add sound (if it’s a grinder) from a distance, then closer.
What you’re doing is pairing the scary object with calm, positive vibes. And yes, that means going slower than you think you need to. But trust me—it pays off. I’ve had some of the most “nail-phobic” dogs start to tolerate trims just by seeing the clippers as part of their normal routine.
Understanding Body Language: Your Dog is Talking, Are You Listening?
This might be one of the most important pieces of the puzzle, and it’s one I really leaned into after years in practice: dogs are constantly communicating. Flattened ears, lip licking, tail tucks, paw pulls—those aren’t just random movements. They’re telling you how your dog is feeling.
Paying attention to these subtle signs helps you gauge when to pause and when to continue. If they start stiffening up or shifting away, don’t push through. Give them a break. Toss a treat. Offer a play break or snuggle. You’ll get further by respecting their boundaries than forcing cooperation.
Honestly, I’ve built some of the best trust with reactive or fearful dogs just by honoring their signals. Once they realize you’re not going to force them, their walls come down. It’s like magic—but it’s actually just empathy in action.
Building a Step-by-Step Routine for Nail Trimming Success
Now that your dog is getting comfortable with having their paws handled and the tools introduced, it’s time to put everything into a step-by-step routine. This part of the process is where the magic happens, and where consistency really pays off. Let’s break it down.
1. Start with Short Sessions
When it comes to teaching your dog to accept nail trimming, less is more—at least at first. I know it might be tempting to get the whole job done in one go, but trust me, short and sweet sessions are key. You want your dog to associate the process with positive outcomes, not stress.
Start by trimming just one or two nails per session. Even if your dog is calm, don’t try to push through a full trim at first. As someone who’s worked in clinics and seen all sorts of nail trimming challenges, I’ve learned that going slow is crucial, especially with nervous dogs. Reward after every successful nail, or even after just touching the clipper to the nail. It’s all about building that positive connection.
2. Incorporate Treats and Positive Reinforcement
This is one of my favorite parts of the process: turning nail trimming into something your dog looks forward to. Using treats as a reward is so powerful. Think of it like this: your dog learns that every time their nails get trimmed, they get a yummy reward. It’s like a little “thank you” for being brave and cooperative.
When I’ve worked with dogs who were especially hesitant, I would use high-value treats like pieces of chicken, cheese, or hot dog bits—something they don’t get every day. This makes it extra special and reinforces the behavior you want.
- Keep the treats handy, within easy reach, so you can give them quickly after each successful trim.
- Use treats in combination with praise, like saying, “Good job!” with an upbeat voice, so they associate the activity with both rewards and affection.
Also, be sure not to overwhelm your dog with too many treats at once—balance is key! I often recommend splitting the rewards up into smaller pieces, so your dog doesn’t fill up too fast, but they still feel like they’re getting rewarded at every step.
Stay Calm and Consistent: Your Energy Matters
As a vet tech, I’ve seen countless owners try to trim their dog’s nails when they themselves were stressed or anxious. And let me tell you, dogs are amazing at picking up on our emotions. If you’re tense or rushing, they’ll feel that too, and it can make them even more anxious. That’s why your energy is so important. Stay calm, relaxed, and confident.
Take a deep breath, speak softly, and keep a steady pace. Even if things aren’t going perfectly (and hey, that’s normal), your calm demeanor will help reassure your dog that everything is okay. In my experience, dogs respond better when their owners aren’t frazzled. The more consistent you are with your calm energy, the more your dog will pick up on it.
When I worked at a busy clinic, we’d sometimes have nervous dogs come in for nail trims. We’d always make sure to keep the room quiet and non-chaotic, with staff moving slowly and deliberately. That simple act of being calm often made a huge difference in how the dogs responded.
3. Gradually Increase the Number of Nails Trimmed
Once your dog gets used to having one or two nails trimmed in a session, you can start gradually increasing the number. The goal here is to build their tolerance, but remember: always go at your dog’s pace. Some dogs will be comfortable with a full trim after just a few sessions, while others might need a few weeks. Either way, it’s important to continue rewarding them and keeping the sessions positive.
If you’re finding that your dog is getting anxious again, don’t push. It’s okay to take a break and pick it up again the next day. I once had a client whose dog was fine with two nails, but after that, she’d start shaking. We decided to focus on just two nails per session for a few weeks, which ultimately helped her become more comfortable with the process.
4. Use Distractions for Extra Calmness
Sometimes, even with a slow and steady routine, your dog’s nerves might still get the best of them. In these cases, a distraction can work wonders. Some dogs do well with something like a lick mat or a puzzle feeder filled with peanut butter, while others are more into interactive toys.
- Consider trying a lick mat smeared with peanut butter or yogurt for a calming distraction.
- Interactive toys can keep your dog’s mind engaged and prevent them from focusing too much on the nail trim.
- Some dogs even enjoy watching a calming video on TV while their nails are being trimmed—sounds crazy, but it works!
When I’ve worked with particularly anxious dogs, I’ve often seen a lick mat or a favorite toy work wonders in distracting them long enough to get the job done. This is especially useful for dogs who are just getting used to nail trims and might have trouble staying still.
What to Do If Your Dog Shows Severe Resistance
If your dog is still resisting the nail trim, even after following all the steps above, it may be time to consider a different approach. Sometimes, despite our best efforts, certain dogs just need a little extra help.
In these cases, I recommend consulting with a professional dog trainer or even seeking out veterinary support. Some dogs may need medication to help with their anxiety around grooming. Your vet can help guide you on whether this is a viable option. For more severe cases, a behaviorist or professional groomer may offer the support you need.
Remember, you’re not alone in this! Nail trimming can be a challenging task, but with the right approach, a calm attitude, and a little patience, you can help your dog get used to it. Every dog is different, so don’t get discouraged if it takes a little longer. Your dog’s comfort and well-being are the ultimate goals, and you’re well on your way to achieving that.
Maintaining the Habit: Keeping Nail Trims Stress-Free for Life
Once you’ve finally helped your pup feel more comfortable with nail trims—huge win, by the way!—it’s important to keep up the routine. One of the biggest mistakes I see (even from the most loving pet parents) is waiting too long between trims and essentially starting from scratch every time.
Dogs thrive on routine. If they only get a nail trim every few months, they’re way more likely to forget the positive experiences and revert to anxiety. I always recommend sticking to a regular schedule—every 2 to 4 weeks, depending on your dog’s activity level and how quickly their nails grow.
In my clinic days, I had a Labrador client who was the poster dog for consistency. His family set a “nail trim day” every other Saturday. Over time, he got so used to it that he’d actually flop onto his side in anticipation—he knew treats were coming, and he trusted the routine. That kind of success? It’s all about regularity.
Keep the Tools Familiar
Leave your clippers or grinder out in the open, not hidden in a drawer. The more your dog sees them as just another household item, the less mysterious and scary they become. Even when you’re not trimming, occasionally pick up the tool, touch it to your dog’s paw, praise, and give a treat.
- Use positive reinforcement even between trims to reinforce trust.
- Let your dog approach the tool voluntarily.
- Continue desensitization play sessions occasionally, especially after longer breaks.
Choosing the Right Tools for the Job
Let’s talk gear. There’s no one-size-fits-all tool when it comes to dog nails. Just like we have preferences for razors or scissors, dogs do better with tools suited to their comfort level and nail type. Some dogs respond well to standard clippers, while others do better with grinders, which file the nail down instead of clipping it.
Here’s a quick breakdown based on what I’ve used (and seen used effectively) in-clinic and in-home:
- Guillotine-style clippers: Great for small to medium dogs with thinner nails. Easy to handle but can crush thicker nails.
- Scissor-style clippers: Better for medium to large breeds. Offers a stronger cut and less pressure on the nail.
- Nail grinders (like Dremels): Ideal for sensitive pups who don’t like the clipping sensation. Can be noisy, so gradual introduction is key.
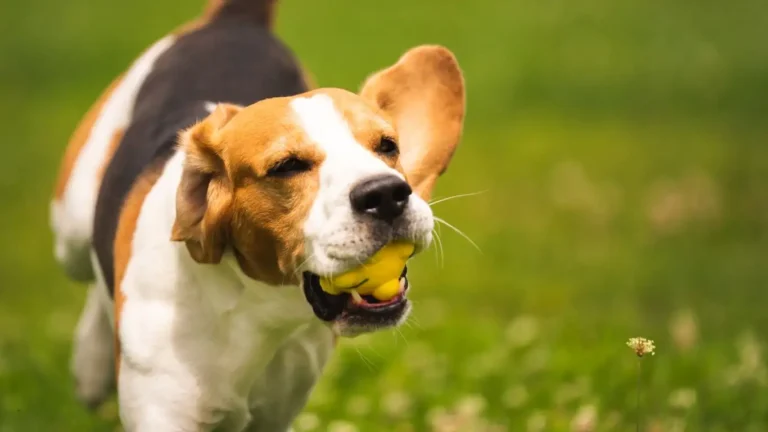
I personally love grinders for dogs who’ve had bad experiences in the past. I had one anxious Beagle patient who used to snap the moment she saw clippers. We switched to a quiet grinder, introduced it slowly, and now she lies down calmly while her nails are done.
Don’t Forget the Styptic Powder
No matter how careful you are, accidents happen. If you clip too short and hit the quick (that sensitive inner part of the nail), it can bleed—and yes, it looks scary. But don’t panic. Styptic powder or a styptic pencil stops bleeding almost instantly. Always have it on hand.
And hey, even pros like me have made the mistake. The key is staying calm and not reacting dramatically—because your dog is watching. Give them a treat, reassure them, and move on like nothing happened.
When It’s Time to Call in Backup
There’s absolutely no shame in asking for help if nail trims continue to be a struggle. Honestly, I respect pet parents even more when they recognize their dog’s limits and seek support. Whether it’s from a professional groomer, trainer, or your vet, you’ve got options.
Some dogs may need sedation for nail trims—and that’s okay. It’s a decision made with your vet, and it’s often the most humane route for dogs with extreme anxiety or medical issues that make handling painful.
If your dog panics, growls, or tries to bite every time you touch their paws despite months of desensitization, a certified dog trainer or behaviorist can work wonders. Look for one with fear-free or positive reinforcement training credentials.
You can also find some amazing training resources from trusted sources like AKC, PetMD, or Health.com if you want more in-depth tips and advice.
Tips for Puppies and Rescue Dogs
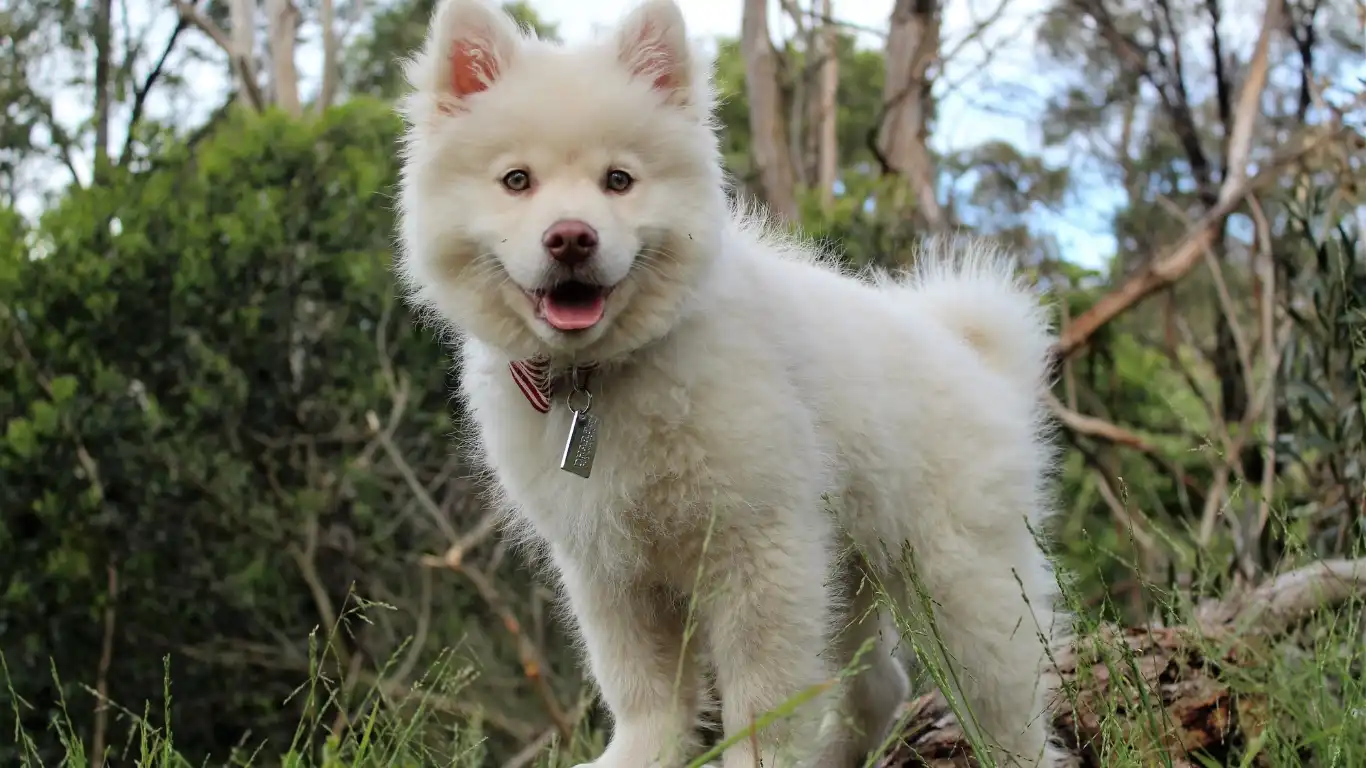
Got a puppy or a newly adopted rescue? The sooner you start, the better. I can’t emphasize this enough. The earlier nail trims become part of normal life, the less likely they’ll be a problem later. For puppies, start handling their paws from day one. Don’t even think about trimming—just build trust and normalize the sensation.
With rescues, patience is everything. You may not know their grooming history, so go slow, observe their body language, and always err on the side of gentle and positive. One of my first patients was a senior rescue who had never had a positive grooming experience in her life. It took months of trust-building, but we got there—with soft music, slow sessions, and lots of chicken jerky.
Final Thoughts
Helping your dog accept nail trimming isn’t about perfection—it’s about progress. Celebrate the small wins. One paw held calmly? That’s a win. One nail trimmed without resistance? Huge win. You’re not just grooming your dog—you’re building a relationship based on trust, safety, and communication.
And don’t forget: every dog is different. What works for a chill senior Golden might not work for a spunky young Terrier. But with patience, consistency, and a little creativity, you’ll find the rhythm that works for you and your pup.
Disclaimer
This article is for informational purposes only and is not a substitute for professional veterinary advice. Always consult your veterinarian or a certified dog trainer before making decisions about your dog’s health, behavior, or grooming routine.