Safely Clean Your Dog’s Ears at Home: Avoid Costly Mistakes Fast!
If you’ve ever asked yourself how to safely clean your dog’s ears at home, you’re definitely not alone. As a vet tech specializing in pet nutrition, I get this question a lot—usually right after a client’s dog starts head-shaking like they’re trying to launch into space. Cleaning your pup’s ears might seem intimidating, but with a bit of guidance and the right approach, it can actually be a simple and even bonding experience for you both. I’ve cleaned more floppy ears than I can count (and smelled some doozies along the way!), so I’m going to walk you through how to do it right—safely and stress-free.
Why Ear Cleaning Is More Than Just Grooming

Dog ears are a lot like bellybuttons—often overlooked, sometimes funky, and definitely important to keep clean. Routine ear cleaning helps prevent infections, itchiness, and even hearing loss. But here’s the kicker: you don’t want to overdo it. That’s a mistake I’ve seen often, especially with overzealous pet parents who mean well but end up irritating the delicate ear canal.
One of my regular clients, a sweet Golden Retriever named Marley, used to have chronic ear infections because her owner cleaned them too frequently. Once we adjusted her routine and used the right products, Marley’s ears became the picture of health—and she was a lot more comfortable too.
Signs Your Dog’s Ears Need Cleaning
Before you grab the cotton balls, it’s helpful to know when ear cleaning is actually necessary. A healthy ear usually looks pale pink and doesn’t have much of a smell. If your dog’s ears are dirty, you’ll probably notice one or more of the following signs:
- Head shaking or excessive ear scratching
- A funky, yeasty smell
- Brown, yellow, or bloody discharge
- Redness or swelling inside the ear canal
- Sensitivity or whining when touched
If you’re seeing any of these, it’s a good idea to clean the ears—but also to keep an eye out for anything more serious. In some cases, your dog might need a vet visit before a cleaning session.
How to Safely Clean Your Dog’s Ears at Home
Alright, let’s get into the good stuff—how to safely clean your dog’s ears at home. This is the exact process I’ve used on everything from Chihuahuas to Saint Bernards, and it works like a charm when done properly. Remember: be gentle, be patient, and reward your pup afterward!
Gather Your Supplies
First things first, get your tools ready. You’ll want to have:
- A dog-safe ear cleaning solution (avoid anything with alcohol or hydrogen peroxide)
- Cotton balls or gauze pads (never Q-tips—they can push debris deeper)
- Clean towel (because ear flaps + liquid = splash zone)
- Treats (this is essential!)
Step-by-Step Cleaning Process
Here’s how I do it, and how I show my clients to do it during visits:
- Start by giving your dog a treat and some loving. Get them relaxed.
- Hold up the ear flap to get a good look inside—don’t force it if they’re resistant.
- Gently squeeze some cleaner into the ear canal (follow the bottle’s instructions).
- Massage the base of the ear for about 20-30 seconds. You’ll hear a squishy sound—that’s a good thing.
- Let your dog shake it out (stand back, trust me).
- Use a cotton ball or gauze to gently wipe away any debris from the outer ear and ear canal opening.
- Repeat on the other side.
Pro Tip: If your dog’s ears are especially dirty or smelly, you may need to clean them a couple of times over a few days. But again—don’t overdo it. Once a week is plenty for most dogs, and some breeds (like Huskies) barely need it at all.
Know When to Call Your Vet
Sometimes, despite your best efforts, your dog might still show signs of an ear issue. If there’s a lot of redness, swelling, or your dog is in pain, stop the cleaning and get a vet involved. I’ve seen cases where well-meaning owners made ear infections worse by continuing to clean when meds were needed instead.
Breed-Specific Ear Care Tips
Not all ears are created equal—some dogs are way more prone to ear issues than others, just because of their breed or anatomy. For example, dogs with long, floppy ears (like Cocker Spaniels or Basset Hounds) tend to trap moisture and debris more easily. That warm, dark environment is like a party invitation for yeast and bacteria.
One of my regular patients, a sweet old Basset named Harold, came in almost monthly for ear issues until we dialed in a routine that worked. His ears were basically little hammocks for dirt and dust. We switched to weekly cleanings using a gentle solution with drying agents and focused on keeping his ears well-ventilated. Since then? Zero flare-ups.
On the flip side, breeds like French Bulldogs or Boxers with more upright ears usually have fewer problems but still need occasional cleaning, especially if they’re outdoorsy or allergy-prone.
Tips by Ear Type:
- Floppy Ears: Clean weekly or every 10 days. Watch for moisture buildup.
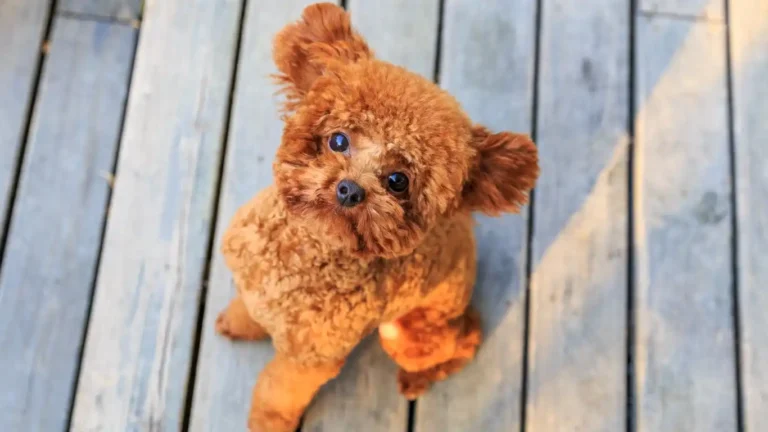
- Hairy Ear Canals (like Poodles): Keep the hair trimmed if recommended by your vet or groomer.
- Erect Ears: Clean monthly or as needed, especially if dirt or pollen is visible.
Natural vs. Prescription Ear Cleaners

Another big question I get all the time: “Can I use a natural ear cleaner instead of a prescription one?” The short answer is—it depends on what’s going on with your pup’s ears.
Natural or DIY cleaners can work well for maintenance and prevention, especially if they’re made with soothing ingredients like aloe, witch hazel, or tea tree oil (in safe diluted concentrations). But please, for the love of all things furry, don’t just Google a homemade recipe and start mixing vinegar and mystery oils together. I’ve seen more than a few irritated ear canals because of DIY disasters.
On the other hand, prescription cleaners or medicated solutions are often necessary if your dog has an ongoing infection, yeast overgrowth, or mites. They’re specifically formulated to deal with the underlying issue—and they’re usually paired with vet-prescribed ear drops or ointments. Trust me, if your vet recommends something, it’s for a reason.
How I Choose Products for My Clients
When helping my clients pick an ear cleaner, I usually consider:
- Whether the dog has had past ear infections
- Skin sensitivity or allergies
- Breed and lifestyle (like water-loving Labs vs. homebody Shih Tzus)
- Presence of yeast or bacteria (we often swab and check under the microscope)
That last one’s big. You can’t always tell just by sniffing or looking. A quick cytology (a fancy word for a microscope exam) can show exactly what we’re dealing with. That kind of personalized care really matters—and it’s part of why I believe in tailoring ear care to each dog.
What Not to Do When Cleaning Your Dog’s Ears
Okay, time for some real talk. I’ve seen a lot of well-meaning pet parents accidentally make things worse because they just didn’t know what not to do. So here’s a short list of things to avoid when learning how to safely clean your dog’s ears at home:
- No Q-tips. Ever. Seriously. They can push wax and debris deeper, and worse—they can injure the ear drum.
- Don’t use alcohol or hydrogen peroxide. These dry the skin out and can sting like crazy if there’s inflammation or a tiny scratch.
- Never overclean. Cleaning too often can strip the natural oils and disrupt the ear’s healthy environment.
- Don’t ignore signs of infection. If it smells bad, looks red, or your dog is in pain—call your vet, don’t guess.
One time a client used apple cider vinegar straight from the bottle thinking it would “kill the yeast.” Yikes. That poor pup had red, raw ears for a week. Always dilute and check with your vet before using anything unconventional.
Making Ear Cleaning a Positive Experience
Let’s be real—not every dog loves having their ears cleaned. But with some patience and positivity, it doesn’t have to be a battle. In fact, I’ve had plenty of clients tell me their dogs now look forward to it because it means treats, snuggles, and one-on-one time.
Here’s how to build that trust:
- Start young and go slow. Let puppies sniff and explore the bottle and supplies.
- Use high-value treats (I mean the good stuff—think chicken or cheese, not boring biscuits).
- Keep sessions short and stress-free. If your dog starts squirming, take a break.
- Give tons of praise and affection after each cleaning session—even if it didn’t go perfectly.
In my own house, ear cleaning is just part of “spa day.” We do nails, ears, and a little brushing—all with music and treats. My rescue pup, Luna, actually lays down when she sees the ear bottle now. No joke.
#LNF
