How to Treat a Dog’s Cut on the Paw Without Making It Worse
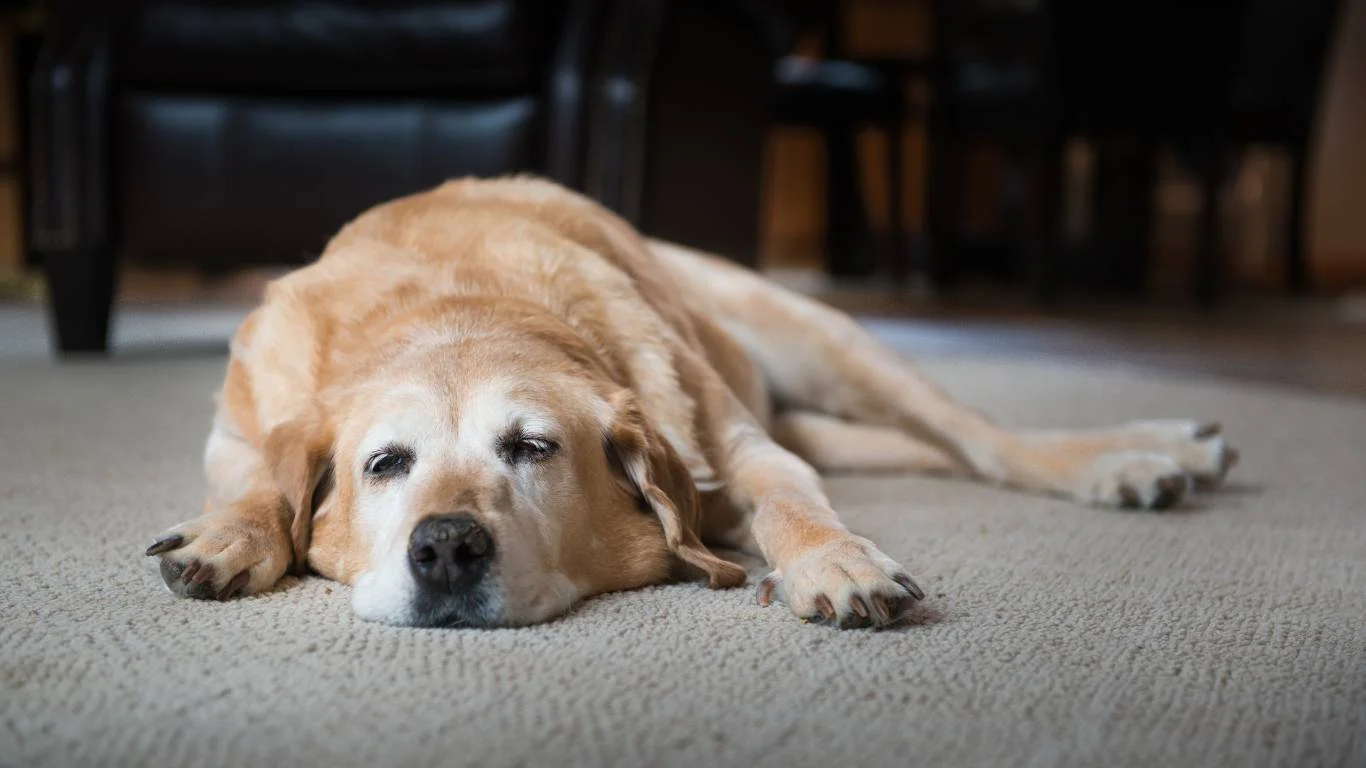
If you’re searching for how to treat a dog’s cut on the paw, you’ve come to the right place. I’ve been a veterinary assistant for a few years now, with a soft spot (pun intended) for pet nutrition and general care. Paw injuries are super common, especially for curious pups who love to run through brush, rocky trails, or even just a poorly swept sidewalk. In this article, I’m sharing hands-on, vet-approved guidance that I’ve used countless times in clinic and even with my own dogs. So if your furry friend limped in with a scraped-up pad, don’t panic—we’ll walk through the steps together.
First Things First: Assessing the Damage
How deep is the cut?
Not all paw cuts are created equal. Some are shallow scrapes that need little more than cleaning, while others can be deep lacerations that require sutures. When a pup comes into the clinic limping or bleeding, the first thing I check is the depth and location of the wound. You’ll want to gently inspect the paw pad and surrounding toes. If the cut is gaping, bleeding heavily, or exposing tissue, you should call your vet right away.
When it’s okay to treat at home
If the wound is small, not bleeding much, and your dog is still walking fine, you’re probably safe to treat it at home. But you still need to be careful. Paws are tough, but they’re also exposed to dirt, bacteria, and who-knows-what on your daily walks. Even a small nick can get infected quickly if it’s not cleaned and protected properly.
Gathering Your First Aid Supplies
What you’ll need
- Warm water or saline solution (for rinsing)
- Clean towels or gauze
- Antiseptic solution (like diluted Betadine)
- Dog-safe antibiotic ointment
- Vet wrap or self-adhesive bandage
- A cone or bootie to prevent licking
I always recommend keeping a mini pet first-aid kit at home—especially if your dog is active or clumsy (I speak from experience here; one of my pups once sliced her pad on a seashell!). You’d be surprised how often a quick rinse and wrap can prevent a minor paw cut from becoming a serious issue.
Don’t use human products
This might seem obvious, but you’d be surprised how often I’ve had to gently explain this in appointments: Don’t use hydrogen peroxide or Neosporin made for humans. Hydrogen peroxide can actually delay healing by damaging healthy tissue. And many over-the-counter ointments include ingredients that are toxic if your dog licks their paw—which they definitely will try to do.
How to Treat a Dog’s Cut on the Paw Step-by-Step
Step-by-step treatment guide
- Clean the area: Gently rinse the paw with warm water or saline solution. If there’s dirt or debris stuck in the cut, use sterile tweezers or a soft cloth to carefully remove it.
- Stop the bleeding: If the cut is bleeding, apply gentle pressure using a clean towel or gauze pad. This usually stops within a few minutes if it’s a minor cut.
- Disinfect: Dab some diluted Betadine (never straight from the bottle) around the wound. Avoid alcohol or hydrogen peroxide—it stings and slows healing.
- Apply ointment: Use a thin layer of vet-approved antibiotic ointment. This helps prevent infection and promotes faster healing.
- Wrap it up: Use gauze and vet wrap to cover the paw. Don’t wrap too tight—you should be able to slip a finger between the wrap and the paw. This is just to keep the area clean and protected while it heals.
Every time I treat a paw injury, I always give the pup lots of positive reinforcement—treats, soothing talk, and cuddles go a long way. Trust me, even the most wiggly dog starts to cooperate when they realize you’re helping, not hurting.
Watch for signs of infection
Even if you’ve followed all the right steps, keep an eye on your dog over the next few days. If the paw starts to swell, ooze pus, or your dog becomes more sensitive or starts limping worse, it’s time for a vet visit. Better safe than sorry—infections in paw pads can travel fast.
Keeping the Wound Clean During Recovery
Daily cleaning and maintenance
Okay, so the paw is all bandaged up—great job. But here’s where it gets a bit tricky: keeping it clean while your dog goes about their usual “I must sniff everything” routine. In my experience, it’s best to change the bandage once a day and give the wound a quick check. If the bandage gets wet or dirty (which, let’s be honest, happens fast), replace it sooner. Wet wraps are basically bacteria parties waiting to happen.
I like to use a gentle saline rinse again before reapplying fresh gauze and wrap. And yes, it’s normal for dogs to give you the stink eye during this part. One tip I always share with clients is to have someone gently distract your pup with treats while you do the swap. Peanut butter smeared on a lick mat? Total game changer.
Use protective booties or socks
To extend the life of the bandage and keep dirt out, consider using a dog bootie or sock when your pup goes outside. Just remember to take it off indoors—leaving it on all day can cause excess moisture and make things worse. One of my regulars, a goofy lab named Ollie, actually learned to stick out his paw for his little bootie after just a few days. It’s adorable and way more effective than chasing him around with a wrap.
Understanding When It’s Time to Call the Vet
Red flags to watch for
- Swelling that doesn’t go down
- Foul odor from the wound
- Increased limping or signs of pain
- Yellow or green discharge
- Fever, lethargy, or behavioral changes
I’ve had dog parents wait a little too long thinking they could “ride it out,” only for things to escalate quickly. Trust your gut—if something seems off, it’s worth the vet visit. Better to spend $50 now than deal with a paw abscess later (which can be way more painful and expensive).
Stitches or no stitches?
If the wound is deep or continues to split open every time your dog walks, your vet might recommend stitches or even surgical glue. It’s nothing to panic about. In fact, in many cases we use a mild sedative and have it done in under 30 minutes. I always reassure clients—dogs bounce back super fast, and they’re often walking better the very next day.
How to Help Your Dog Heal Faster

Nutrition plays a bigger role than you think
Here’s where my nutrition background really kicks in: what your dog eats can absolutely affect how fast they heal. If your pup’s immune system is running on fumes from low-quality food, the healing process can drag on. I often recommend adding omega-3 fatty acids, vitamin E, and even collagen supplements to support skin and tissue repair.
Also, make sure they’re getting enough protein. Healing tissue needs building blocks! If you’re not sure what to add or how to balance their meals while they’re recovering, ask your vet or a certified pet nutritionist (yes, those exist—and yes, it’s worth it).
Keep them calm (good luck with that, right?)
I get it—telling a high-energy dog to “rest” is like telling a toddler to sit still in a candy store. But reducing movement is crucial. Try shorter leash walks, avoid rough play, and maybe swap ball-chasing for some mental enrichment games indoors. Snuffle mats, puzzle toys, and food-dispensing balls are great boredom busters while they’re on paw rest.
Monitor licking and chewing
This might be one of the most frustrating parts—your dog’s instincts will scream “lick it clean!” but constant licking actually delays healing and opens the door to infection. If your dog’s being persistent, a cone (aka the cone of shame) may be necessary. I personally prefer soft cones or inflatable ones—they’re way more comfortable and less stressful for most pups.
And if you’re like me and hate seeing your dog in a cone, you can also try deterrent sprays like bitter apple (though some dogs weirdly love the taste… looking at you, Daisy). Just make sure whatever you use is vet-approved and non-toxic.
Preventing Future Paw Injuries
Watch where they walk
Paw injuries often come from things we overlook—hot pavement, sharp gravel, broken glass, ice melt in the winter, or even splinters from wood decks. If you can’t walk on it barefoot comfortably, neither can your dog. I always advise clients to check paws after hikes, beach runs, or city walks.
Moisturize those paw pads
Dry, cracked pads are more prone to splitting. A good paw balm (there are so many amazing dog-safe ones on the market now) helps keep them supple and strong. I use it at least twice a week on my dogs, especially during extreme weather. Bonus—it makes their paws smell like oatmeal cookies.
By now, you’ve probably realized that treating a dog’s cut on the paw isn’t just about the first-aid moment. It’s a full-care process, from cleaning to healing to preventing it from happening again. It may seem like a lot, but once you’ve done it once or twice, it becomes second nature—and your dog will thank you for it with healthy, happy paws.
Long-Term Paw Care: Keeping Those Pads Healthy Year-Round

Routine paw checks = happy paws
Once your dog’s cut has fully healed, don’t just forget about paw care until the next injury. In the clinic, I always encourage pet parents to make paw inspections part of their weekly routine. A quick peek between the toes, a feel for any heat or swelling, and a glance at the pads for cracks or cuts can catch problems before they become bigger issues.
I actually turn it into a mini bonding session—while watching TV, I’ll give my dog a little paw massage (they love it!) and check things over. If you notice any rough spots or thickened skin, gently filing it down or moisturizing with a vet-recommended balm helps keep things soft and smooth.
Consider trimming excess fur
Dogs with long hair between their paw pads are more likely to collect debris—think tiny pebbles, foxtails, or even gum. Yep, had that happen once in the summer. If your pup’s paws are a fluff magnet, keep that fur trimmed short. It helps them grip better too, especially on slippery surfaces.
Extra Tips for Active and Outdoor Dogs

Gear up for protection
If your dog is always on the go—whether hiking rugged trails or running on hot pavement—paw injuries might just be a matter of time unless you take some preventive steps. I recommend dog boots for pups who regularly explore rough terrain. It might take a little training to get them used to it (picture the silly “high-step” walk), but most adjust quickly.
There are lots of breathable, flexible boot options out there now that don’t interfere with movement. A good boot can protect against sharp rocks, ice-melt chemicals, and burning asphalt. I’ve fitted boots on everything from 100-pound shepherds to tiny Chihuahuas—it’s doable and worth it.
Seasonal paw care tips
- Summer: Avoid hot pavement, use protective wax balms, and walk during cooler hours.
- Winter: Watch for salt or de-icers on sidewalks, rinse paws after walks, and moisturize often to prevent cracking.
- Spring/Fall: Check for thorns, burrs, or hidden foxtails after hikes through grassy or wooded areas.
Trust me—dogs won’t always show discomfort until it’s bad. Prevention really is the name of the game when it comes to paw injuries. And if you’re unsure whether something looks normal, a quick photo and message to your vet can save you a lot of guessing (and Googling!).
Final Thoughts on How to Treat a Dog’s Cut on the Paw
Recap of the essentials
If you’ve made it this far, kudos! Paw injuries can be overwhelming at first, especially if you’re new to dog parenthood. But once you know how to treat a dog’s cut on the paw properly, the process gets less intimidating. Here’s a quick recap of what we’ve covered:
- Check the wound carefully and assess if it needs a vet’s help.
- Clean the area thoroughly and apply a dog-safe antiseptic.
- Bandage it with care—snug but not too tight.
- Prevent licking with a cone or bootie.
- Watch for signs of infection during the healing process.
- Use nutrition and supplements to support faster healing.
- Prevent future injuries with routine checks and protective gear.
And don’t forget—your dog feeds off your energy. Stay calm, talk softly, and turn care into connection. I’ve had squirmy pups completely relax in my lap once they realize you’re helping them feel better. It’s moments like that that remind me why I got into this field in the first place.
Helpful Resources & References
- American Veterinary Medical Association (AVMA)
- American Animal Hospital Association (AAHA)
- PetMD
- ASPCA
These are solid sources I personally use to stay current with pet health practices. And if you’re ever unsure about your dog’s injury or response to treatment, give your vet a call. They’re your best partner in keeping your pup safe and sound.
Disclaimer
This article is based on personal experience as a veterinary assistant and general care practices approved by licensed veterinarians. It is intended for informational purposes only and should not replace professional veterinary advice. If your dog has a severe or worsening injury, always seek help from a qualified vet.