Easy & Safe Guide on How to Flush a Dog’s Ears at Home
If you’ve ever noticed your dog scratching their ears more than usual or shaking their head like they’ve got an itch they just can’t reach, you might be wondering how to flush a dog’s ears at home. Trust me, as a Veterinary Assistant who’s worked closely with both routine care and nutrition, I’ve seen plenty of pups with ear troubles. It’s a common issue, but the good news is that with the right technique and a bit of patience, you can safely clean your dog’s ears yourself and help prevent infections before they start.
Ear health is often overlooked until it becomes a real problem. From my experience, many dog parents don’t realize that ear cleaning isn’t just about wiping away dirt—there’s a delicate balance to maintain in the ear canal to keep your furry friend comfortable and healthy. So, before you grab any random cleaner off the shelf, it’s important to understand the basics and why gentle care is essential.
Why Cleaning Your Dog’s Ears Matters
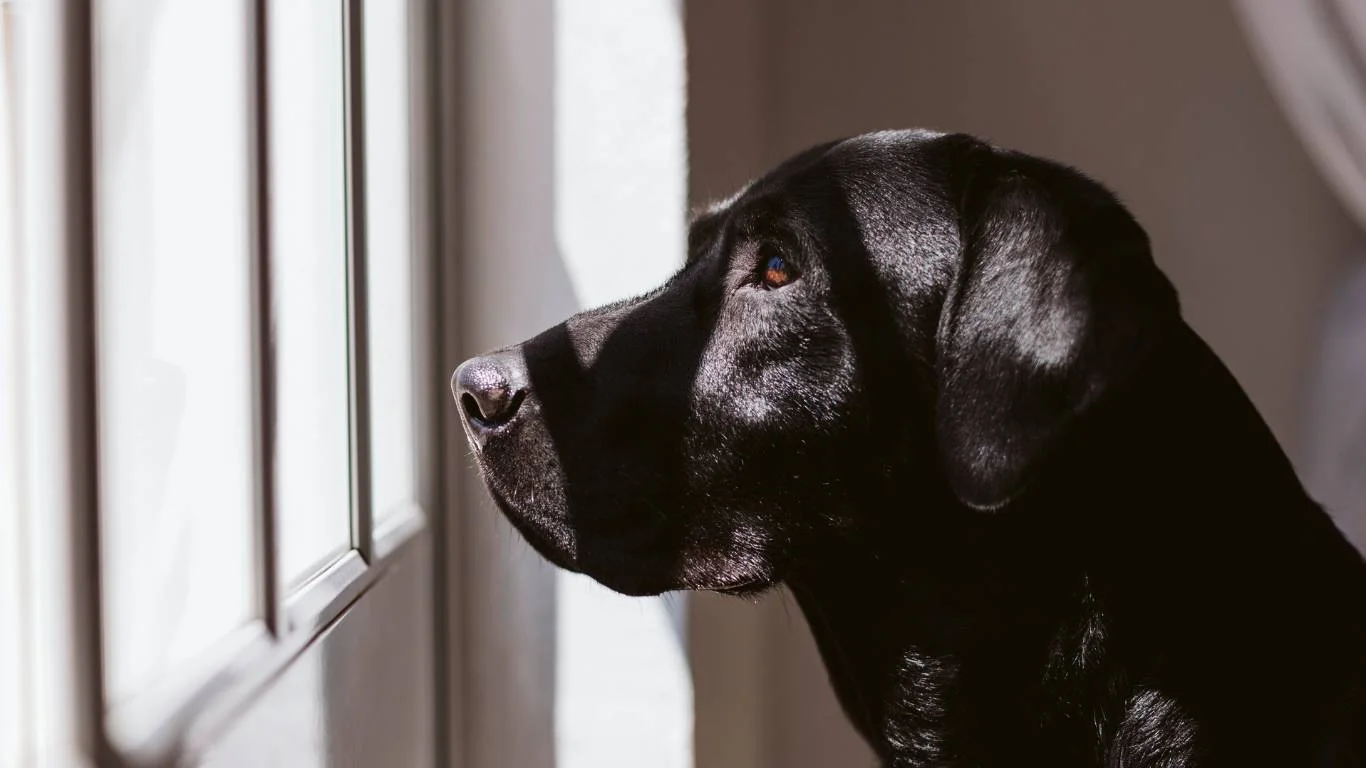
Dogs, especially those with floppy ears or who swim frequently, are more prone to ear infections. The ear canal can trap moisture, debris, and wax buildup, creating a perfect environment for bacteria and yeast to thrive. If left unchecked, this can lead to discomfort, itching, redness, and even more serious infections that require veterinary care.
From my time assisting veterinarians, I’ve learned that regular ear maintenance not only helps avoid infections but also makes your dog more comfortable overall. Plus, it’s a great bonding moment—your pup learns to trust you during grooming routines, which is invaluable for future care like vet visits or medication administration.
When to Flush Your Dog’s Ears
Not every dog needs a weekly ear flush, and sometimes over-cleaning can irritate the ear canal. Here’s what I recommend based on years of hands-on experience:
- If your dog has a history of ear infections, regular flushing is a must.
- Dogs with floppy ears or heavy fur around their ears tend to trap more dirt and moisture.
- After swimming or baths, it’s a good idea to check and gently clean the ears to prevent moisture buildup.
- If you notice signs like excessive scratching, redness, or an unpleasant odor, it’s time to take action.
Choosing the Right Ear Cleaner
One of the biggest mistakes I’ve seen is using harsh or inappropriate products on dogs’ ears. Never use alcohol, hydrogen peroxide, or homemade solutions without consulting your vet. These can cause irritation or even damage the sensitive ear lining.
Instead, opt for a vet-approved ear cleaning solution designed specifically for dogs. These products are formulated to:
- Break down wax and debris gently.
- Help dry out excess moisture.
- Maintain the natural pH balance of the ear canal.
If you’re unsure which product to choose, your veterinarian or trusted vet assistant (like me!) can help guide you based on your dog’s specific needs.
How to Flush a Dog’s Ears at Home: Step-by-Step

Ready to try flushing your dog’s ears yourself? Here’s a simple method I often demonstrate to pet parents in the clinic. It’s gentle, effective, and puts your dog’s comfort first.
- Prepare your supplies: Get your dog’s ear cleaner, some cotton balls or gauze, and a towel to catch any mess.
- Get your dog comfortable: Sit in a quiet place where your dog feels secure. If your dog is squirmy, enlist a friend to help hold them gently.
- Apply the cleaner: Hold the ear flap up and carefully squirt a small amount of the solution into the ear canal. Don’t insert the tip too far in—just near the entrance.
- Massage the base: Gently massage the base of the ear for about 20-30 seconds. You’ll often hear a squishing sound—that’s the cleaner loosening wax and debris inside.
- Let your dog shake: Allowing your dog to shake their head helps bring the loosened gunk up.
- Wipe away debris: Use the cotton ball or gauze to wipe out any visible dirt or cleaner from the ear flap and entrance. Avoid pushing anything deep into the canal.
Remember, patience and calm energy are key. If your dog resists, take breaks and try again later. Over time, this will become a stress-free part of your routine.
Common Mistakes to Avoid When Flushing Your Dog’s Ears

From my experience working alongside veterinarians, I’ve seen quite a few well-meaning pet parents accidentally make things worse by rushing or using improper techniques when cleaning their dog’s ears. So, before you dive in, let’s talk about some common pitfalls and how to avoid them.
- Using cotton swabs: It’s tempting to reach for a Q-tip to clean deep inside the ear canal, but this can actually push debris further in or cause damage. I always tell people to stick with cotton balls or gauze—something soft and safe.
- Over-cleaning: Your dog’s ears produce wax for a reason. Cleaning too often or too aggressively can strip away protective oils and lead to irritation or infections. Usually, once every 1-2 weeks is enough unless your vet says otherwise.
- Ignoring signs of infection: If your dog’s ears are red, swollen, or smell bad, flushing alone won’t fix the problem. This is where veterinary care is crucial. I’ve helped countless dogs who needed medication and professional cleaning to get back to normal.
- Choosing the wrong cleaner: Some human ear products or harsh chemicals can cause serious irritation. Always use a vet-recommended cleaner formulated specifically for dogs.
Getting these basics right is key to keeping your pup’s ears happy and healthy. Trust me, a little care goes a long way, and your dog will thank you with less scratching and more tail wags.
How Often Should You Flush Your Dog’s Ears?
This question comes up all the time. The answer really depends on your dog’s breed, lifestyle, and ear health history. Here’s what I usually advise based on what I’ve seen in the clinic and from my own experience:
- Routine maintenance: For most healthy dogs, flushing the ears every 2-4 weeks is enough to prevent wax buildup.
- High-risk breeds: Dogs with floppy ears, like Cocker Spaniels or Basset Hounds, or those prone to allergies may need weekly cleanings.
- Active dogs: If your dog swims regularly or gets dirty often, flushing after activity can help keep moisture and debris at bay.
- After vet visits: If your veterinarian has treated an infection, they’ll usually provide a cleaning schedule to follow until the ears heal.
Consistency is important, but always tailor your approach to your dog’s unique needs. You know your furry friend best, and learning to read their signals will help you decide when a cleaning session is due.
Signs Your Dog’s Ears Need Extra Attention
Sometimes, your dog’s ears will give you clear hints that they need some extra care. Here are a few signs I always remind pet owners to watch for:
- Frequent scratching or pawing at the ears
- Head shaking or tilting
- Redness or swelling around the ear flap or canal
- Unpleasant odor coming from the ears
- Discharge or crusting inside the ear
- Signs of pain when touching the ear
If you spot any of these, it’s a good idea to check in with your vet. Sometimes an infection or ear mite problem needs more than just home flushing.
Additional Tips for a Smooth Ear Cleaning Experience
Helping your dog stay calm during ear cleaning can make a huge difference. Here are a few tricks I’ve picked up over the years that really help:
- Choose a calm time: Try cleaning ears when your dog is relaxed, like after a walk or playtime.
- Use positive reinforcement: Treats, praise, and gentle petting can turn ear cleaning into a positive experience.
- Take breaks if needed: If your dog gets fidgety or stressed, pause and try again later rather than forcing it.
- Use gentle lighting: A well-lit area helps you see what you’re doing without making your dog anxious.
- Keep tools handy: Have your cleaner, cotton balls, and treats ready before starting to avoid scrambling mid-clean.
Over time, your dog will start associating ear cleaning with comfort and rewards, making future sessions easier for both of you. In fact, many of my clients tell me their dogs now come to them with their ears already “presented” for cleaning!
When to See the Vet: Knowing the Limits of At-Home Ear Flushing
While flushing your dog’s ears at home is a great way to maintain ear health, it’s crucial to recognize when it’s time to get professional help. In my years assisting veterinarians, I’ve seen cases where home care was helpful but not enough—and waiting too long could lead to serious complications.
If your dog shows any of the following signs, it’s time to schedule a vet visit:
- Persistent redness or swelling inside the ear
- Discharge that’s thick, yellow, green, or foul-smelling
- Intense scratching or head shaking that doesn’t improve
- Signs of pain or sensitivity when touching the ear
- Hearing loss or unusual behavior indicating discomfort
These symptoms often indicate infections, mites, or allergies that require diagnosis and targeted treatment. A vet will typically examine the ear canal with an otoscope and may take samples to identify the exact cause. Based on that, they can recommend medicated drops, oral medications, or professional cleaning.
From my own experience working alongside vets, early intervention makes a huge difference in recovery. Plus, vets can show you proper techniques or product recommendations tailored specifically to your dog’s needs, so you feel confident managing ear health at home moving forward.
Preventive Tips Beyond Ear Flushing
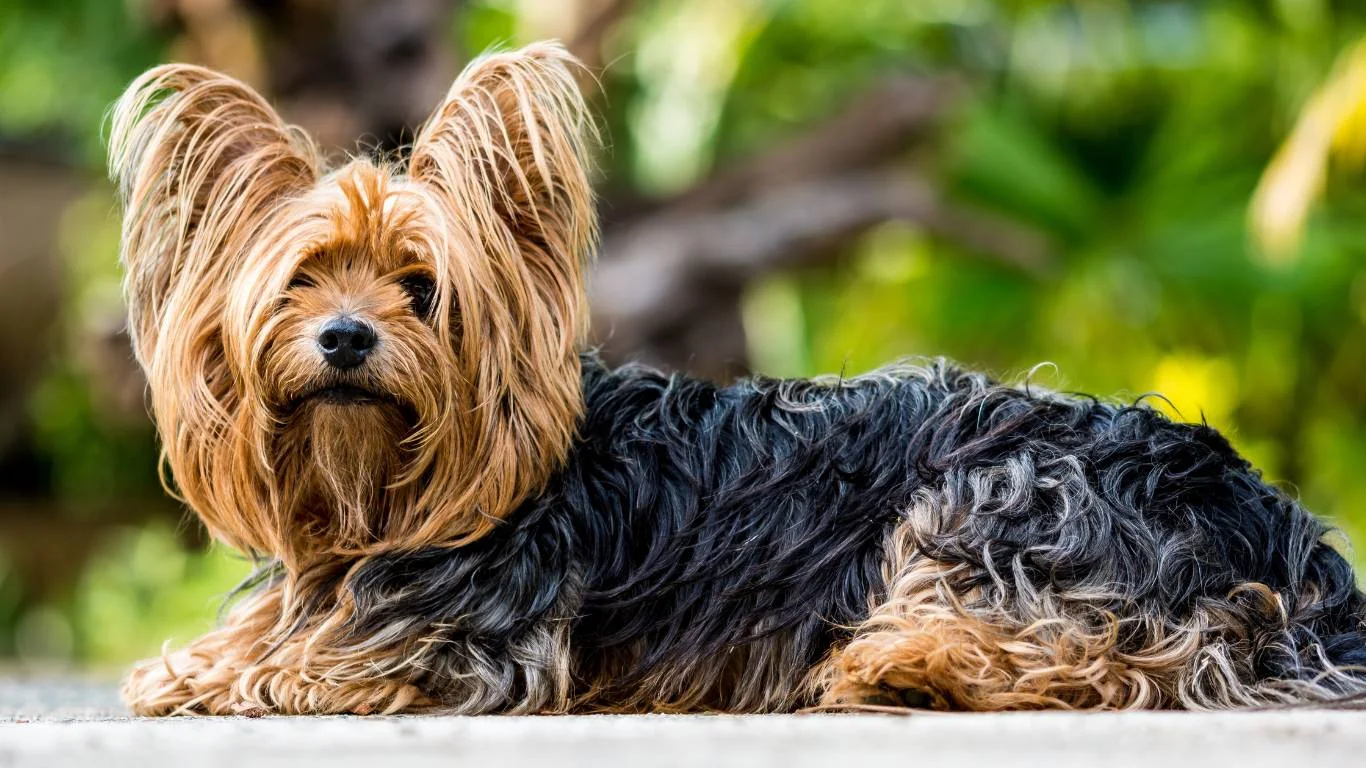
Flushing the ears is just one piece of the puzzle when it comes to preventing ear issues. Here are some additional tips I always share with dog owners to keep ears healthy and infection-free:
- Keep your dog’s ears dry: After swimming or baths, gently dry the ears with a towel and, if your vet recommends, use a drying ear solution to prevent moisture buildup.
- Regular grooming: For dogs with lots of hair around or inside their ears, keeping that area trimmed can improve airflow and reduce debris accumulation.
- Balanced nutrition: A healthy diet supports your dog’s immune system, making them less prone to infections. I always stress this in my role working with nutrition-focused care.
- Check ears often: Make ear inspections a part of your routine—catching early signs means easier treatment.
- Avoid irritants: Keep your dog away from allergens or harsh chemicals that can trigger ear problems.
Consistent care paired with a good flushing routine is your best bet for happy, itch-free ears.
Wrapping Up Your Ear Care Routine
From my hands-on experience as a Veterinary Assistant, I can confidently say that learning how to flush a dog’s ears at home properly empowers you to play an active role in your dog’s health. It’s a simple, effective step that prevents a lot of discomfort and vet visits down the road.
Remember, patience and gentleness are your allies. Use vet-approved products, pay attention to your dog’s cues, and don’t hesitate to seek professional help when needed. Your dog’s ears will thank you with less scratching and more wagging!
If you’re ever unsure about what’s normal or how to proceed, chatting with your veterinarian or a trained vet assistant (like me!) can make a huge difference.
References
- American Veterinary Medical Association (AVMA)
- American Animal Hospital Association (AAHA)
- Cornell University College of Veterinary Medicine
Disclaimer
This article is intended for informational purposes only and does not replace professional veterinary advice. Always consult your veterinarian before starting any new treatment or if your dog shows signs of ear infection or discomfort.
