How to Create a DIY Dog Washing Station That Actually Works
If you’ve ever tried wrangling a muddy, wiggly pup into your bathtub after a romp at the park, you know the chaos all too well. Trust me, as someone who’s worked with dogs for years—not just in clinics, but also coaching pet parents on canine nutrition and wellness—I’ve seen more than my fair share of messy furballs. That’s why learning how to create a DIY dog washing station isn’t just a fun weekend project—it’s an absolute game-changer. Whether you’re dealing with a Great Dane who thinks he’s a lapdog or a terrier who lives to dig, having a space dedicated to bath time can make the whole process smoother, cleaner, and way less stressful for both of you.
Why a DIY Dog Washing Station is a Total Game-Changer
Here’s the deal: grooming your dog at home can actually be enjoyable—yes, really—if you’re set up for success. Most of us have struggled with bathroom splash zones, awkward hose situations, or dogs launching themselves out of slippery tubs. It’s not fun, it’s not efficient, and frankly, it can be risky for your pup. With a thoughtfully designed washing station, you get:
- Less mess – Water stays where it belongs (more or less!).
- Better ergonomics – Save your back and knees.
- Increased safety – No more slick tiles or wrestling matches.
- Time saved – Having everything organized means fewer mid-bath scrambles for supplies.
From my experience in veterinary settings, particularly when working with older dogs or pets with joint issues, even something as simple as a raised platform or slip-resistant surface can make all the difference in their comfort and mobility during bath time.
Planning the Perfect Spot

Indoors vs. Outdoors
First things first—where’s this washing station going to live? That’ll depend on your space, your dog’s size, and your climate. I personally love an outdoor setup (less cleanup inside!), but there are definitely pros and cons to both.
- Outdoor Stations: Great for large breeds and heavy shedders. Perfect if you’ve got a yard and good weather.
- Indoor Stations: Ideal for year-round use, especially in colder regions. Laundry rooms, mudrooms, or even garages work well here.
If you’re outside, make sure there’s access to a hose and some drainage. For indoor setups, having a nearby water source and proper waterproofing is a must—unless you like the idea of soggy drywall (been there, done that…not fun).
Things to Consider Before You Build
Before you grab your toolbox or head to the hardware store, take a moment to think through the following:
- Dog Size: Bigger dogs need more room and stronger platforms.
- Frequency of Use: If you’ve got a dog who loves mud puddles, a more durable setup will pay off.
- Your Mobility: Think of your knees and back. Raising the tub/platform a bit can really help.
- Water Source: You’ll need warm water, so a garden hose splitter with a hot tap adaptor is gold for outdoor stations.
Oh—and don’t forget drainage. That’s one of the biggest things I emphasize when advising clients. It doesn’t matter how pretty your station is if it turns into a flooded mess every time you use it.
Basic Tools and Materials You’ll Need
This doesn’t have to break the bank. Honestly, a lot of what you need might already be hanging around your garage. Here’s a quick supply rundown to help get you started:
For the Washing Platform:
- Plastic utility tub or elevated kiddie pool
- Wooden pallets or cinder blocks (to elevate tub)
- Rubber matting or non-slip liner
For Plumbing and Water:
- Garden hose with spray nozzle
- Y-connector splitter with hot/cold hook-ups (for outdoor use)
- Shower head attachment with long hose (for indoor use)
Extras That Make Life Easier:
- Towel hooks or basket
- Shampoo caddy or shelving
- Grooming arm or tether loop (for squirmy pups)
Over the years, I’ve seen pet parents get super creative—using everything from old bathtubs to stainless steel restaurant sinks! One client even used a plastic sled as a water basin in winter. It’s all about using what fits your budget, your dog, and your space.
Creating a Functional Layout
Okay, now that you’ve got the gear, where do you put it all? Think workflow. You don’t want to be lugging wet dogs across the yard or house because you forgot the shampoo. I usually recommend setting up your washing station in a way that mimics what we do in vet clinics and grooming salons—flow from dry to wet, then clean to dry again.
Suggested Layout Tips:
- Entry area: A spot for your dog to wait or get leashed in.
- Bathing zone: Tub or platform with easy access to water and shampoo.
- Drying zone: A clean towel area, possibly with a blower or grooming table.
Even a little organization makes a big difference. When everything’s in its place, bath time becomes less of a wild rodeo and more of a bonding session. I like to keep my dog’s favorite treats close too—it turns a dreaded bath into something she actually looks forward to (well, almost).
Making It Comfortable for Your Dog
Let’s talk dog comfort for a sec—because no matter how cool your setup looks, if your pup’s stressed out, bath time becomes a chore. I’ve worked with dogs who would rather wrestle a vacuum than step into a tub. Sound familiar? Creating a safe, cozy environment makes all the difference. A few simple adjustments can take the fear factor way down.
Surface Matters
Slipping is a biggie. Dogs naturally panic when their footing isn’t solid. One quick fix I always recommend is lining your station with a rubber mat or textured grip pad. Not only does it keep your pup steady, but it also protects the bottom of your tub or platform. You can even grab one of those anti-fatigue mats from a hardware store—they work wonders for your knees too.
Water Temperature
Here’s one that gets overlooked a lot: water that’s too hot or too cold can seriously stress out your dog. You want it just warm enough—lukewarm, really. I always do the wrist test (like checking a baby bottle). If it feels comfy to your skin, it’ll probably be just right for your pup.
Keep It Calm
I’ve found that soft background music, talking in a low voice, and even using lavender-scented sprays nearby (never directly on the dog!) can really help soothe nervous dogs. One of my frequent canine clients, a senior pit mix named Rufus, used to tremble through baths. Adding a lick mat smeared with peanut butter changed everything—now bath time = snack time in his mind.
DIY Dog Washing Station Ideas for Every Budget
No need to drop hundreds of dollars on a fancy setup. Whether you’re a DIY queen or just handy with a drill, you can totally tailor your washing station to your budget. I’ve seen clients go full HGTV with tiled outdoor dog showers, and others rock a $40 setup that gets the job done just as well.
Budget-Friendly Options
- Plastic kiddie pool + hose nozzle: You can grab both for under $50. Add a crate pad or non-slip mat and you’re golden.
- Repurposed utility sink: Great for small to medium dogs. Check local listings—people give these away all the time.
- DIY platform with wooden pallets: Elevate a tub or basin with some wood planks and voila—back-friendly bathing.
Mid-Range Builds
- Raised wash bay: Use a plastic storage bin or fiberglass washtub set on a custom wood frame.
- Indoor tiled dog shower: Perfect if you’re renovating. A small corner with a hand-held sprayer and proper drainage does the trick.
- Portable dog grooming table with tub: These start around $150 and give you height, stability, and security for the dog.
High-End DIY Projects
- Outdoor plumbing hookups: Have a plumber split off hot/cold lines to your yard. You’ll get pro-level water control year-round.
- Built-in grooming station: Think tiled walls, drain, water-proof lighting—yes, people really do this!
- Custom cabinetry and storage: Add drawers for shampoo, towels, nail clippers, brushes… It becomes your grooming HQ.
Honestly, the biggest success stories I’ve seen come from setups where people worked with what they had—old tables, barrels, salvaged tubs. As long as it’s safe, sturdy, and easy to clean, it works. And that personal touch? It matters.
Safety Tips You Shouldn’t Skip
As someone who’s handled hundreds of dogs—many with injuries or anxiety—I can’t stress this enough: safety first, always. Your DIY station can be cute, clever, and convenient, but it also needs to be secure.
Anchoring and Restraints
Even the best-behaved pups can panic during a bath. That’s why I always recommend installing a grooming loop or tether to keep them steady. You can easily attach one to the wall or tub using a carabiner clip. Just make sure it’s a quick-release style in case you need to free them fast.
Waterproof Electrical Safety
Be super careful with power cords, blow dryers, or heaters near water. Always use GFCI outlets (they shut off automatically if there’s a fault) and keep anything electric far from splash zones. Trust me—you don’t want sparks flying when your dog shakes off a gallon of water.
Disinfecting and Drying
This one’s especially important if you have multiple dogs or your pup has skin sensitivities. After every use, I give my station a wipe-down with a pet-safe disinfectant and rinse well. Then I let it air dry, or towel it off if I’m in a rush. Clean station = healthy skin and coat.
First Aid Nearby
It might sound over-prepared, but I keep a mini first aid kit near my station—styptic powder for quick nail bleeds, antiseptic spray, and even extra towels for drying or wrapping. It came in clutch once when a client’s dog slipped off a platform (he was okay, but we both learned a lesson).
Organizing Your Supplies
You don’t want to be digging through drawers or yelling for someone to bring the conditioner mid-bath. Keeping your dog washing station organized not only saves time but also makes the whole process smoother for your pup.
My Go-To Organization Hacks:
- Wall-mounted shower caddies: Perfect for shampoo, conditioner, brushes, and even paw balm.
- Towel hooks and baskets: I keep separate towels for drying and paw wiping (yep, I’m that person).
- Label everything: Especially helpful if multiple people use the station. I’ve seen too many pets get bathed in flea shampoo by mistake.
- Rolling utility carts: These are awesome for keeping everything mobile, especially if your station’s outdoors or in the garage.
One of my clients mounted mason jars on a wooden board to hold combs, scissors, cotton balls—you name it. It looked like something straight off Pinterest and worked like a charm. The point is, the more accessible your stuff is, the less chance you’ll end up shampooing your dog twice because you forgot the rinse bottle (true story).
Bathing Techniques That Actually Work

Alright, now that your DIY dog washing station is set up and fully stocked, let’s talk technique. Because no matter how tricked-out your space is, if your bath routine is chaotic, you’re still gonna end up soaked and stressed (been there way too many times!). After years of scrubbing pups professionally and helping pet parents master the art of at-home grooming, I’ve picked up a few bathing hacks that actually make a difference.
Start Slow and Positive
Especially for new dogs, rescues, or puppies, your first few bath sessions should be gentle introductions rather than full-on scrubs. Let them sniff around the area, reward calm behavior with treats, and never rush the process. Some dogs may need a few dry runs (no pun intended!) before they’re cool with standing in water.
Rinse Before Shampoo
I always start by thoroughly wetting the coat, working from the neck down. Avoid spraying directly on the head or ears right away—that’s a trust breaker for a lot of dogs. Once the coat is soaked, you’ll need far less shampoo, and it spreads easier.
Use the Right Shampoo
Not all dog shampoos are created equal. If your pup has skin issues or allergies (which I saw constantly in clinical practice), talk to your vet about a medicated or hypoallergenic formula. Avoid anything with artificial dyes or heavy perfumes. Some great resources for vet-recommended shampoos include PetMD and AKC.
Scrub Strategically
- Neck first: This prevents fleas or dirt from escaping to the head area.
- Pits and paws: These areas trap grime and allergens.
- Tail and bum: Often skipped but super important, especially for fluffy breeds.
One of my clients, a sweet Labrador with chronic hot spots, used to dread baths. We found that gentle circular motions with a silicone grooming brush made him feel like he was getting a massage instead of a scrub. Huge win.
Drying Done Right
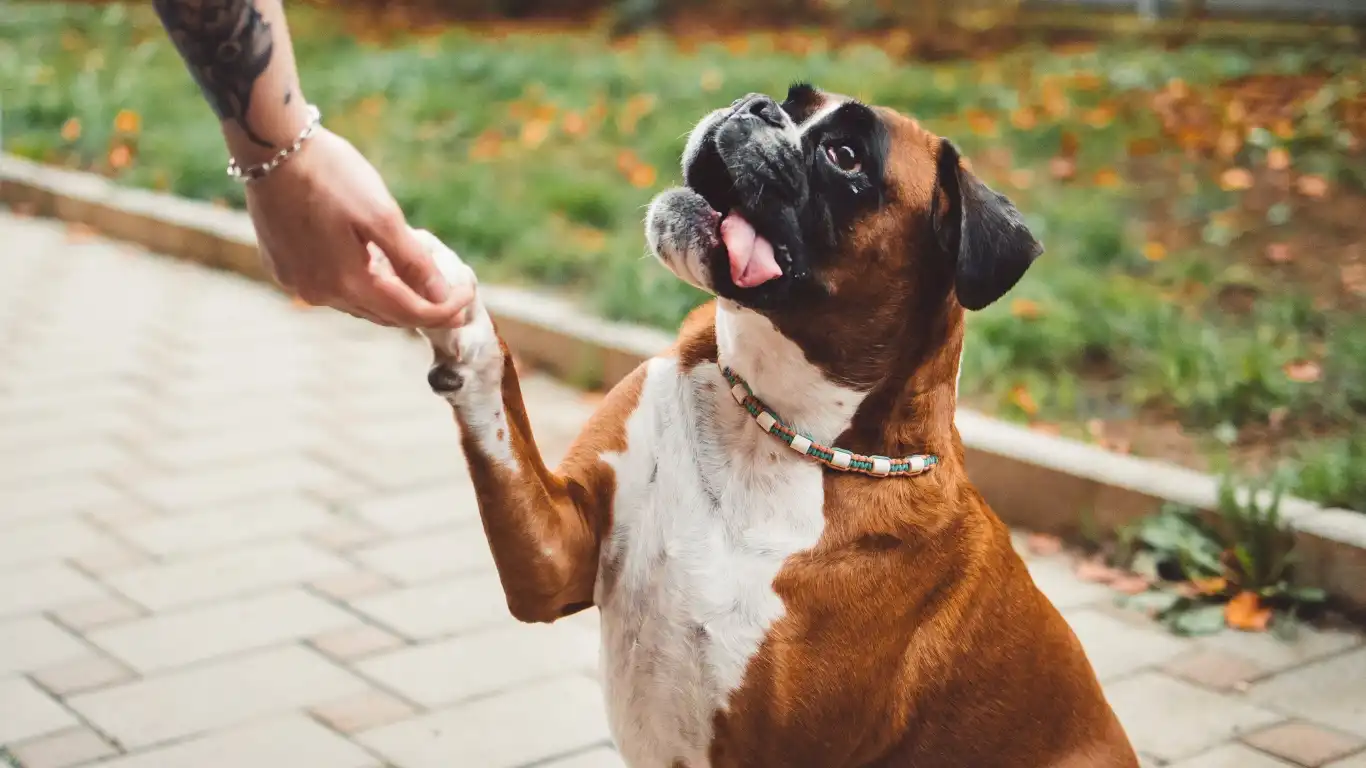
Drying your dog properly is just as important as washing them. Moisture trapped in the undercoat can lead to skin problems—especially in thick-coated or double-coated breeds. And let’s be real, nobody wants a damp dog rolling around on the furniture.
Towel Dry First
I like to start with a couple of thick microfiber towels—super absorbent and way faster than regular ones. I’ll gently squeeze water out rather than rubbing (less frizz, less tangling). For big dogs, one towel isn’t going to cut it. I always keep at least two on hand, sometimes three if I’m dealing with a husky or golden retriever.
Blow Dry the Smart Way
If your dog tolerates it, a blow dryer set to low heat and low speed can really speed things up. Make sure it’s a pet dryer, or a human dryer used with extreme care. Keep it moving constantly—never focus heat in one spot too long. For anxious dogs, towel drying may be the better route until they’re desensitized to the noise.
Don’t Forget the Ears and Paws
Water tends to hide in those crevices. I’ll gently dab the ears with a cotton pad (never a Q-tip!) and dry between the paw pads. Moisture there can lead to yeast buildup or fungal infections—something I’ve seen more times than I can count in clinic visits.
Maintaining Your Washing Station
Okay, so your dog’s squeaky clean—but what about your setup? Keeping your DIY dog washing station in top shape is key to making bath time smooth every single time. A little regular maintenance can prevent mold, soap scum, and funky smells from taking over.
Quick Post-Bath Routine
- Rinse the tub and mat thoroughly: Soap residue can irritate your pup’s skin on the next use.
- Wipe down all surfaces: Use a pet-safe disinfectant. I like to let everything air dry afterward.
- Check drains and filters: Hair build-up can clog things fast. I use a mesh drain trap and empty it every time.
Weekly Deep Clean
Once a week (or more, if you’ve got multiple dogs), give the whole area a scrub down. That includes wiping shelves, emptying and cleaning storage bins, and refreshing towels and brushes. If your dog has had fleas, skin infections, or diarrhea recently, disinfect immediately after the bath using something vet-approved like chlorhexidine.
When to Skip the DIY and Call a Pro
While I love helping pet parents take grooming into their own hands, there are times when calling in a professional is 100% the right move. I’ve had plenty of moments—even as a vet tech—where I said, “Yup, time to phone the groomer.”
Situations That May Warrant a Pro:
- Heavy matting: Trying to detangle severe mats at home can hurt your dog.
- Behavioral issues: If your dog gets aggressive or extremely stressed, safety comes first.
- Medical skin conditions: Some shampoos require special application techniques or timing.
- Breed-specific grooming: Poodles, doodles, schnauzers… they’ve got haircuts I wouldn’t even try myself.
Professional groomers are trained to handle squirmy, anxious, or high-maintenance dogs safely and efficiently. If you’re unsure, ask your vet or check groomer reviews on trusted platforms like PetMD.
Final Thoughts
Building your own dog washing station at home doesn’t need to be intimidating or expensive. With the right setup, a little prep, and a calm approach, bath time can go from dreaded to delightful—for both of you. I’ve helped countless clients over the years set up their own stations, and I can tell you this: it’s one of the best investments in your dog’s wellness and your sanity. Not to mention, way easier on your back!
Every pup is different, so don’t worry if it takes a few tries to get it right. Start simple, keep it positive, and most importantly—have fun with it. Your dog will thank you, even if it’s with a wet shake to the face!
Disclaimer
This article is based on personal experience and general best practices in dog grooming and veterinary care. It is not intended to replace professional veterinary advice. For specific health or behavioral concerns, always consult your veterinarian or a certified pet care specialist. For more information on pet health and grooming, visit AKC or NIH.

