How to Train a Dog to Accept Nail Trimming with These Simple Tips
As a Certified Professional Dog Trainer (CPDT-KA), I’ve worked with countless dogs who dread having their nails trimmed. It’s one of those grooming tasks that can be a real struggle for both the dog and the owner. If you’ve ever been on the receiving end of a dog that fights tooth and nail (pun intended!) when it’s time for a trim, you know exactly how stressful this can be. But don’t worry! With the right approach, you can teach your dog to accept nail trimming, and make the whole process less of a battle. In this guide, I’ll walk you through the steps on how to train a dog to accept nail trimming without the stress and anxiety—both for you and your dog.
Understanding Why Dogs Dislike Nail Trimming
Before diving into training tips, it’s essential to understand why dogs tend to resist nail trimming in the first place. While it might seem like your dog is just being stubborn or difficult, there are often deeper reasons for their reaction.
Fear of the Clippers
For many dogs, the sight or sound of nail clippers can be frightening. Dogs have incredibly sensitive hearing, so the sharp click of nail clippers might be unsettling for them. Moreover, if they’ve had a negative experience in the past—like the clipper accidentally catching their nail—they’ll associate the tool with fear and pain. This is especially true for dogs who haven’t been exposed to nail trimming at an early age or have had past traumatic experiences during grooming sessions.
Unfamiliar Sensations
Nail trimming is an invasive process for most dogs. Many dogs aren’t used to having their paws touched or handled for long periods. The sensation of having their nails clipped can feel weird or uncomfortable, which is why they resist. It’s not that they’re “misbehaving,” but rather they’re reacting to something unfamiliar and potentially uncomfortable.
Preparation: Creating a Calm Environment for Nail Trimming

One of the first steps in training your dog to accept nail trimming is setting up a calm, stress-free environment. Just like any other aspect of dog training, the environment you create will make a huge difference in how your dog responds. A quiet, distraction-free area where your dog feels safe and comfortable is ideal for this training session. Avoid areas with high traffic or noisy appliances that could create unnecessary anxiety for your dog.
Choose the Right Time
Timing is crucial. It’s important to choose a time when your dog is relaxed and calm. If your dog is already full of energy from a long walk or playtime, they might not be in the best state of mind for a nail trimming session. On the flip side, trying to trim your dog’s nails when they’re too tired or irritable could backfire as well. The best time to trim nails is usually after they’ve had some time to wind down but are still alert enough to stay engaged with you.
Have the Right Tools Ready
Make sure you have everything you need before you start. Having the right equipment on hand—whether it’s a pair of clippers, a grinder, or styptic powder in case of an accidental cut—will help things go smoothly. It’s also a good idea to have a few tasty treats nearby, as rewards will play an essential role in the process. Positive reinforcement is key to making nail trimming a more enjoyable experience for your dog.
Desensitizing Your Dog to the Process
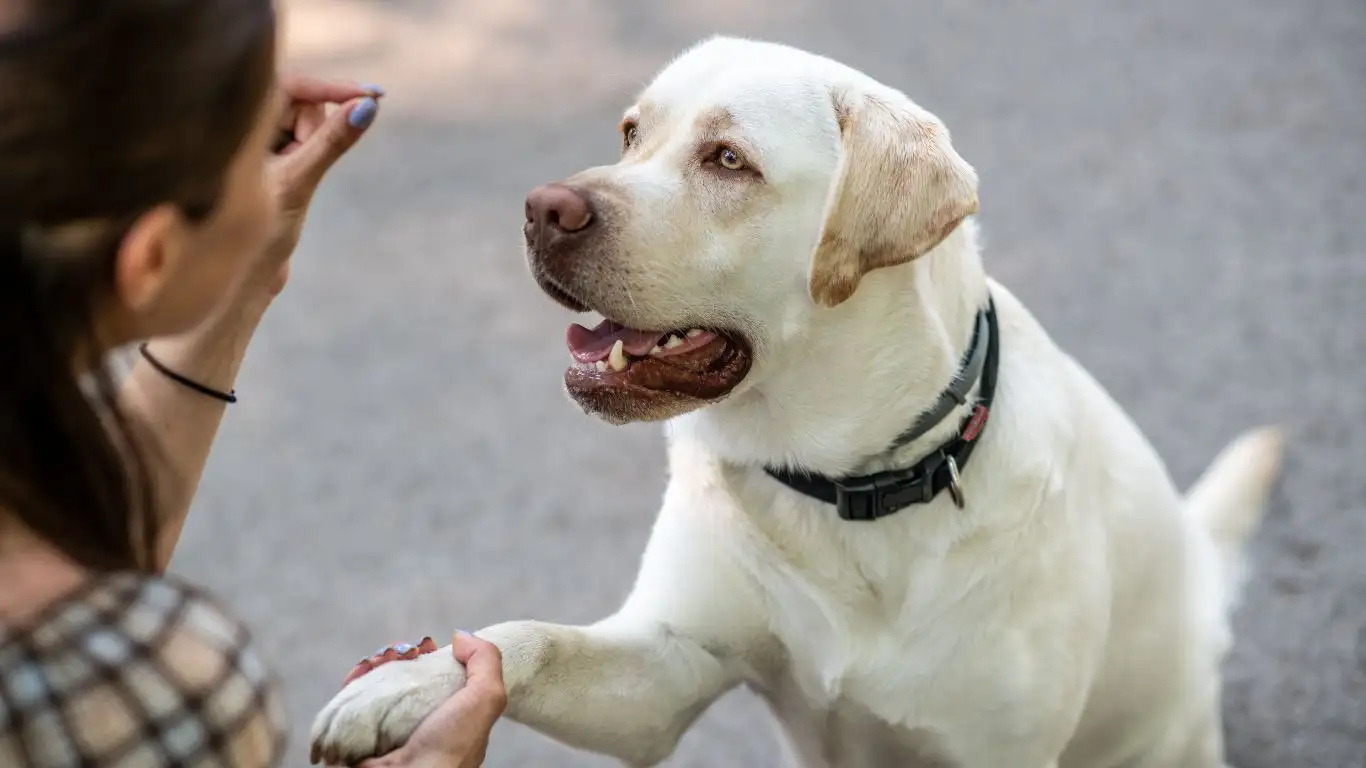
Desensitization is one of the most effective methods I use in my training sessions to help dogs become more comfortable with nail trimming. This process involves gradually getting your dog used to the idea of having their paws handled and nails clipped, one step at a time. If you try to rush this process, you may end up causing more anxiety for your dog, which will make training harder in the long run.
Step 1: Handle Your Dog’s Paws
The first step in the desensitization process is to get your dog comfortable with having their paws touched. Some dogs are naturally sensitive in this area, and they may resist even a gentle touch. Start by softly petting and massaging your dog’s paws during relaxed moments, such as while they’re lounging on the couch or resting in their bed. This will help your dog get used to the sensation of having their paws touched without the added stress of the clippers.
Step 2: Introduce the Clippers Gradually
Once your dog is comfortable with paw handling, it’s time to introduce the clippers. However, don’t go straight for the nails just yet. Start by showing your dog the clippers without using them. Let them sniff the clippers and get familiar with them. Reward your dog with treats and praise when they show curiosity or calmness around the tool. If your dog shows signs of fear (like backing away or growling), take a step back and give them more time to get comfortable before moving forward.
Step 3: Mimic the Clipping Motion
Next, mimic the motion of clipping without actually cutting your dog’s nails. Hold the clippers near their paws, but don’t clip yet. You can even practice clipping a piece of paper or a dog nail trimming toy to let your dog hear the sound of the clippers without the pressure of actually cutting their nails. Over time, they’ll get used to the noise and the motion, which will reduce their fear.
Step 4: Start with One Nail at a Time
Now that your dog is getting used to the process, it’s time to start trimming their nails—one at a time. Begin with just one nail per session. If your dog stays calm, reward them with lots of praise and treats. If they show signs of stress or discomfort, don’t force it. Take a break and try again later, gradually building up to trimming all the nails in multiple short sessions.
Increasing the Duration of Nail Trimming Sessions
At this point in your training, your dog is getting comfortable with the clippers, and you’re gradually trimming their nails. But just like any other skill, consistency and patience are key. It’s important to slowly increase the duration of each nail trimming session to help your dog build tolerance to the process. In my experience, dogs tend to do better when you keep the sessions short and stress-free, gradually working up to more prolonged grooming sessions.
Keep It Short and Sweet at First
At the beginning of this training, it’s crucial to keep each session short. I usually recommend trimming just one or two nails at a time, depending on how your dog reacts. You don’t want to overwhelm them with too many nails at once, especially if they’re still getting used to the sensation. Each positive experience will help build your dog’s confidence and make them more willing to tolerate longer sessions in the future.
Gradually Add More Nails
Once your dog is calm with one or two nails, you can start trimming more nails per session. This gradual increase in the number of nails is essential to prevent overwhelming your dog. Every time you complete a successful session, praise your dog and offer a tasty treat. This positive reinforcement strengthens the connection between the nail trimming process and good things happening for your dog.
Take Breaks When Needed
If at any point during a session your dog starts showing signs of stress or anxiety, it’s okay to take a break. It’s better to stop and try again later than to force the process, which could make your dog more fearful. Some dogs need several breaks during a session before they’re able to stay calm for a full trim. Taking the time to reset, let your dog relax, and try again can go a long way in making them more comfortable with the process.
Addressing Common Nail Trimming Challenges
Even with all the preparation and gradual steps, you might run into a few hiccups along the way. Every dog is different, and some may have more challenges than others when it comes to accepting nail trimming. In this section, I’ll cover some common issues you may encounter and offer tips on how to handle them.
Dogs Who Are Too Nervous or Stressed
If your dog is incredibly nervous or stressed, it’s important to approach the training with even more patience. Some dogs, especially those with a history of trauma or anxiety, may take longer to warm up to nail trimming. In these cases, I suggest using extra calming techniques like a calming spray or anxiety wrap. These products can help to soothe your dog and make them feel more comfortable during grooming sessions.
Additionally, try playing calming music in the background or using a pheromone diffuser to create a calming environment. I’ve had great success with these tools in my training sessions, especially with nervous or highly anxious dogs. Keep in mind that for these dogs, the training will likely take longer, and that’s perfectly okay.
Hyperactive Dogs Who Can’t Sit Still
On the flip side, some dogs are simply too energetic to sit still for the entire nail trimming process. If you have an active or high-energy dog, you might need to burn off some of their energy before starting the session. A quick game of fetch or a brisk walk beforehand can help them settle down enough to focus during the trim.
If your dog is still having trouble staying still, you can also try using a calm and gentle restraint technique. I often recommend having a second person hold the dog’s body in place (gently and without causing stress) while you trim their nails. This can help them stay in a stable position and prevent them from moving too much.
Dealing with Quicked Nails
Sometimes, despite all our efforts, accidents happen, and a nail can get “quicked”—meaning you accidentally cut into the quick (the blood vessel inside the nail). If this happens, your dog may associate nail trimming with pain, making future trims even harder. If your dog’s nail starts bleeding, apply styptic powder immediately to stop the bleeding. Keep calm, and make sure your dog knows this is a one-time accident.
To minimize the risk of quicking a nail, I recommend using clippers that are specifically designed for dogs, as they can give you more control. Alternatively, some owners prefer using a nail grinder instead of clippers. A grinder can help smooth out the nail and reduce the chance of cutting into the quick, as it’s easier to control and less likely to cause an accidental cut.
Building Positive Associations with Nail Trimming
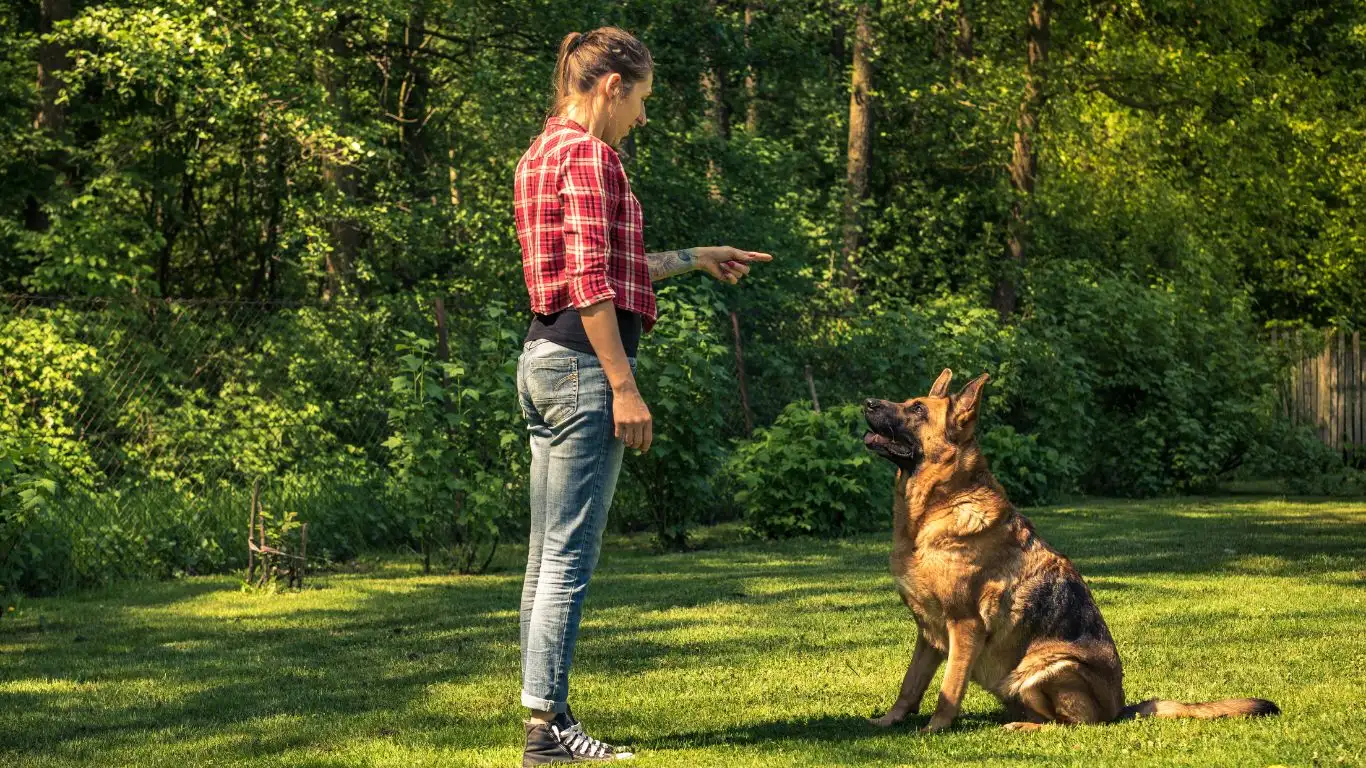
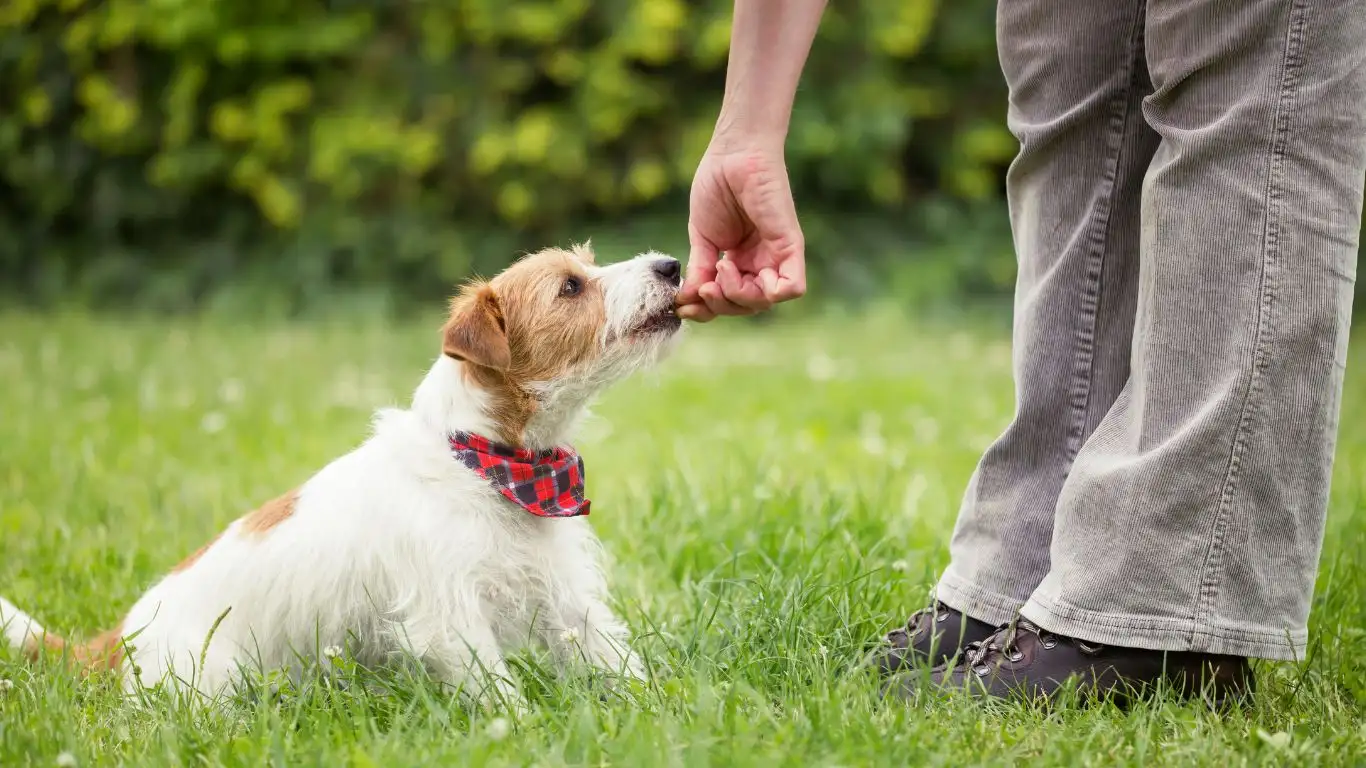
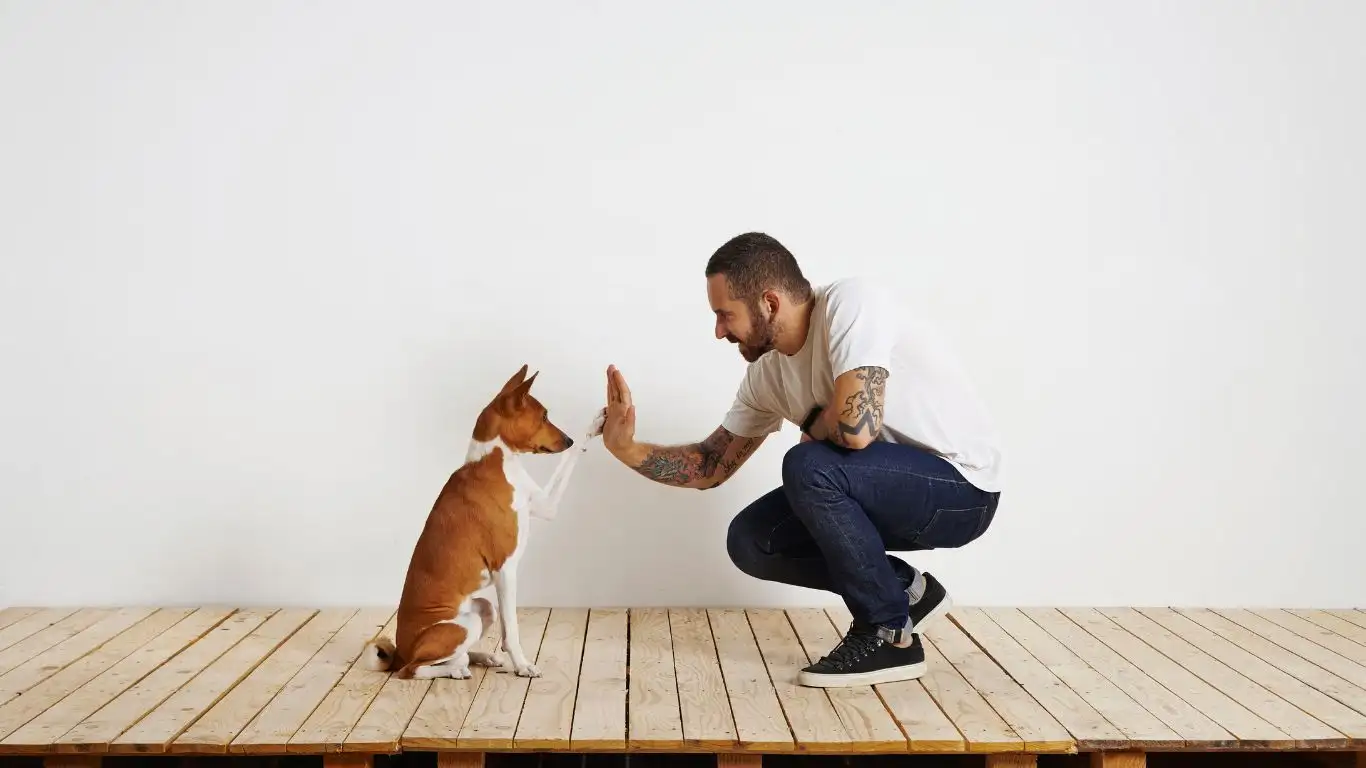
One of the best ways to make nail trimming more manageable for your dog is to build positive associations. Dogs learn quickly through repetition and positive reinforcement, so it’s important to turn each nail trimming session into a rewarding experience. In my training sessions, I make sure to provide lots of praise, treats, and playtime after each successful trim to reinforce the idea that nail trimming is a good thing.
Use High-Value Treats
When you’re trying to teach your dog to accept nail trimming, high-value treats are a must. I recommend using treats that your dog absolutely loves—something that will grab their attention and motivate them to stay calm. It’s important that the reward is something they don’t get every day, as this makes it more exciting and worth working for. Think of treats like chicken, cheese, or special training treats your dog can’t resist!
End Each Session on a Positive Note
Whenever you finish trimming your dog’s nails, always end the session on a high note. Play with them for a few minutes, give them their favorite toy, or offer them a treat. This will help your dog associate the nail trimming process with positive outcomes. The more they look forward to the rewards after each session, the more they’ll be willing to cooperate during future trims.
Over time, as your dog associates nail trimming with positive experiences, they’ll be less anxious and more accepting of the process. The key is to be patient, consistent, and to keep building on small victories. The more you practice, the easier it will become, and soon enough, your dog will look forward to their grooming sessions!
Keeping Nail Trimming a Routine Part of Grooming

Now that your dog is becoming more comfortable with nail trimming, the next step is to make it a consistent part of their grooming routine. Just like brushing their teeth or getting a bath, nail trimming needs to become something that your dog can expect regularly without causing any undue stress or anxiety. The more you incorporate nail trimming into your regular routine, the more it will feel like a natural part of their life.
Frequency of Nail Trimming
The frequency of nail trimming depends on the individual dog. Some dogs’ nails grow faster than others, while some naturally wear down their nails through regular activity. However, as a general rule of thumb, most dogs need their nails trimmed every 2 to 4 weeks. Keeping a regular schedule will help your dog get used to the routine, and they’ll begin to associate it with calmness and rewards.
For dogs that get anxious, don’t feel the need to trim every single nail at once. Instead, you can continue to break it up into manageable chunks. Trim a few nails each week until all are done. This approach can help your dog stay comfortable without overwhelming them in a single session.
Stay Consistent with Rewards
Consistency is key when it comes to reinforcing positive behavior. Even as your dog becomes more accustomed to nail trimming, keep rewarding them with praise, treats, and attention. Dogs thrive on positive reinforcement, so every successful session—no matter how small—is a win! Keeping the rewards in place not only strengthens their association with the process but also builds a strong bond of trust between you and your dog.
Over time, you may notice that your dog will actually begin to expect the grooming sessions as something that leads to great things. This can make the process much easier for both of you, as it becomes a more routine and less stressful part of their grooming schedule.
When to Seek Professional Help
While many dogs can be trained to accept nail trimming at home, there are some situations where professional help may be needed. If you’ve tried everything and your dog still refuses to cooperate or becomes overly stressed during nail trimming, it might be time to seek out a professional groomer or veterinarian. These experts are experienced in handling dogs of all temperaments and can usually get the job done with a calm and gentle approach.
Signs Your Dog Needs Professional Help
There are several signs that might indicate it’s time to bring in a professional for nail trimming:
- If your dog becomes severely anxious or fearful when you attempt nail trimming, even after extended training.
- If your dog has had previous traumatic experiences with nail trimming or has a history of injury related to the process.
- If you’re not comfortable or confident in your ability to safely trim your dog’s nails, especially if your dog is squirmy or difficult to control.
- If your dog’s nails have grown too long, and you’re unable to trim them safely at home, as overly long nails can cause pain or injury to your dog.
In these cases, a groomer or vet can help take the pressure off both you and your dog. They may even have tools and techniques that are less intimidating and more effective for dogs who are particularly resistant to nail trimming.
Why Professional Groomers Might Be a Good Choice
Professional groomers have experience handling dogs of all breeds, sizes, and temperaments. They often use techniques like muzzles or gentle restraints if needed, as well as specific tools that can make the process faster and safer. Additionally, they’re trained to recognize signs of distress in dogs and can adjust their approach to minimize stress for your pet. If your dog is particularly nervous or if nail trimming causes physical injury, it’s always better to have an experienced professional take over.
Helpful Resources for Nail Trimming at Home
If you’re committed to continuing nail trimming at home, there are plenty of resources to help you become more confident in the process. You don’t have to do it alone! Here are some valuable tools and resources that might help:
1. Online Videos and Tutorials
There are several dog training websites and YouTube channels that offer detailed video tutorials on how to trim your dog’s nails properly. These resources can walk you through the process, give you tips on handling nervous dogs, and show you exactly how to use nail clippers or grinders. It’s also a great way to see different approaches and techniques from other professionals. I’ve found that visual learning can be super helpful in reinforcing what you’re practicing at home.
2. Nail Trimming Tools
Investing in the right tools can make a world of difference. There are many types of dog nail clippers available, including scissor-type clippers, guillotine-style clippers, and even electric grinders. Each tool has its pros and cons, so it’s important to find the one that works best for you and your dog. A grinder, for example, can be less intimidating and allows for more control if your dog is sensitive to the clippers’ action.
3. Dog Training Books
If you’re a fan of reading and learning through books, there are several excellent resources available on dog behavior and grooming. Books written by experienced trainers can give you step-by-step instructions and expert advice on managing your dog’s nail trimming sessions. Some great titles include “The Power of Positive Dog Training” by Pat Miller and “Don’t Shoot the Dog!” by Karen Pryor, which can offer insights into positive reinforcement techniques that can be applied to all kinds of training, including grooming.
4. Veterinarian Advice
If you’re unsure about how to trim your dog’s nails, don’t hesitate to ask your veterinarian for advice. They can show you proper techniques or suggest alternatives like using a professional groomer for more difficult cases. Additionally, they can provide insight into your dog’s nail health, ensuring there are no underlying issues like infections or abnormalities that might require specialized care.
Final Thoughts on Nail Trimming
Training your dog to accept nail trimming may take time, but it’s a rewarding experience for both you and your dog. By using patience, consistency, and positive reinforcement, you can make nail trimming a routine that isn’t stressful for either of you. Just remember: every dog is different. Some may catch on quickly, while others may need a little more time and practice. With persistence and the right approach, you’ll eventually have a dog who’s comfortable with their grooming sessions, making them a lot more enjoyable for everyone involved.
Don’t hesitate to reach out to a professional if you need help along the way, and keep using the resources available to you. Whether you’re working with your dog at home or getting assistance from a groomer, the goal is the same: to keep your dog’s nails healthy and well-maintained without all the stress. Good luck!
Disclaimer: The information provided in this article is intended for general informational purposes only. While every effort has been made to ensure the accuracy of the information, individual results may vary depending on your dog’s unique behavior and temperament. Always consult with a professional dog trainer, veterinarian, or groomer if you have concerns or questions regarding your dog’s grooming needs.
