Safely Remove Mats from Dog Fur: Expert Tips to Avoid Pain & Damage
Let’s talk about something every dog parent deals with at some point—matted fur. Whether you’ve got a floofy doodle, a long-haired shepherd mix, or a silky Yorkie, mats can sneak up on you fast. As someone who’s worked for years as a Vet Tech with a focus on pet nutrition (which, fun fact, ties into coat health more than people realize), I’ve seen every kind of tangle imaginable. So today, I want to share how to safely remove mats from dog fur—without stress, injury, or resorting to the dreaded shave-down unless absolutely necessary. Grab your coffee (or your grooming kit)—we’re getting into it.
Understanding Why Mats Happen in the First Place
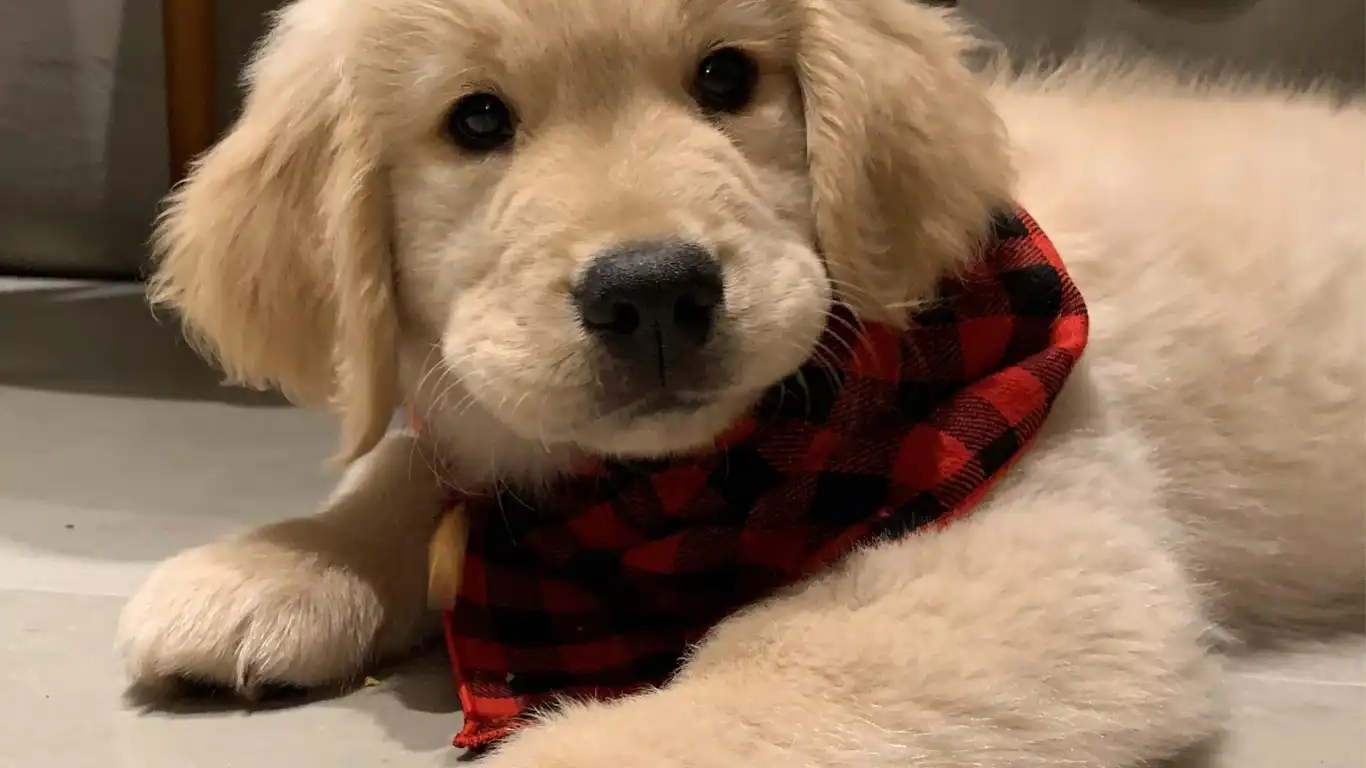
Mats don’t form because you’re a bad pet parent. Life happens. You miss a brushing session (or three), your pup rolls around in the yard, and boom—a knotted mess under the armpit or behind the ear. Mats are especially common in breeds with fine or curly coats like Poodles, Shih Tzus, or Maltese. Even double-coated breeds like Huskies or Golden Retrievers can get mats if their undercoat gets compacted during shedding season.
From my experience in the clinic, one of the biggest contributors to matting is actually skin and coat health. Dogs on poor-quality diets often have brittle, dry hair that tangles more easily. I’ve had clients switch to higher omega-3 diets or add supplements, and not only does the coat improve, but mats become less of a recurring problem. Just one of those nutrition-pro tips that goes beyond the brush!
Start with the Right Mindset (and Tools)
Take a Breath—Don’t Rush the Process
First things first, patience is your best friend. Mats are frustrating, but rushing through them usually just leads to pain, stress, and a ticked-off pup. I always tell my clients, imagine someone yanking at a knot in your hair with a metal brush. Not fun, right? So let’s make this a chill experience for your dog.
Essential Tools for Mat Removal
You don’t need a groomer’s full arsenal, but a few basics can make all the difference. Here’s what I personally recommend (and keep in my own kit):
- Slicker Brush – Ideal for loosening surface tangles
- Mat Splitter or Dematting Comb – For breaking apart stubborn mats gently
- Detangling Spray or Conditioner – Acts like leave-in conditioner for dogs, reducing breakage
- Blunt-tip Scissors or Grooming Shears – ONLY for when you absolutely must snip (and always with caution)
- High-Value Treats – Because your pup deserves a reward for staying still!
How to Safely Remove Mats from Dog Fur Without Causing Pain
Step-by-Step Dematting Process
- Check the severity. Before you do anything, gently feel through the fur to identify where mats are and how tight they are to the skin. If it feels like it’s pulling already—slow down.
- Use your fingers first. I always recommend starting with your hands. Gently tease apart any loose tangles before using a tool. It’s less scary for your pup and gives you a feel for how deep the mat goes.
- Spritz with detangler. A little moisture makes a big difference. Detangler or a spritz of water mixed with conditioner helps reduce friction when brushing.
- Work from the ends in. Never yank from the base of the mat. Start at the tip of the hair and work slowly toward the skin. This method hurts less and keeps the coat intact.
- Use a slicker brush or mat splitter. Alternate between the two depending on the mat size. Be gentle, take breaks, and offer praise or treats frequently.
- Clip if necessary—but carefully. Sometimes a mat is just too dense or too close to the skin. In those cases, I’ll carefully snip it out using blunt-tip scissors, sliding a comb underneath the mat to protect the skin. If you’re not confident—call your groomer or vet.
When to Call in a Professional
As much as I love a good DIY grooming moment, there are times you’ve gotta tag in a pro. If the mats cover large parts of the body, are super close to the skin, or your pup gets aggressive or anxious—please don’t force it. As a Vet Tech, I’ve seen cases where owners tried too hard and ended up cutting the skin or causing hot spots. A groomer or your veterinary team can help you approach it safely and humanely.
Preventing Mats is WAY Easier Than Fixing Them
Here’s the thing—once you’ve dealt with a few gnarly mats, you realize it’s way easier to just keep up with coat care. Prevention is the name of the game. And trust me, your dog will thank you for it (probably with extra couch cuddles and zero resistance when you pull out the brush next time).
Quick Tips for Tangle-Free Fur
- Daily or every-other-day brushing, especially after playtime or outdoor romps
- Regular grooming schedule—even short-coated dogs need baths and trims
- Hydration and a balanced diet rich in omega-3s, biotin, and high-quality protein
- Use a grooming spray between washes to keep the coat smooth and static-free
- Get to know your dog’s coat type—different textures need different care routines
Different Coat Types, Different Matting Risks
Not all fur is created equal—and trust me, after handling everything from wiry Terriers to thick-coated Newfoundlands in my vet tech scrubs, I can tell you that your dematting approach should shift depending on the coat type. If you know your dog’s fur like the back of your hand, you’ll be ahead of the game when it comes to both prevention and mat removal.
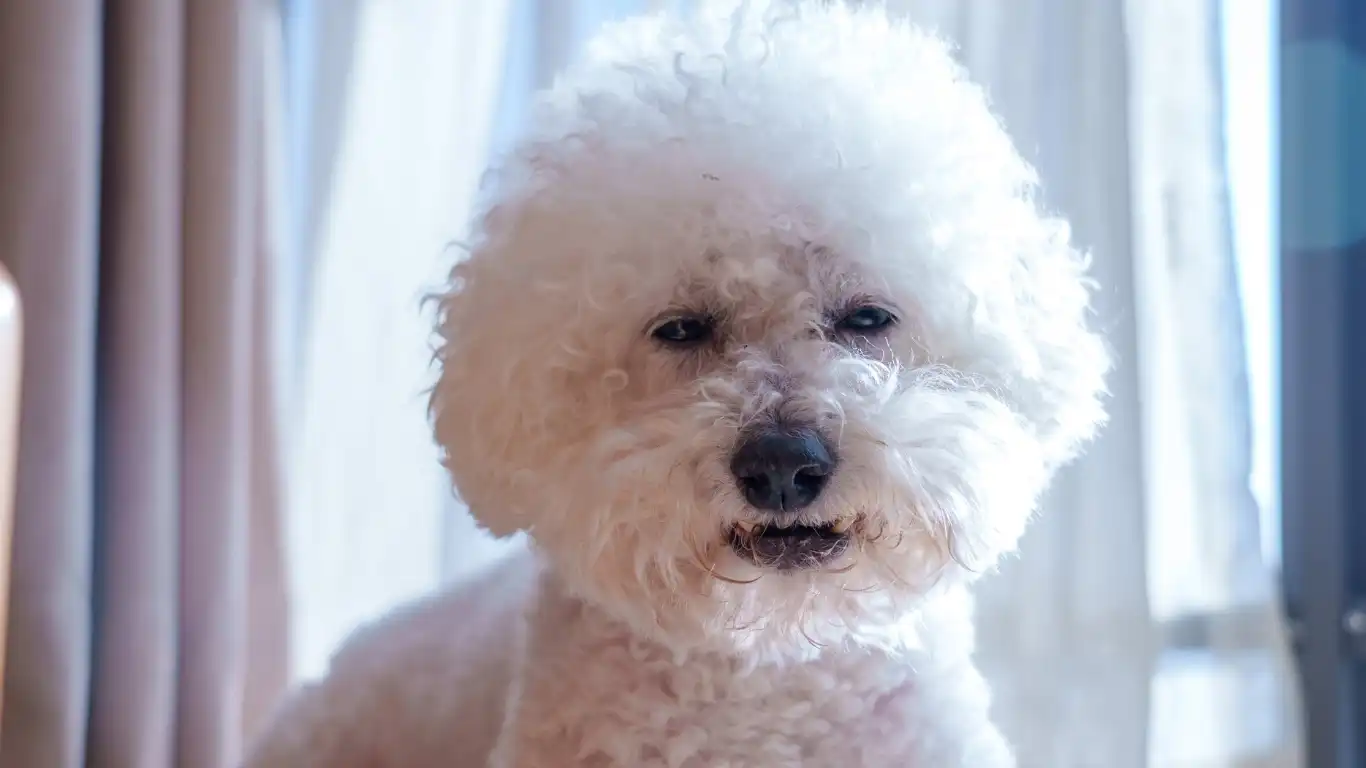
Curly Coats (Think Poodles, Doodles, Bichons)
These coats are gorgeous but high-maintenance. Mats love to form close to the skin in tight curls, especially behind the ears and under the legs. For these breeds, daily brushing is almost non-negotiable. I usually tell clients to keep a slicker brush by the front door—it’s a quick check after walks that saves hours later.
Double Coats (Like Huskies, Akitas, and Shepherds)
Here’s a tip I picked up during a shedding season madness week (yes, that’s a thing): never try to demat a wet double coat. It just compacts everything. These coats need regular undercoat raking—especially during spring and fall when that fluff comes out in handfuls. Mats in these dogs often form when shed fur doesn’t get removed and just tangles in place. Use a de-shedding tool weekly to stay ahead of the game.
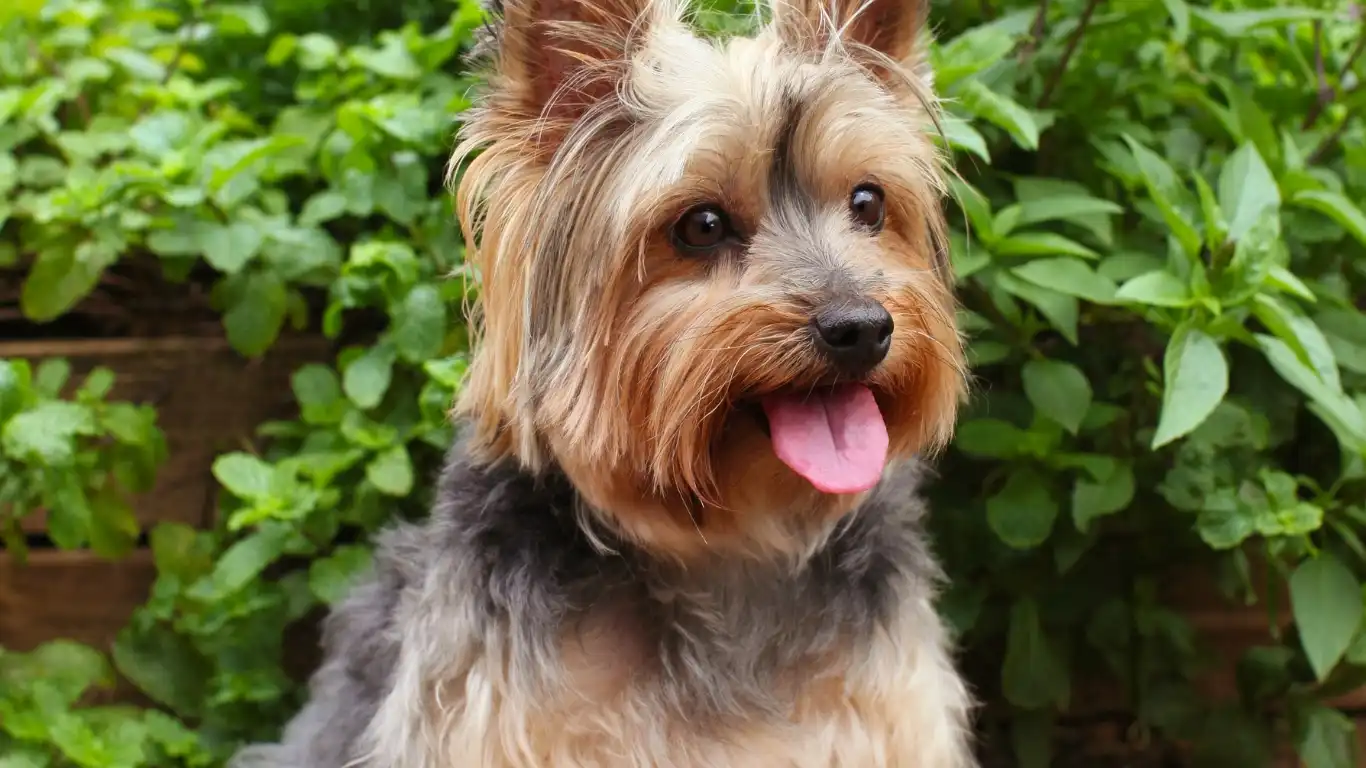
Silky or Fine Coats (Yorkies, Maltese, Afghans)
These coats get stringy fast and tend to mat into tiny, tight clumps. They usually benefit from a light detangling spray and a soft bristle brush. I’ve had success recommending clients keep these breeds in a shorter “puppy cut” if they’re not up for the regular maintenance. There’s no shame in keeping it practical for both of you!
How Nutrition Impacts Matting (and What You Can Feed to Help)
Here’s the part where my nutrition nerd side kicks in. One thing I noticed over the years was how closely coat quality links to diet. Dogs eating low-quality kibble with poor protein sources or no omega-3s often have dull, dry coats that tangle easily. When I’d help pet parents upgrade their dog’s diet, coat texture improved dramatically—less dryness, more shine, and yep, fewer mats.
Key Nutrients That Support Healthy, Tangle-Resistant Fur:
- Omega-3 Fatty Acids – Found in fish oils and flaxseed, these support soft, moisturized fur
- Biotin & Zinc – Help maintain hair strength and prevent breakage
- High-Quality Animal Proteins – The building blocks for skin and coat regeneration
- Hydration – Sounds simple, but dry coats = tangly coats. Keep that water bowl full!
One of my go-to suggestions for clients was to add a small drizzle of wild Alaskan salmon oil to their dog’s food a few times a week. Not only did it help with fur, but their pups often had fewer itchy skin flare-ups too. Win-win!
Making Grooming a Bonding Experience (Not a Battle)

So, real talk—mats don’t just cause physical discomfort. Grooming gone wrong can mess with your dog’s trust. I’ve worked with plenty of pups who flinch at a brush because of one bad experience, and honestly, that broke my heart. That’s why I always encourage building a positive grooming routine that feels less like a chore and more like cuddle time with a purpose.
Tips to Make Mat Removal Less Stressful (for Both of You)
- Start when they’re tired – After a walk or play session, your pup’s more likely to chill during grooming
- Use a calming voice – Keep the tone casual and relaxed, like you’re chatting with them, not scolding
- Break sessions into short bursts – Especially for puppies or anxious dogs, 5-10 minutes goes a long way
- End with treats and praise – Always finish on a high note so the next session isn’t a battle
One of my most memorable patients was a senior Cocker Spaniel named Millie. She hated brushes with a passion. I started by just sitting with her, showing her the brush, and giving her a treat every time she sniffed it. Within a few weeks, she was letting me groom behind her ears without a fuss. It’s not just about the fur—it’s about trust.
Common Mistakes People Make When Removing Mats (and How to Avoid Them)
Over the years, I’ve seen a fair share of oops moments—some minor, some requiring vet follow-ups. So here’s a quick rundown of what not to do when learning how to safely remove mats from dog fur.
- Using scissors without a comb guide – One slip and you could nick the skin. Always slide a comb under the mat before cutting.
- Brushing dry, brittle fur – This causes breakage and discomfort. Always detangle with a bit of moisture.
- Ignoring the warning signs – If your dog starts growling, pulling away, or showing fear, take a break. Forcing it only builds more resistance.
- Skipping vet checks for chronic matting – Sometimes matting isn’t just a grooming issue—it could signal skin allergies, thyroid issues, or other health problems.
Honestly, the best approach is to stay gentle, patient, and informed. You’re not just removing a knot—you’re preventing future discomfort and showing your dog that grooming doesn’t have to be scary.
Beyond the Brush: Supporting Your Dog’s Coat with Whole-Body Wellness
We’ve talked tools, techniques, nutrition, and emotional cues—but there’s a bigger picture. A healthy coat is really a reflection of your dog’s overall wellness. If something’s off inside, it usually shows outside.
Other Factors That Influence Coat and Matting:
- Hormonal health – Spayed/neutered dogs sometimes have coat texture changes due to hormone shifts
- Underlying allergies – Food or environmental allergies can cause scratching, which leads to tangles
- Weight issues – Overweight dogs have trouble grooming themselves, especially in hard-to-reach spots
- Age – Older dogs may develop dry skin or become less tolerant of grooming
In the clinic, I’d always look at the full picture. If a dog was coming in repeatedly with mats in the same spots, we’d chat about more than just brushing—we’d go into diet, exercise, and even behavioral stuff. That’s the kind of holistic care dogs deserve.
When It’s Time to Call a Professional Groomer
Alright, I’ll be real with you—sometimes those mats are just too far gone for a DIY job. And that’s okay. There’s no shame in calling in a pro. I’ve seen some wild cases where the mats were so tight they were cutting off circulation. In those moments, experience, skill, and the right tools make all the difference. Knowing when to stop and hand it over is part of being a responsible pet parent.
Some signs that it’s time to call in a professional groomer (or even your vet):
- Matting is close to the skin and hard or impossible to get a comb underneath
- Dog is in pain or shows fear/aggression during grooming
- Odor, swelling, or redness under the mats (possible infection)
- Extensive matting across large areas like the belly, armpits, or tail base
In some cases, the safest solution is to shave the coat and start fresh. I know it can feel like a drastic step—especially for long-haired breeds—but once the skin is free and comfortable, you can rebuild that beautiful coat with good nutrition and consistent brushing.
Preventative Grooming Routine That Actually Works
If I had a dollar for every time someone said, “But I brushed him yesterday!” while I was untangling a mat from a dog’s thigh, I’d have a spa day booked every week. Truth is, *how* and *where* you brush matters as much as how often.
Daily or Weekly Routine (Depending on Coat Type):
- Quick hand check: Run your fingers along the common mat zones—behind ears, under legs, tail base
- Spritz detangler spray: Lightly mist any dry areas to prevent breakage while brushing
- Use a slicker brush first: Go with the grain and in short strokes
- Follow with a metal comb: This helps catch any sneaky mats the brush missed
- Reward with treats: Seriously, this one makes all the difference in consistency!
Some breeds can get away with brushing every few days. Others? It’s a daily thing. If you’ve got a Doodle or Afghan Hound, you already know the drill. And if you’re still figuring it out, don’t be afraid to ask your vet or groomer for breed-specific grooming tips—that’s literally what we’re here for.
Matting and Behavior: Is There a Link?
This is one of those things you don’t always read in grooming blogs, but over my years working hands-on with dogs, I noticed a pattern: matted dogs often act out more. Not because they’re “bad,” but because they’re uncomfortable. Mats can tug at skin with every movement, especially near joints or the collar area. Imagine having a tangle under your armpit every time you reached for something. Ouch.
In fact, behavioral issues like:
- Snapping during brushing
- Refusing harnesses or walks
- Sudden yelping when touched
…can often be traced back to hidden mats or discomfort. Once we got the mats shaved out and followed up with a proper coat care routine, many of these pups calmed down like magic. It’s a reminder that physical wellness and emotional wellbeing go hand-in-paw.
Products I Actually Recommend (From Experience)
Here are a few grooming tools I swear by—not because they’re trendy, but because they’ve proven themselves on the grooming table time and time again:
- Slicker Brush with Bent Wires – Perfect for loosening topcoat tangles without tearing fur
- Mat Splitter Tool – A game changer for breaking up small mats without cutting skin
- Detangling Spray – Go for one with natural oils like argan or coconut; it makes a huge difference
- Steel Comb – The finishing step that prevents missed mats from sneaking up on you
Just remember, no tool works if your dog hates the process—so pair your tools with patience, treats, and a comfy space. That’s the secret combo.
Final Thoughts: It’s About More Than Just Fur
Learning how to safely remove mats from dog fur isn’t just a grooming skill—it’s an act of care. It shows your pup you’re looking out for their comfort, health, and happiness. Whether you’re brushing out a stubborn knot or making changes to their diet, everything you do to support a healthy coat feeds into their overall quality of life.
Don’t stress about doing it perfectly. Even as a vet tech, I’ve had days where my own dog looked like he rolled backwards through a bramble bush. But with the right tools, some consistency, and lots of patience, you can keep your dog’s coat smooth, their skin healthy, and grooming time a moment of connection—not combat.
Helpful References for Further Reading
Disclaimer
This article is for informational purposes only and does not replace professional veterinary advice. Always consult with your veterinarian or a certified grooming professional before making changes to your pet’s care routine or if you suspect a medical issue related to their coat or skin.