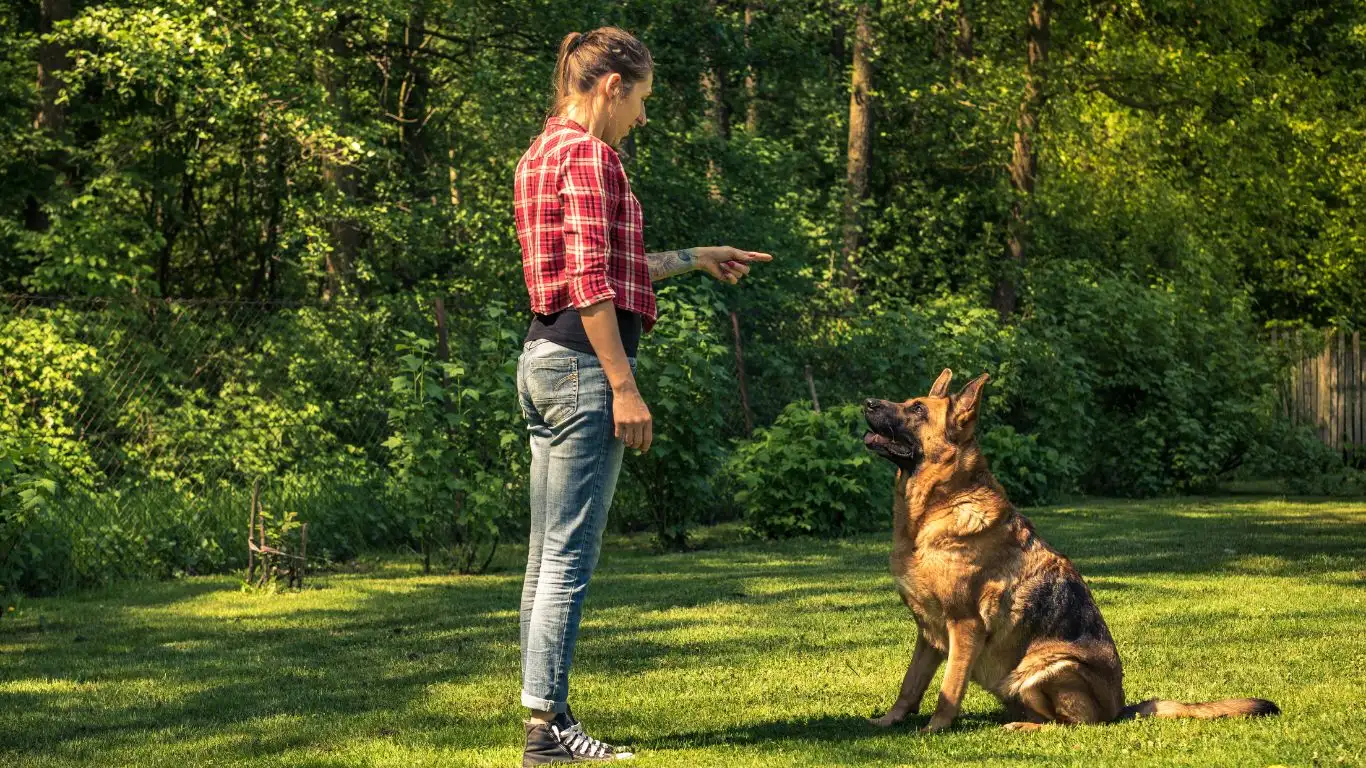
Train Your Dog to Love Health Checks at Home: Easy & Stress-Free Guide
If you’ve ever tried to check your dog’s ears, clip their nails, or take a peek at their teeth only to be met with wiggles, growls, or a disappearing act, you’re definitely not alone. One of the most common questions I get asked as a Canine-Assisted Therapy Trainer is: how to train a dog to accept regular health checks at home. It’s a big deal for pet parents—and rightly so. Health checks aren’t just for the vet’s office. Doing them at home can help you catch small issues before they turn into expensive vet visits or worse, long-term health problems. But getting your dog comfy with those pokes and prods? That takes time, patience, and a whole lot of trust.
Why At-Home Health Checks Matter More Than You Think
Over the years, I’ve seen dogs transform from fearful flinchers to cooperative champs. It always amazes me how just a few minutes of intentional training a day can make all the difference. You don’t need to be a vet tech or an expert trainer to get started. But you do need to understand why it matters.
- Early Detection: Catch issues like lumps, dental problems, or skin irritations early.
- Lower Stress at the Vet: Dogs used to being touched all over are way more chill during exams.
- Builds Trust: Your dog learns to trust you even when things get a little uncomfortable.
I like to think of these check-ups as bonding time. It’s not just about checking boxes—it’s about your dog learning, “Hey, when my human lifts my paw or looks in my ears, it’s okay. Nothing bad’s going to happen.” That kind of reassurance is priceless.
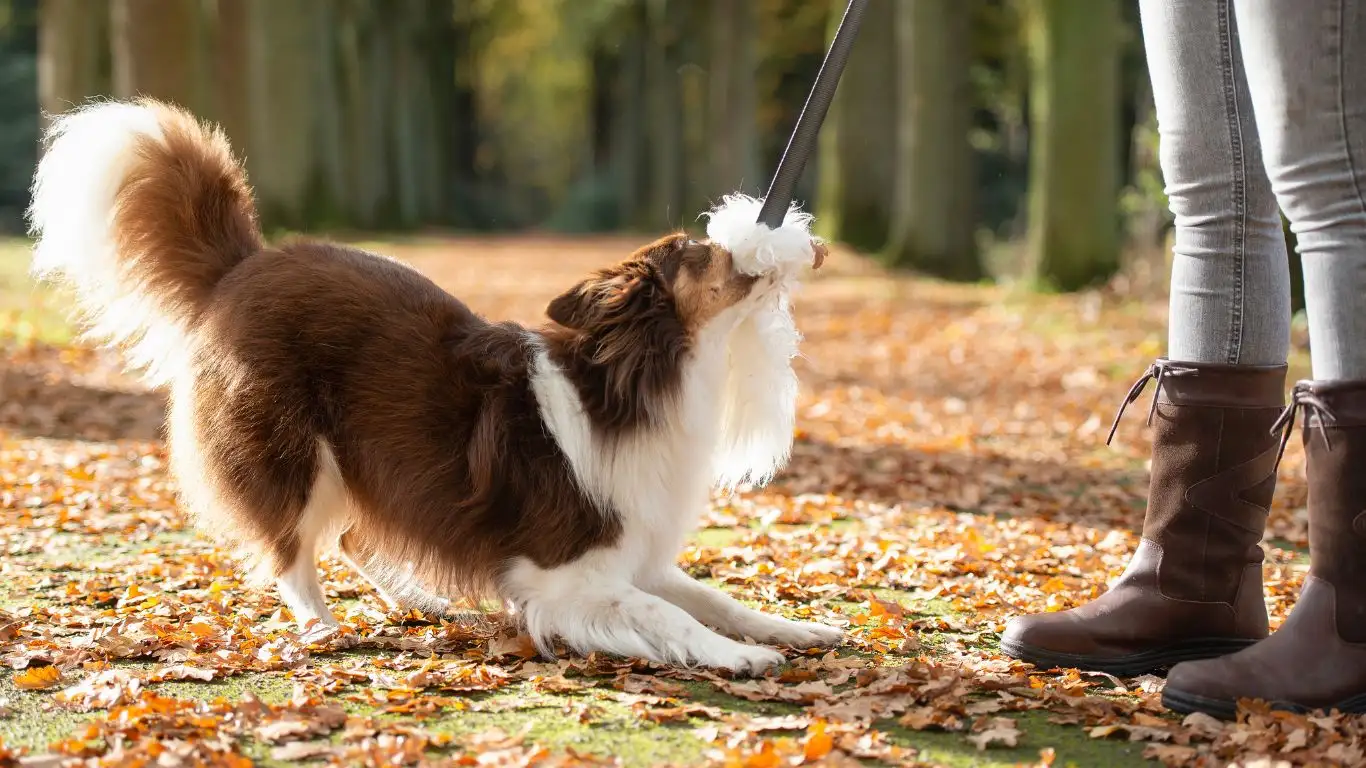
Getting Started: Make It a Positive Experience
Before we dive into techniques, let me say this: always go slow. Every dog is different. Some are chill from the get-go, others might need weeks just to let you touch their feet without flinching. And that’s okay. One of my rescue pups, Maya, used to panic anytime someone even looked at her tail. Now she lets the groomer do a full check without a fuss—but that took months of slow, steady work.
Step 1: Start With the Calm Zone
Pick a spot in your home where your dog already feels relaxed. Maybe it’s the couch, their bed, or even your lap if they’re small enough. Sit with them and just hang out. No tools, no checks—just calm time. This is your base camp.
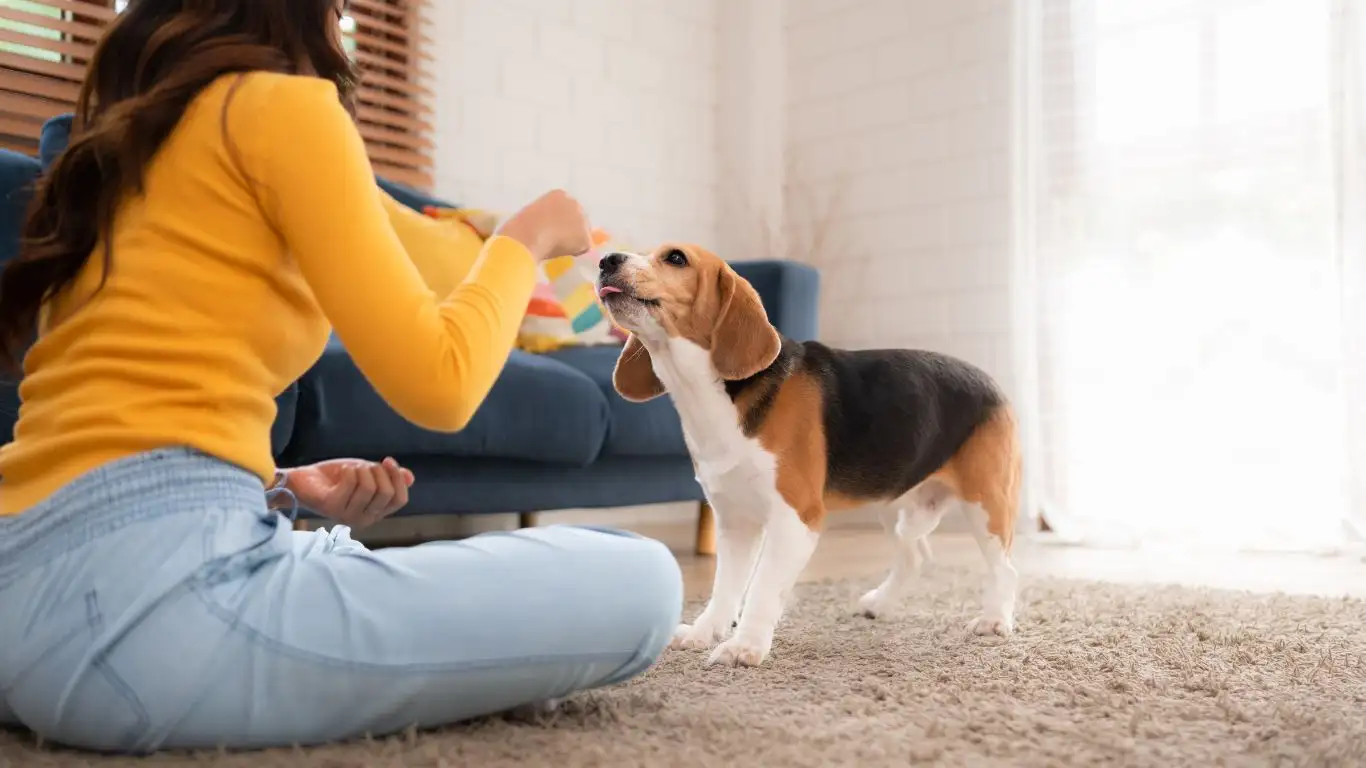
Step 2: Touch Without a Purpose
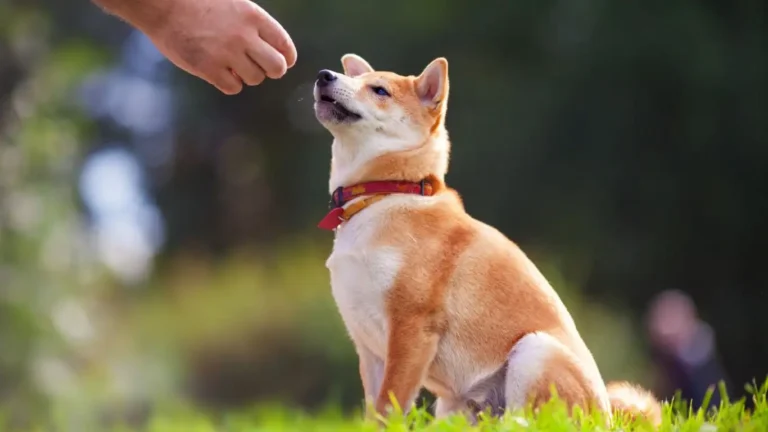
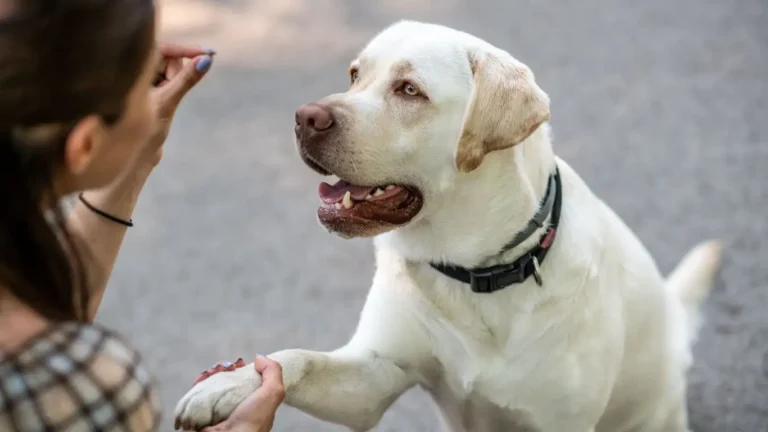
This might sound weird, but start touching your dog just because. Touch their paws, lift an ear, gently open their mouth (without actually checking anything). Praise them for staying still. Treats help a ton here. You’re not inspecting yet—you’re teaching them that touch doesn’t always mean something bad is coming.
- Use a calm voice and go slowly—especially around sensitive areas.
- Give treats immediately after any touch they tolerate.
- Watch for signs of discomfort—licking lips, turning away, stiffening—and back off if needed.
Step 3: Add in Tools Gradually
Once your dog is okay with touch, it’s time to introduce the things you’ll actually use: a flashlight for ear checks, a soft toothbrush, nail clippers. Let them sniff each item first. I even leave the tools out where they can see and smell them daily—kind of like desensitization training.
With one of my therapy dogs, Leo, I started by just tapping his paw with the nail clipper (without actually clipping). Then, a treat. Then I’d touch the clipper to the nail and treat again. Eventually, he was fine with the full trim. Repetition, positive reinforcement, and lots of patience—that’s the golden combo.
Understanding Your Dog’s Body Language
One huge part of training a dog to accept regular health checks at home is knowing when to pause or pivot. Dogs communicate discomfort in super subtle ways. As a trainer, I always tell clients: watch the whole dog, not just the tail wag.
Signs Your Dog Is Stressed
- Lip licking or yawning out of context
- Pinned-back ears
- Sudden scratching or licking a spot
- Turning the head away or trying to leave
When I notice any of these, I pause the session and go back a step. Maybe we’re moving too fast. It’s not a race—it’s about building confidence. I can’t stress that enough. Forcing it never works. Earning their trust, on the other hand? That sticks.
Working Through Each Body Part: Build Confidence Step by Step
Once your dog is cool with the basics—touch, tools, and short practice sessions—you can start working on each body area individually. This is where the real magic happens, and honestly, it’s the part I love most. As a Canine-Assisted Therapy Trainer, I’ve seen dogs gain so much confidence just from learning that things like ear swabs and paw holds don’t have to be scary.
Paws and Nails: The Most Common Trouble Spot
Let’s start with paws, because who hasn’t seen a dog yank their foot away like you just stepped on a Lego? Totally normal. The trick is to normalize paw handling through repetition and positive association.
- Start by holding a paw for just 1-2 seconds. Treat. Release.
- Gradually increase the hold time and gently manipulate toes.
- Introduce the nail clippers or grinder after your dog is okay with touch.
- Tap the tool on the nail without trimming, then treat again.
With one of my more anxious clients, a senior poodle named Rosie, we even used a spoonful of peanut butter on a lick mat as a distraction during trims. Total game-changer.
Ears: Delicate But Doable
Ear checks can be tricky—dogs aren’t used to things going inside their ears, and many don’t love their ears being touched at all. What worked for me was turning it into a mini spa session.
- Start by massaging around the ear base. Most dogs find this relaxing.
- Lift the flap gently, treat, and put it back down.
- Work up to shining a light inside or wiping with a cotton pad.
One tip I always share: never rush this. If your dog backs off, that’s okay. End the session with something they love—like tug, fetch, or a cuddle. That way, the experience ends on a positive note even if the check wasn’t perfect.
Teeth and Gums: Yes, You Really Can Do This
Dental care is one of those things that makes a lot of dog owners freeze. I get it—getting your fingers near a set of canines (pun intended) can be intimidating. But you don’t need to go full dental hygienist. Even a quick look at your dog’s gums and teeth weekly can make a huge difference.
How I Introduce Tooth Checks
Here’s my go-to method for newbies:
- Rub a soft cloth or finger brush on the outside of your dog’s muzzle first—no teeth involved.
- Gradually lift the lip and touch a tooth for one second. Treat immediately.
- Work up to swiping the gums or brushing with dog-safe toothpaste.
One of my own dogs, Baxter, had awful breath and resisted every attempt at dental care until I started using a liver-flavored toothpaste. Now, he practically begs for his turn—it’s hilarious. Find what works for your pup’s preferences. They’re all little weirdos in the best way.
Skin and Coat Checks: More Than Just Grooming

Skin checks might seem simple, but they’re super important. This is how you spot ticks, hot spots, dry patches, or odd lumps early. I always include it in training sessions with my therapy dogs, because it’s also a great trust-building activity.
What to Look For During a Skin Check
- Unusual bumps or lumps
- Dry, flaky, or red patches
- Signs of flea dirt or ticks (especially around ears, tail base, and underarms)
- Hair thinning or bald spots
Use a soft grooming brush or your fingers to gently feel across the body. Talk to your dog as you go—just like you’d chat with a friend during a haircut. I often say stuff like, “Ooh, that’s a soft spot!” or “Let’s see what’s hiding under all this fluff.” It keeps things lighthearted and calm.
Routine Makes It Stick
The biggest shift happens when health checks become just another part of your daily or weekly rhythm. You don’t have to block out an hour—just build it into what you’re already doing. After a walk? Quick paw check. During movie night cuddles? Ear and skin feel. Brushing session? Sneak in a tooth peek.
It took me a while to find a flow that worked for my pack. Every dog was different. One needed more patience, another loved being brushed so much I used that time to sneak in other checks. The key? Consistency beats intensity. Five minutes a few times a week works better than one big stressful session once a month.
And remember: if your dog shows fear or resistance, that’s not failure—it’s feedback. Take a step back, reset, and keep it positive. You’re not just checking their health, you’re building trust. And that, more than anything, is the real goal here.
Advanced Desensitization: Helping Fearful or Rescue Dogs Feel Safe

Now, if you’re working with a rescue dog or one with a rough past, you already know that building trust isn’t always straightforward. I’ve worked with dogs who flinch at a raised hand, tremble at touch, or freeze when you so much as reach for a brush. But I’ve also seen these same dogs grow into confident companions with a little time and a whole lot of patience.
The trick is to go even slower than you think you need to. I’m talking micro-steps. For one of my former therapy candidates, a retired racing greyhound named Jasper, just seeing the nail clippers from across the room triggered anxiety. So we started with the clippers across the room—literally. Then each day, we moved them a few inches closer during meal times. Within a few weeks, he’d sniff them willingly. A month later, I could tap his nail gently. And after that? We finally clipped one without stress. Huge win.
Tips for Working With Extra Sensitive Dogs
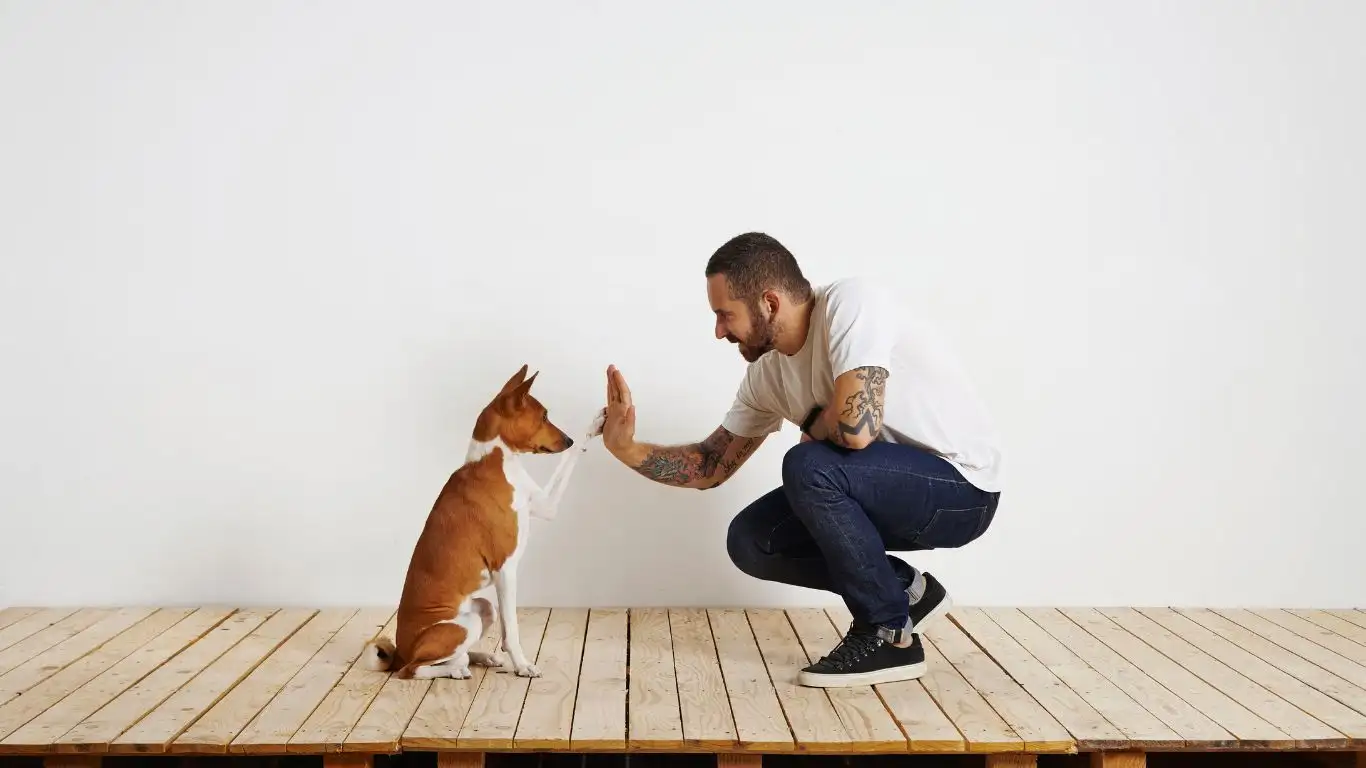
- Pair every interaction with high-value rewards—think cheese, chicken, or their favorite squeaky toy.
- Use choice-based training: allow your dog to “opt in.” Let them approach you rather than the other way around.
- Introduce new sensations slowly: Use a soft cloth before using a brush or tools. Let them get used to textures first.
- Be patient with regression: Some days will be better than others. That’s normal.
Above all, never underestimate the power of gentle repetition and a calm voice. Your dog might never love health checks, and that’s okay. But the goal is acceptance, not enthusiasm. That’s a realistic and compassionate target for both of you.
Creating a Long-Term Home Health Check Routine
Once your dog is comfortable with handling, tools, and body checks, the next step is weaving it into your routine. This isn’t about perfection—it’s about consistency. A dog that gets quick, regular check-ins is more likely to stay healthy and less likely to have scary vet surprises.
My Weekly Home Health Checklist
Here’s what I do with my own dogs each week, and what I recommend to my training clients:
- Paw Check: Look for cuts, cracks, debris, and clip nails if needed.
- Ear Check: Lift and inspect each ear for redness, smell, or wax build-up.
- Teeth & Gums: Peek at the gum color and check for tartar or swelling.
- Skin & Coat: Run fingers along the body to feel for bumps, ticks, or dry spots.
- Eyes: Make sure they’re bright and clear—no discharge or squinting.
All of this can be done in under 10 minutes once your dog is comfortable. I usually do it after dinner when they’re full, sleepy, and much more cooperative. And yes, I still use treats—it’s not bribery, it’s reinforcement. We all like to be rewarded, right?
Final Thoughts: It’s About More Than Health
Training your dog to accept regular health checks at home isn’t just about catching problems early. It’s about strengthening your bond, building mutual trust, and helping your dog feel secure in your hands. That trust carries over into vet visits, grooming, even social situations. It’s foundational.
As someone who’s spent years working with therapy dogs, I’ve seen firsthand how touch tolerance changes lives—not just for the dogs, but for the people they support. A dog who trusts you enough to let you clean their ears or clip their nails is a dog who feels safe. And a safe dog is a confident dog.
So take it slow. Make it fun. Celebrate small wins. And remember—every successful check is another brick in the foundation of trust you’re building with your best friend.
References
Disclaimer
This article is based on my personal experience as a Canine-Assisted Therapy Trainer and is intended for informational purposes only. It should not be considered veterinary advice. Always consult your veterinarian before starting any new health or behavioral routine with your pet.