Ultimate Guide: How to Clean Your Dog’s Ears Safely & Prevent Infections
Cleaning your dog’s ears might not be the most glamorous part of pet care, but trust me, it’s one of the most important. As a pet nutritionist and someone who’s spent years working in veterinary clinics, I’ve seen my fair share of ear infections—many of which could have been prevented with regular at-home care. If you’ve ever wondered how to clean your dog’s ears safely at home without causing discomfort, irritation, or a wrestling match in your living room, you’re in the right place. Let’s break it down step by step.
Why Regular Ear Cleaning Is Essential
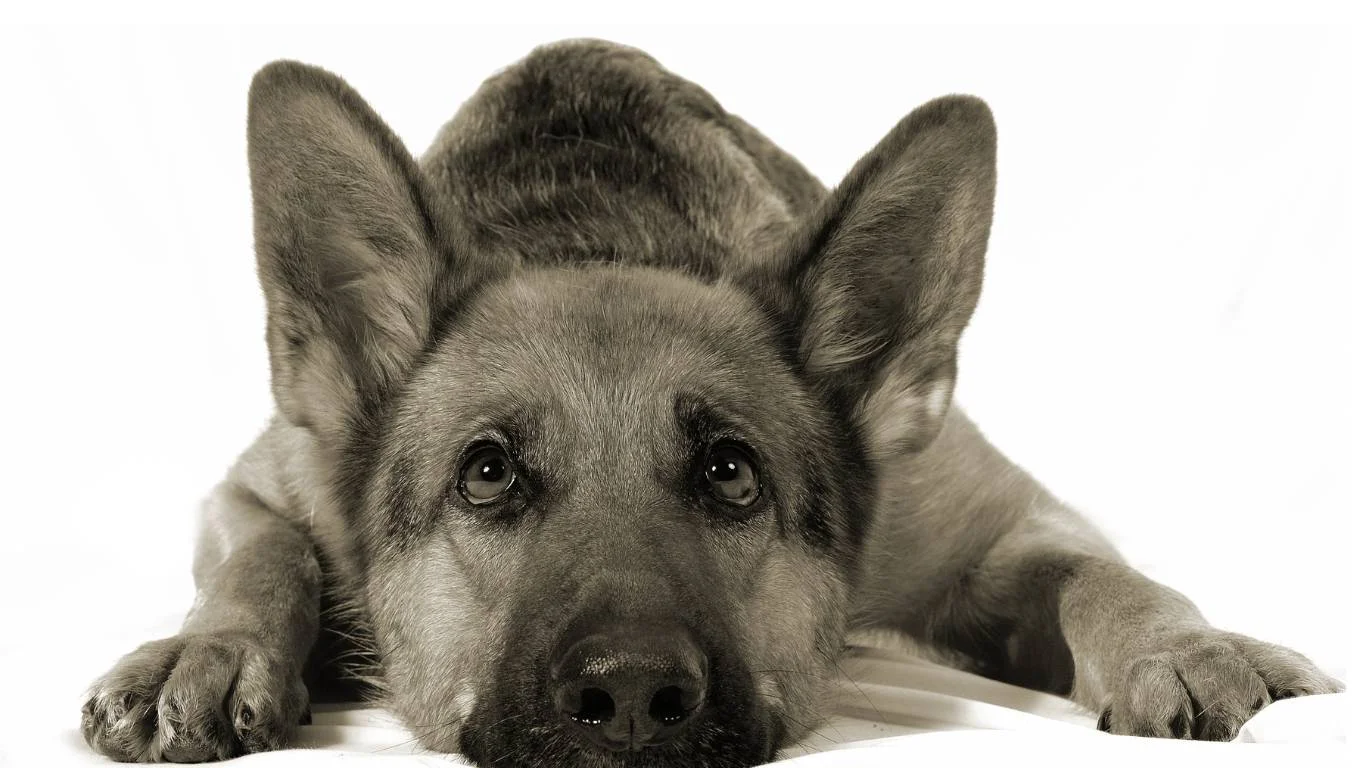
Dogs rely on their ears for more than just hearing our voices (or the sound of a treat bag opening). Healthy ears contribute to their overall well-being, and neglecting them can lead to problems like:
- Ear infections: Built-up wax and debris create the perfect breeding ground for bacteria and yeast.
- Hearing loss: Chronic ear issues can affect your dog’s ability to hear properly.
- Discomfort and pain: If your pup is shaking their head, scratching, or whining, their ears could be the culprit.
Some breeds are more prone to ear issues than others. If you have a floppy-eared friend like a Cocker Spaniel or a Golden Retriever, they may need extra attention since their ears trap moisture more easily.
Signs Your Dog’s Ears Need Cleaning

Not all dogs need frequent ear cleanings, but knowing when to clean them is key. Here are a few telltale signs that it’s time to break out the ear cleaner:
- Bad odor: A mild scent is normal, but a strong, yeasty, or foul smell is a red flag.
- Excessive scratching: If your pup is constantly pawing at their ears, something’s up.
- Redness or swelling: Healthy ears should be pale pink, not inflamed.
- Dark or excessive wax: A little wax is normal, but thick, dark gunk could mean an infection.
- Frequent head shaking: Dogs shake their heads to relieve irritation—if they’re doing it often, check their ears.
As a rule of thumb, I always do a quick ear check during my weekly pet grooming sessions. A simple sniff and visual check can save you a trip to the vet down the road.
What You’ll Need to Clean Your Dog’s Ears
Before diving into the cleaning process, gather everything you’ll need. Being prepared makes the experience smoother for both you and your pup.
Essential Supplies
- Vet-approved ear cleaner: Avoid DIY solutions like hydrogen peroxide or vinegar—they can be too harsh and cause irritation.
- Cotton pads or gauze: Never use Q-tips deep inside the ear, as they can push debris further in.
- A towel: This helps contain the mess, especially if your dog decides to shake mid-clean.
- Treats: Positive reinforcement makes everything easier!
Once you have everything ready, it’s time to clean those ears safely and effectively. In the next section, we’ll go step-by-step through the cleaning process to ensure a stress-free experience for both you and your furry friend.
Step-by-Step Guide: How to Clean Your Dog’s Ears Safely at Home

Now that we’ve covered the why and when, let’s get to the actual process. The goal here is to make ear cleaning a stress-free, painless experience for your pup (and for you!). Based on my experience in veterinary clinics, I’ve found that patience, the right technique, and a few tasty treats go a long way.
Step 1: Get Your Dog Comfortable
Before you even think about touching their ears, make sure your dog is in a calm state. I like to do this after a play session or a long walk when they’re a little more relaxed. Sit in a quiet space, offer belly rubs, and talk to them in a soothing voice.
If your dog is wiggly or nervous, try these tips:
- Have a helper: A second set of hands can keep your pup steady while you clean.
- Use treats: Offer small rewards throughout the process to create positive associations.
- Keep sessions short: If your dog resists, clean one ear and take a break before tackling the other.
Step 2: Inspect the Ears Before Cleaning
Before applying any cleaner, take a moment to inspect the ears. Healthy ears should be pale pink with a mild, natural scent. If you notice anything unusual—like redness, swelling, or a foul odor—it might be best to check in with your vet first.
Step 3: Apply the Ear Cleaning Solution

Here’s where the magic happens. Grab your vet-approved ear cleaner and follow these steps:
- Hold the ear flap up: Gently lift your dog’s ear so you have a clear view of the ear canal.
- Squeeze the solution inside: Don’t be shy—fill the ear canal with cleaner, but avoid touching the tip of the bottle to prevent contamination.
- Massage the base of the ear: This helps break up wax and debris. You should hear a squishing sound—that’s a good sign!
Your dog might shake their head at this point. That’s totally normal! Let them shake to help remove excess liquid.
Step 4: Wipe Away Debris
Once your pup has had their dramatic head shake moment, take a cotton pad or gauze and gently wipe away any loosened debris. Focus on the outer ear and the visible parts of the ear canal—don’t push anything deep inside.
One golden rule: Never use Q-tips inside the ear canal! They can push wax further in and cause damage.
Step 5: Reward and Repeat
After one ear is done, reward your pup with a treat and some praise. Then, move on to the second ear and repeat the process. If your dog is getting restless, don’t force it—take a break and try again later.
Common Mistakes to Avoid When Cleaning Your Dog’s Ears
Even with the best intentions, it’s easy to make mistakes when cleaning your dog’s ears. Here are some common ones to watch out for:
- Using the wrong products: Avoid alcohol, hydrogen peroxide, or vinegar—they can cause irritation.
- Skipping regular checks: Cleaning too often can be just as bad as not cleaning at all. Check your dog’s ears weekly and clean only when necessary.
- Ignoring signs of infection: If you notice persistent redness, swelling, or a bad smell, don’t try to fix it at home—see a vet.
- Not drying the ears properly: Moisture can lead to infections, so always make sure the ears are dry after cleaning.
By keeping these points in mind, you’ll ensure that your dog’s ears stay clean, healthy, and infection-free.
When to Call the Vet
While regular cleaning helps prevent problems, sometimes a vet visit is necessary. Contact your vet if you notice:
- Persistent bad odor, even after cleaning
- Thick, dark discharge (especially if it looks like coffee grounds—this could mean ear mites!)
- Excessive head shaking or sensitivity when touching the ears
- Any signs of pain, like whining or avoiding ear touches
Trust your instincts—if something seems off, it’s always better to get a professional opinion.
Now that you know how to safely clean your dog’s ears at home, you’ll be able to keep their ears healthy and free of infections. In the next section, we’ll go over some breed-specific ear care tips and additional ways to prevent ear issues in the first place.
Case Studies & Real-Life Examples

Every dog is different, and their ear care needs can vary based on breed, lifestyle, and even personality. Here are a couple of real-life cases from my experience that highlight the importance of regular ear cleaning.
Case Study 1: The Golden Retriever with Recurring Infections
A client of mine, Sarah, brought in her Golden Retriever, Max, who had been dealing with constant ear infections. Max loved swimming, and his floppy ears trapped moisture, creating a breeding ground for bacteria. After consulting with the vet, we started a routine of cleaning his ears after every swim with a drying ear cleaner. Within weeks, his infections became less frequent, and now, with regular maintenance, he hasn’t had a serious ear issue in over a year.
Case Study 2: The French Bulldog’s Mystery Itch
Then there was Bella, a sweet French Bulldog who kept scratching her ears nonstop. Her owner, Jake, assumed it was allergies and tried changing her diet, but the itching persisted. When I checked her ears, I noticed a dark, waxy buildup—classic signs of yeast overgrowth. A proper cleaning routine and a vet-prescribed antifungal treatment solved the problem. Now, Jake keeps a close eye on Bella’s ears and cleans them weekly to prevent flare-ups.
These cases show how a simple routine can prevent bigger problems. Paying attention to your dog’s specific needs can save them (and you) a lot of discomfort in the long run.
Key Takeaways: What You Need to Remember

- Check your dog’s ears regularly: A quick weekly inspection can prevent major problems.
- Use vet-approved cleaners: Avoid home remedies like hydrogen peroxide or vinegar.
- Never use Q-tips inside the ear canal: Stick to cotton pads or gauze.
- Know your dog’s breed risk: Floppy-eared and water-loving dogs need extra care.
- Watch for warning signs: Redness, swelling, bad odor, or excessive wax buildup may signal an issue.
FAQs
How often should I clean my dog’s ears?
It depends on your dog! Some dogs need weekly cleaning, while others only need it once a month. Check their ears regularly and clean only when necessary to avoid irritation.
Can I use baby wipes to clean my dog’s ears?
While baby wipes may seem like an easy solution, they’re not ideal. Many contain ingredients that can irritate your dog’s ears. Stick to pet-safe ear cleaners and gauze.
What if my dog hates having their ears cleaned?
Take it slow! Try associating ear cleaning with positive experiences—give treats, praise, and take breaks if needed. If they’re really resistant, consult a professional groomer or your vet for tips.
My dog’s ears smell bad even after cleaning—what should I do?
A persistent foul odor could mean an infection, yeast overgrowth, or even ear mites. If cleaning doesn’t help, schedule a vet visit to rule out medical issues.
Bonus: Additional Resources & DIY Tips
Want to learn more about dog ear health? Here are some additional resources:
- American Kennel Club (AKC) – Dog Ear Care Guide
- VCA Animal Hospitals – Ear Infection Prevention Tips
- ASPCA – Common Ear Problems in Dogs
DIY Ear Cleaning Solution (For Routine Maintenance Only)
If you’re in a pinch and need a gentle solution for maintenance (not for infections), you can mix:
- 1 part distilled water
- 1 part saline solution
This can help remove light debris, but for deeper cleaning, always use a vet-approved product.
Appendix: References, Disclaimer, and Call to Action
References
- American Veterinary Medical Association (AVMA)
- PetMD – How to Clean Your Dog’s Ears
- Companion Animal Welfare Resources
Disclaimer
This article is for informational purposes only and does not replace professional veterinary advice. If your dog shows signs of pain, infection, or chronic ear issues, consult your veterinarian.
Call to Action
Keeping your dog’s ears clean is a simple yet essential part of pet care. Start incorporating these tips into your routine today, and your pup will thank you with tail wags and happy ears! Have questions or need product recommendations? Drop a comment below or check with your vet for personalized advice.
