Ultimate Guide on How to Properly Clean Dog Grooming Tools
If you’re a dog owner, you know the importance of keeping your dog’s grooming tools in tip-top shape. After all, proper grooming is key to keeping your pup healthy and comfortable, and clean grooming tools ensure you’re not transferring dirt, oils, or bacteria onto your dog’s coat. But how do you properly clean dog grooming tools to ensure they stay in good condition and perform their best? I’ve been a Veterinary Technician specializing in nutrition for several years, and during that time, I’ve learned a thing or two about how to care for grooming tools. Here’s a comprehensive guide that will help you keep your tools in top condition while ensuring your dog’s grooming routine goes smoothly!
Why Cleaning Your Dog Grooming Tools Is Crucial
It’s easy to overlook cleaning your grooming tools, especially when you’re caught up in the excitement of giving your dog a fresh look. However, neglecting to clean these tools can lead to a host of issues for both you and your dog. Let me walk you through some of the reasons cleaning your dog grooming tools is so essential:
- Hygiene: Just like we use clean combs and brushes to avoid skin issues, your dog deserves the same. Dirty grooming tools can lead to the buildup of oils, dirt, and bacteria, which can be transferred onto your dog’s skin. This might cause infections, irritation, or even parasites to spread.
- Longevity: Regular cleaning helps extend the life of your grooming tools. Removing debris and buildup prevents wear and tear, ensuring your tools stay functional for years.
- Efficiency: Clean tools work better. Imagine trying to comb through your dog’s fur with a tool that’s clogged with hair. It’s frustrating, right? Regular cleaning helps tools perform at their best, making grooming quicker and less stressful for both you and your dog.
How to Properly Clean Dog Grooming Tools
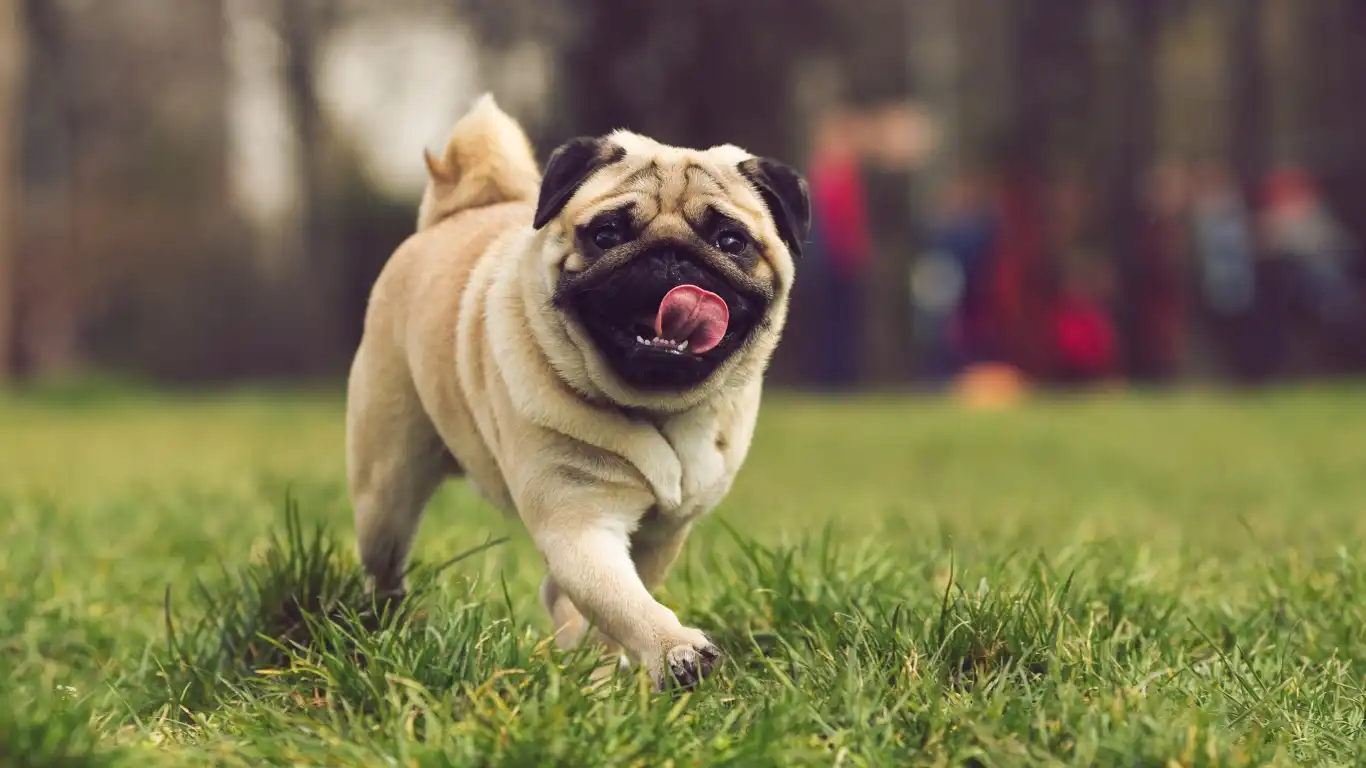
Cleaning your grooming tools might seem like a simple task, but there’s actually more to it than just rinsing them off after each use. Let me break down the step-by-step process so you can ensure your dog’s tools are as clean as possible:
Step 1: Gather the Necessary Cleaning Supplies
Before diving in, you’ll want to make sure you have everything you need. Here’s a quick checklist of supplies you’ll want on hand:
- Warm water: Lukewarm is ideal as it helps loosen any grime or oils without damaging the tools.
- Soap or mild dish detergent: You’ll need a gentle cleanser to remove dirt and oils.
- Disinfectant or vinegar: Disinfecting solutions help kill germs and bacteria that might be lingering on your tools.
- Brush or comb: A small, soft brush will help remove hair or debris from your tools before washing them.
- Drying cloth or towel: To ensure your tools dry thoroughly after cleaning.
Step 2: Remove Hair and Debris
Before you even think about washing your grooming tools, it’s important to remove as much hair, dirt, and debris as possible. This step ensures that your cleaning process is effective and that no buildup is left behind to affect the tool’s performance.
For brushes and combs, you can use a small comb or a cleaning brush to carefully remove the trapped hair. Gently work your way through the bristles, making sure to remove hair from the base and between the bristles. If you use clippers or scissors, wipe them down to remove any leftover hair and oil residue.
Step 3: Wash and Disinfect
Now comes the actual cleaning part. Fill a sink or basin with warm water and add a small amount of mild dish detergent. Use a soft sponge or cloth to wash your tools. For brushes, gently scrub the bristles in a circular motion to dislodge any stubborn dirt. For combs, carefully rinse them in warm water, making sure to get in between the teeth.
If you’re dealing with clippers, scissors, or any tools that can’t be submerged in water, dampen a cloth with warm water and mild soap, then wipe them down thoroughly. Once everything is clean, you’ll want to disinfect your tools to kill any lingering bacteria or germs. I recommend using a safe disinfectant specifically designed for grooming tools or even diluted vinegar. Just make sure to follow the manufacturer’s instructions and avoid harsh chemicals that could damage your tools.
Step 4: Dry Thoroughly
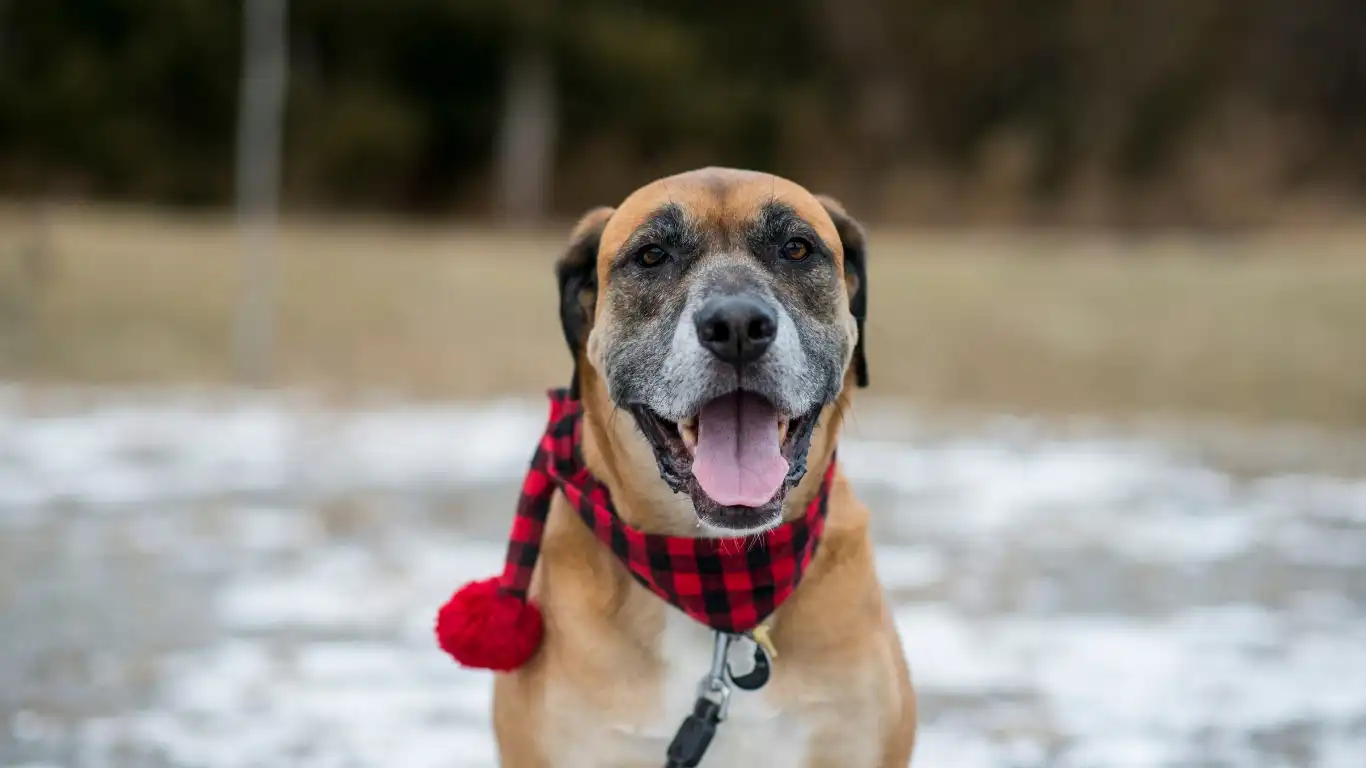
After cleaning and disinfecting your tools, it’s crucial to dry them properly. Leaving tools wet can lead to rust, corrosion, or even mold buildup, especially on metal tools like clippers or scissors. Use a soft towel to wipe off excess water, then let your tools air dry completely before storing them.
For tools with wooden handles, make sure the wood is thoroughly dried to prevent warping or splitting. If necessary, you can even wipe them with a little mineral oil to keep the wood from drying out too much.
How Often Should You Clean Your Grooming Tools?
Now that you know how to properly clean your dog grooming tools, you’re probably wondering, “How often should I do this?” The answer depends on how frequently you groom your dog and how dirty your tools get. Here’s a simple guideline:
- After every grooming session: You should at least give your tools a quick wipe-down and remove any hair after each use. If your dog is particularly dirty or sheds a lot, a more thorough cleaning might be necessary.
- Every few weeks: For tools like clippers or scissors, you’ll want to do a more in-depth cleaning, including washing and disinfecting them.
- Monthly: For combs and brushes, a deep clean once a month should suffice to keep things in good condition.
By maintaining a regular cleaning schedule, your grooming tools will last longer and continue to work at their best, making your grooming sessions easier and more effective!
Cleaning Different Types of Dog Grooming Tools
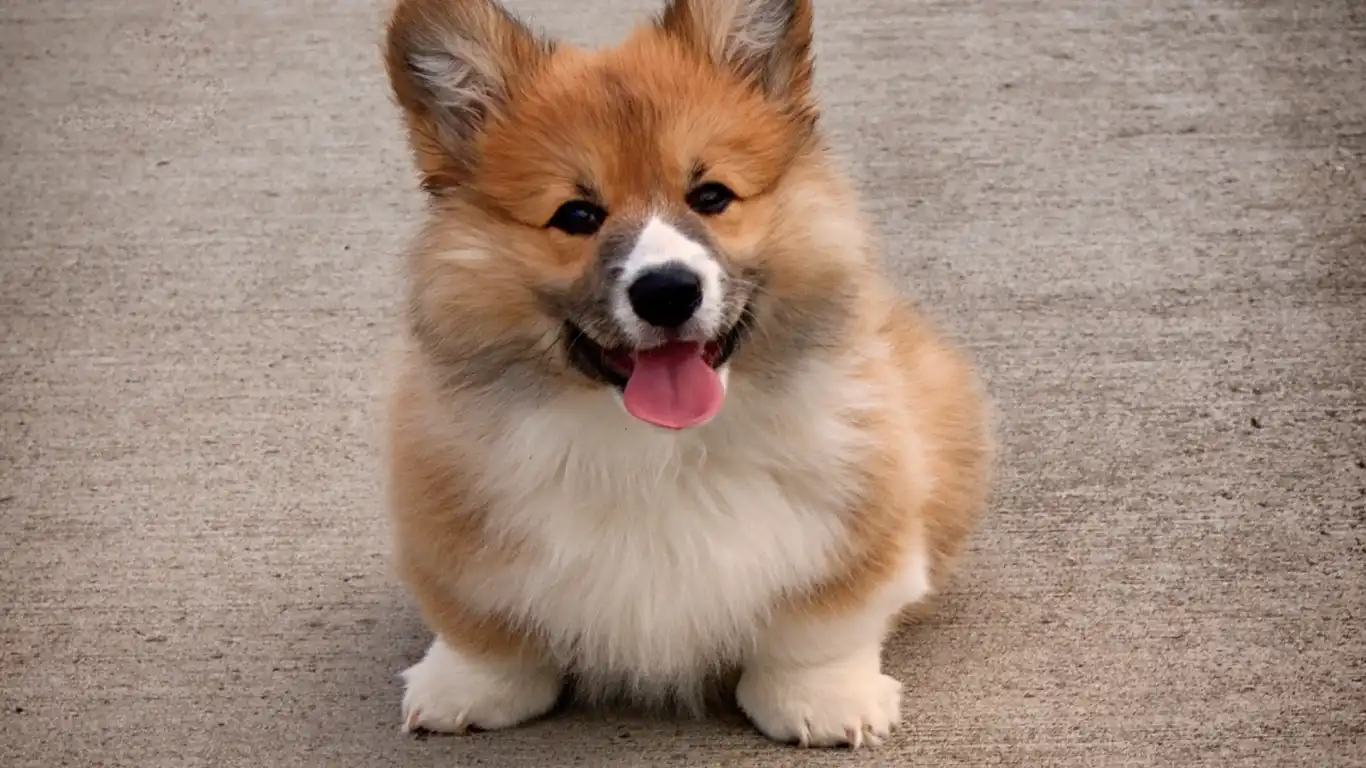
Now that we’ve covered the basics of how to properly clean your dog grooming tools, it’s time to dive into the specifics. There’s no one-size-fits-all approach, as different tools require different methods of care. From brushes to clippers, each tool has unique needs. Let’s break it down further so you can give your grooming equipment the TLC it deserves!
Cleaning Brushes and Combs
Brushes and combs are probably the most frequently used grooming tools, so it’s essential to clean them well after every use. Whether you’re using a slicker brush, pin brush, or a comb, these tools can get clogged with hair, dirt, and oils from your dog’s coat. Here’s how you can properly clean them:
- Step 1: Remove hair first. I usually do this by gently pulling the hair out with my fingers or a small comb. If the hair is really stuck, a cleaning brush specifically designed for grooming tools works wonders.
- Step 2: Wash the brush or comb. Use warm water and a mild soap or gentle dog shampoo. Avoid harsh chemicals that could damage the bristles or comb teeth. I like to soak the tool for about 5-10 minutes, then gently scrub with a soft brush to remove any dirt or oils.
- Step 3: Dry the tool properly. After washing, give it a good shake to remove excess water, then use a towel to gently pat it dry. Let the brush or comb air dry completely before storing it.
Tip: If you have a brush with rubber or plastic bristles, make sure you don’t soak it too long as the material could deteriorate over time. Keeping it dry is key!
Cleaning Clippers and Scissors
Clippers and scissors are vital for precise grooming, so they need extra care to keep them sharp and functioning properly. These tools come into contact with your dog’s coat at high speeds, which can cause buildup of hair, oils, and grime. Here’s how I clean my clippers and scissors after every use:
- Step 1: Turn off the clippers and remove any hair that’s stuck in the blades. A small cleaning brush (often included with clippers) works great for this. I usually brush in the direction of the blade to dislodge hair safely.
- Step 2: Clean the blade area with a damp cloth. Be cautious not to get the motor wet. If you want to go the extra mile, you can use a special clipper cleaner or spray designed for this purpose. It helps sanitize the blades and keeps them lubricated.
- Step 3: After cleaning, lubricate the clipper blades with clipper oil to prevent rusting and ensure they stay sharp.
- Step 4: For scissors, wipe them down with a soft cloth and apply a small amount of lubricating oil to the blades. Avoid over-oiling them as it can attract dust and hair.
Tip: It’s crucial to clean your clippers and scissors after each grooming session to prevent any buildup that might cause them to dull or malfunction. I’ve learned this the hard way, as neglecting to do so can result in a frustrating grooming experience!
Maintaining Your Dog Grooming Tools
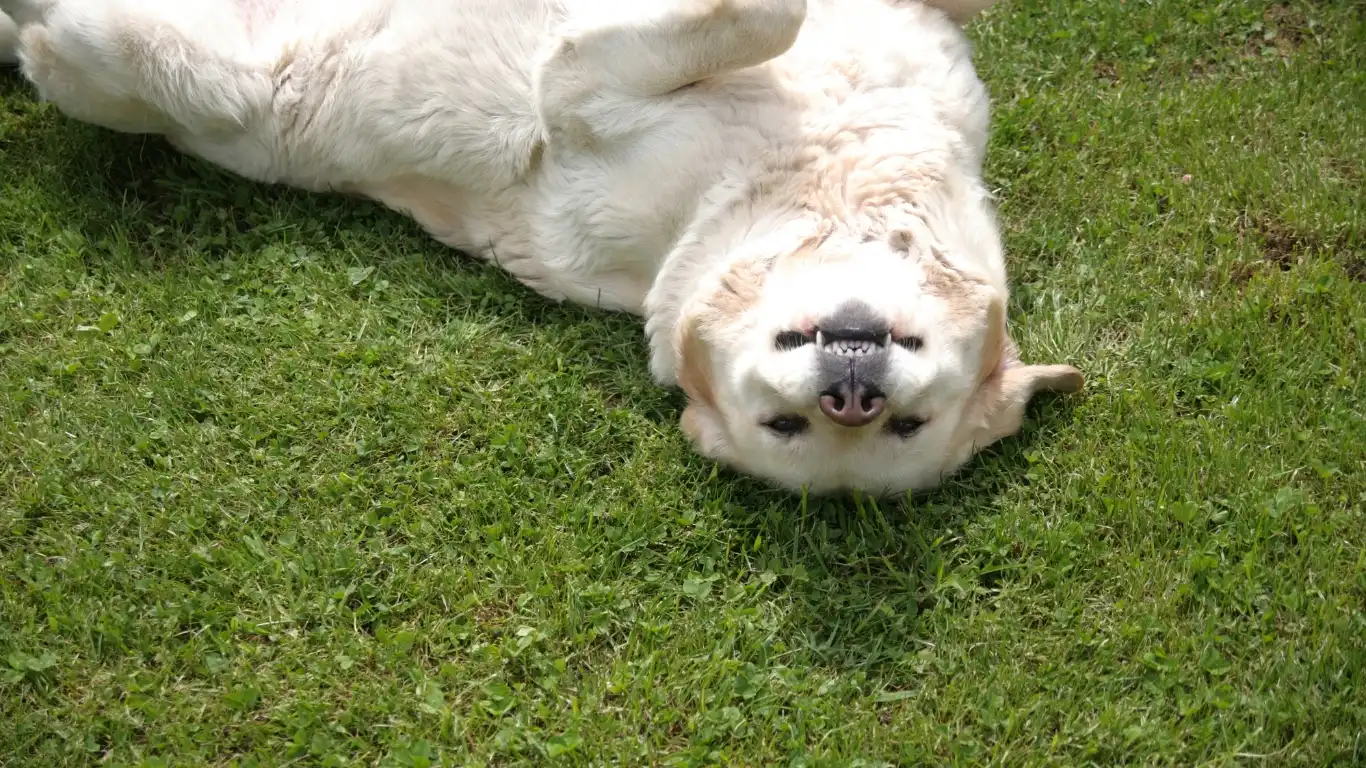
Once your grooming tools are clean, the next step is to maintain them properly. A little upkeep can go a long way in ensuring your tools stay in great shape and continue working effectively. Let’s take a closer look at some maintenance tips I’ve picked up over the years:
Proper Storage
Storage might not be the first thing that comes to mind when it comes to tool maintenance, but it can make a huge difference. Storing your grooming tools properly prevents unnecessary wear and tear and keeps them from getting damaged. Here are some tips:
- Keep them dry: After cleaning, always make sure your tools are thoroughly dry before storing them. Dampness can cause rust, especially on metal tools like clippers and scissors. If you use tools with wooden handles, be sure they’re not exposed to moisture for long periods, as this can lead to warping.
- Store in a safe place: Keep your tools in a designated grooming kit or storage box. This prevents them from getting lost or damaged by other objects. I personally keep all my grooming tools in a large, sturdy bag with compartments, so everything stays organized.
- Avoid direct sunlight: Sunlight and heat can cause damage to some materials over time, especially rubber or plastic. Store your tools in a cool, dry place, away from direct sunlight.
Sharpening and Replacing Tools
Even with regular cleaning and maintenance, tools like clippers and scissors will eventually lose their sharpness. It’s important to sharpen them when necessary. Here’s how I approach it:
- Clippers: Most clippers come with replaceable blades. If you notice that your clipper blades are pulling or tugging at the hair rather than cutting smoothly, it’s time to sharpen or replace them. Some clippers come with sharpening stones, but if not, it’s best to take them to a professional sharpener.
- Scissors: Scissors can usually be sharpened multiple times before needing to be replaced. You can either take them to a professional or use a sharpening tool at home. Just be sure not to over-sharpen them, as it can damage the blades.
Maintaining sharp tools ensures that your dog’s grooming experience is as smooth as possible. Dull tools can pull or snag at the hair, causing discomfort for your dog and making the grooming process more stressful for both of you.
Additional Tips for Keeping Your Grooming Tools in Top Shape
While we’ve covered the basics, here are a few more pro tips I’ve picked up along the way to ensure your grooming tools remain in excellent condition:
- Clean after every grooming session: Even a quick wipe-down is better than nothing! I always make it a point to remove any visible hair and debris after each session, even if I’m not doing a deep clean.
- Use high-quality tools: Investing in high-quality grooming tools pays off in the long run. Cheap tools can break easily or may not hold up to regular use. I’ve had my share of subpar tools, and once I upgraded to higher-end options, my grooming sessions were much easier and more efficient.
- Follow manufacturer’s instructions: Different tools have different care requirements, so always check the user manual. The right oil, cleaning agent, and sharpening technique can vary depending on the brand and model.
By following these maintenance tips and cleaning your grooming tools regularly, you can extend their lifespan and ensure they continue to work effectively, making every grooming session smoother and more enjoyable for both you and your dog!
Common Mistakes to Avoid When Cleaning Dog Grooming Tools
Now that you’re armed with all the essential knowledge for cleaning and maintaining your grooming tools, let’s talk about some of the most common mistakes people make when cleaning their dog’s grooming equipment. These missteps can lead to tools getting damaged or not working as well as they should, and trust me, I’ve seen it all. Here are the mistakes you should avoid to ensure your grooming tools stay in perfect shape:
1. Not Cleaning Tools Regularly Enough
This is a big one. If you think that a quick wipe-down after each grooming session isn’t necessary, think again. Cleaning your grooming tools regularly is vital. After each session, you should at least remove hair and debris. Even if you don’t do a deep cleaning every time, wiping the tools down helps keep dirt, oils, and bacteria from accumulating, which could potentially cause skin issues for your dog.
In my experience, the longer you wait to clean your tools, the harder it becomes. Plus, build-up of oils and hair can impact the tool’s performance. I’ve learned this the hard way, and it’s definitely easier to clean regularly than to deal with a clogged-up brush or dull scissors later!
2. Using Harsh Chemicals
It might seem tempting to grab any disinfectant or cleaning solution lying around the house, but it’s crucial to avoid using harsh chemicals on your grooming tools. Many store-bought cleaners contain ingredients that could damage your tools over time, especially the rubber or plastic components. Instead, stick to mild dish soap, dog-safe shampoos, or a special grooming tool cleaner. I’ve found that sticking with gentle solutions really helps keep my tools in top condition.
Also, remember to always read the instructions on any product you’re using, especially if you’re disinfecting your clippers or scissors. You don’t want to accidentally ruin the finish or corrosion-proof coating that some tools have!
3. Over-washing Your Tools
It’s important to clean your grooming tools, but over-washing them can be just as harmful as neglecting to clean them. For example, soaking tools like clippers in water for too long can cause rusting, especially on the blades. It can also wear out the lubricating oil that helps the blades glide smoothly. I always try to avoid fully submerging my clippers or scissors in water and instead clean them with a damp cloth to prevent any water from damaging internal components.
If you use a tool that’s not waterproof, be extra cautious when washing it. Make sure the tool is dried thoroughly after cleaning to avoid moisture build-up. A quick rinse or wipe-down usually does the trick!
4. Storing Tools in a Damp Environment
Storing your grooming tools in a damp or humid environment can cause them to rust or degrade over time. I always make sure to store my tools in a dry place, away from any sources of moisture. If you keep your tools in a bathroom, make sure they’re stored somewhere where they won’t be exposed to steam or humidity, as it can damage the materials.
A good habit to get into is drying your tools thoroughly before putting them away. This will not only extend their lifespan but also keep them performing at their best!
How to Make Your Dog’s Grooming Routine More Enjoyable
Keeping your grooming tools clean is just one part of the equation; it’s also about making sure the entire grooming experience is as stress-free as possible for your dog. Over the years, I’ve found a few tricks that make grooming not just easier for me, but more enjoyable for my dog too! Here are some of my favorite tips:
1. Start With Short, Positive Sessions
If your dog isn’t the biggest fan of grooming (and let’s face it, not every dog loves being brushed), starting with short and positive sessions is key. I’ve found that 5-10 minute grooming sessions are the perfect length, especially when you’re just starting. Gradually increase the time as your dog gets used to it.
Also, always end on a positive note! I’ll give my dog treats and praise at the end of each grooming session to reinforce the idea that grooming equals good things. This helps make the experience a lot less stressful for them, and they start associating grooming with rewards.
2. Make Sure Your Tools Are Comfortable for Your Dog
Another thing I’ve learned is that the right grooming tools can make a big difference. If your dog’s brush feels uncomfortable or pulls at their fur, they’re going to dread the experience. Be sure to pick brushes and combs that are appropriate for your dog’s coat type. For example, a slicker brush might work well for a long-haired dog but can be harsh on short-haired breeds.
It’s also a good idea to invest in ergonomic tools that make the process easier on both you and your dog. A comfortable grip makes a huge difference when you’re handling grooming tools for an extended period. I use ergonomic scissors and brushes that fit well in my hand, making it much easier to handle.
3. Keep Your Dog Calm During Grooming
If your dog gets anxious during grooming, it’s important to keep them calm. I’ve found that a calming environment and gentle, slow movements help ease my dog’s nerves. Play some calming music, talk to them in a soothing voice, and take breaks when needed. If your dog’s anxiety is extreme, there are even dog-calming sprays available that can help ease their nerves before grooming sessions.
References
For further reading on grooming and maintaining your dog’s health, check out the following resources:
- PawPatron – A great source for dog care tips and grooming advice.
- Google Health – Information on keeping your pets healthy, including tips on nutrition and grooming.
- American Kennel Club – Offers advice on grooming tools and techniques for different dog breeds.
Disclaimer
The information provided in this article is based on personal experience as a Veterinary Technician and is intended for informational purposes only. Always consult with a professional groomer or veterinarian for specific concerns regarding your pet’s grooming needs or health. PawPatron does not provide veterinary advice and recommends seeking professional help when necessary.
