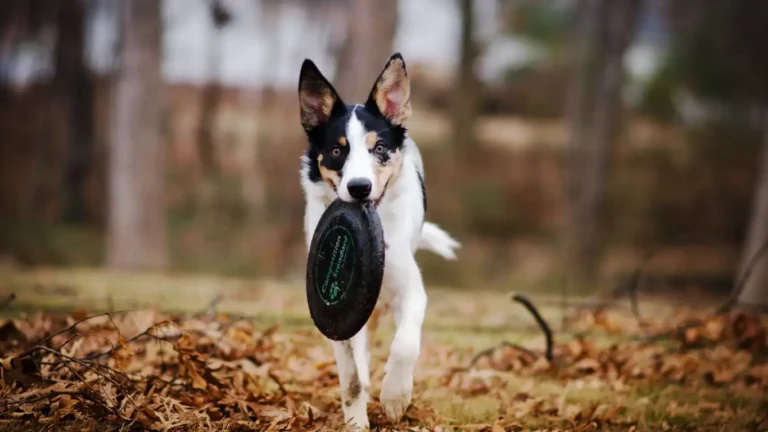
Why Training Your Dog to Sit for Photos Is Totally Worth It
If you’ve ever tried to get your pup to pose for the camera, you already know the struggle is real. As a Canine-Assisted Therapy Trainer, I’ve had my fair share of photo shoot fails — from dogs suddenly chasing a squirrel mid-snap to others who think “sit” means “spin in circles excitedly.” So, if you’re wondering how to train a dog to sit for photos, you’re absolutely not alone. The good news? With a little patience, the right techniques, and a dash of humor, your dog can totally learn to be Instagram-ready. Let’s break it down together!
Why Teaching Your Dog to Sit for Photos Matters
It’s not just about cute pics — though, let’s be honest, we all love those. Teaching your dog to sit on command is a foundational skill that builds obedience, focus, and trust between you and your pup. When you’re working with therapy dogs like I do, this command isn’t optional — it’s essential. They need to stay calm and still in all kinds of environments, and a photo session is a great way to practice that in a low-stress way.
Connection and Confidence
One of the coolest things about photo training is that it actually deepens the bond between you and your dog. It’s less about perfection and more about collaboration. Your pup learns to look to you for direction, and you learn to read their body language better. In my experience, this back-and-forth communication becomes second nature — and it’s incredibly rewarding.
First Things First: Get the Basics Down
Before you even think about bringing out the camera, make sure your dog really understands the “sit” command. That means not just at home in your quiet living room — I mean out at the park, when there are distractions, noises, smells, and other dogs to compete with your voice.
Start Simple and Stay Consistent
Here’s how I usually teach a reliable sit:
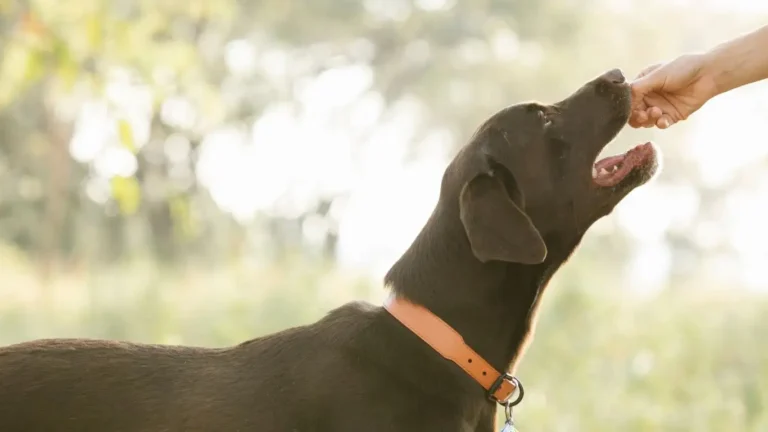
- Use a treat or toy as a lure. Hold it above your dog’s head and slowly move it back toward their tail. As their head tilts up, their rear will naturally lower to the ground.
- Say “sit” as their butt touches the floor. Timing is everything here — too soon or too late and the connection between the word and action is lost.
- Reward immediately with the treat and lots of praise. Use your happy voice — dogs read tone more than words!
- Practice in short sessions (5-10 minutes max). Dogs learn best in quick bursts, not hour-long marathons.
I can’t stress enough how important consistency is. When I was training my first therapy dog, Luna, she didn’t “get it” right away. But we stuck with it. Same word, same hand signal, same tone. And one day — boom. She nailed it. Now she sits like a little statue the moment I raise my hand.
Layer in Distractions Gradually
Once your dog reliably sits at home, it’s time to add in the chaos of real life. Start with mild distractions — maybe turn on the TV or practice near an open window. Eventually, move outside, then to a dog park or busy sidewalk. Think of it like leveling up in a video game. Each new environment strengthens their focus muscles.
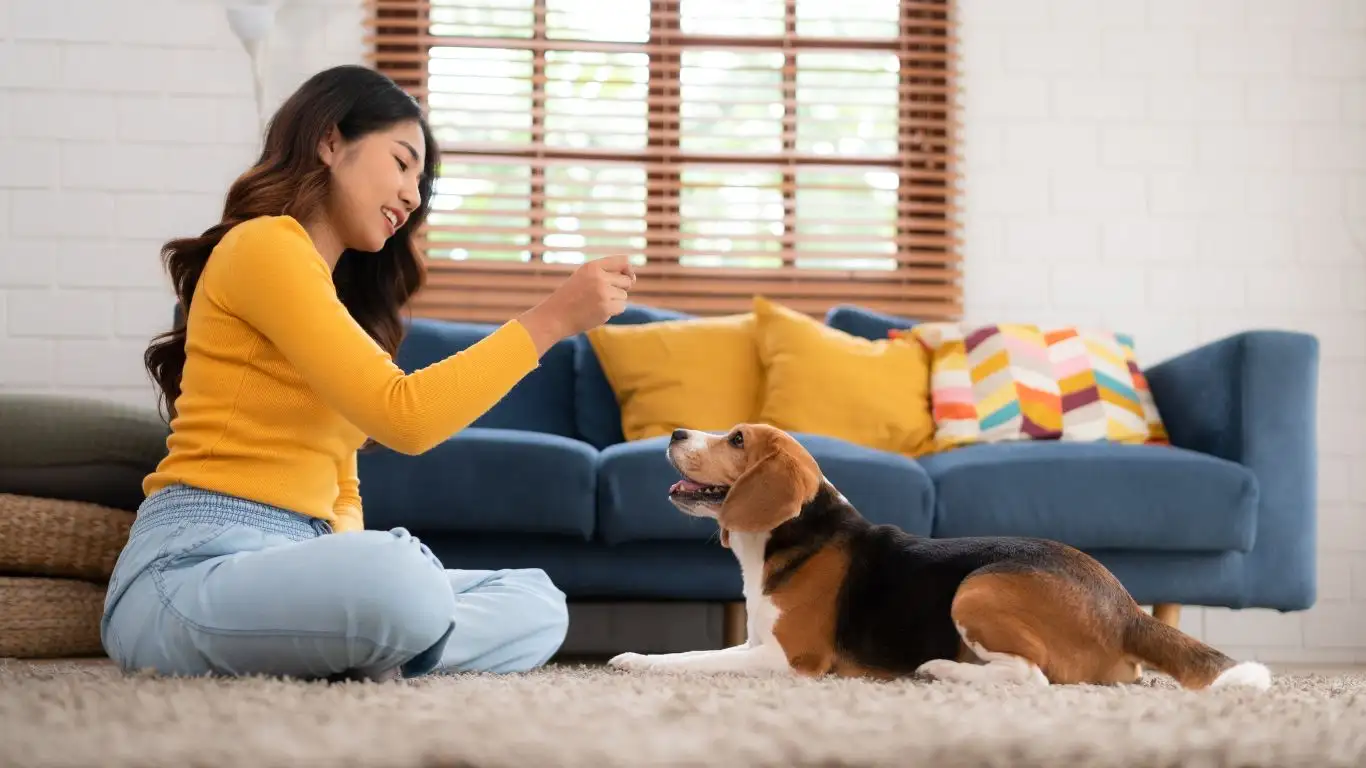
Photo-Specific Sit Training
This is where we make it fun. Once your dog knows how to sit anywhere, we shift focus to photo-readiness. Training your dog to sit for photos isn’t just about staying still — it’s also about holding the pose and keeping attention on you (or the camera). And that’s a whole different ball game.
Use a Marker Word or Clicker
I like using a distinct marker like “yes!” or a clicker to reinforce the moment your dog does what you want. This helps them associate the behavior with reward instantly. When I trained therapy dogs for hospital visits, that quick feedback was key to helping them stay on task.
Practice Holding the Sit
Gradually increase the time your dog stays in the sitting position. Start with a second or two, then build up. Use treats and praise as encouragement. I sometimes use a favorite squeaky toy behind the camera to keep their attention — works like magic!
In the next section, I’ll go into how to get that perfect camera focus, what kind of rewards work best, and a few sneaky tricks I’ve picked up after years of snapping dog portraits. Trust me, there’s more to it than just “say cheese.”
Keeping Their Attention on the Camera
Now that your pup can sit like a pro, the next hurdle is keeping their eyes on the prize — or in this case, the camera lens. Honestly, this is where I see the most fidgeting happen during sessions, even with seasoned therapy dogs. A bird flies by, a leaf rustles, or someone opens a bag of chips within earshot… and poof, the focus is gone.
The “Watch Me” Command
This one’s gold. Teaching your dog to focus on your face or the lens when you say “watch me” is one of those secret sauce tricks. Here’s a quick rundown:
- Hold a treat close to your eyes (or the camera lens if you’re taking the photo).
- Say “watch me” clearly and wait for eye contact.
- Mark the behavior with a “yes!” or click, and give the treat.
I used this method with my dog Theo before his therapy visits, and it worked wonders for making him less distracted around new people and environments. Bonus: it makes for some pretty soulful photo stares too!
Use Sound to Your Advantage
Try using a squeaky toy, a bell, or even your voice in a playful tone. I’ve been known to make some downright embarrassing noises behind the camera — whatever gets the ears perked and the head tilted! Just remember to reward that golden moment of eye contact.
Perfecting the Pose
Once your dog’s sitting and watching like a champ, it’s time to finesse the look. You don’t need your pup to be a doggy runway model, but a little polish helps. I always say: a well-posed pup is one part training, one part trickery, and a whole lot of treats.
Body Language Cues
Notice if your dog leans or slouches while sitting. Sometimes, I gently reposition a paw or shift their weight back by guiding them with my hand or treat lure. It’s subtle, but it makes all the difference in how composed and photogenic they appear. Pro tip: avoid holding treats too high — it can make them look up awkwardly.
Use a Prop or Platform
Something as simple as a low bench, a tree stump, or even a blanket can give your dog a “photo zone” to associate with staying still. In training sessions, I often use a textured mat or rug to help dogs understand, “this is where I chill.” It’s a tactile cue that works surprisingly well. Over time, they start to connect the dots — this surface means sit and stay.
Lighting and Angles: Set the Stage
This might not sound like training, but trust me — good lighting is your best friend. I’ve had training sessions completely derailed because the flash spooked the dog, or because we were squinting into the sun. Part of training your dog to sit for photos is making it a positive experience, and blinding lights or overwhelming backdrops can totally throw them off.
Keep It Comfortable
Natural light, especially in the early morning or golden hour (late afternoon), is ideal. It’s soft, flattering, and less likely to distract your pup. Avoid direct midday sun — it’s harsh and makes dogs overheat faster.
Find Their Best Angle
Every dog has one. I swear. With some pups, it’s a slight tilt from the left; with others, it’s a full head-on gaze. Don’t be afraid to move around, crouch low, or try standing above them. One of my therapy dogs, Scout, always looked the happiest when I got down to his eye level — and that became our go-to pose for hospital visits and press shots.
Timing Is Everything
Last but definitely not least: know your dog’s rhythm. Is your pup more focused in the morning? Do they get the zoomies after dinner? Use that to your advantage. I always plan training and photo sessions when I know the dog is mentally alert but not too hyped up. A quick walk beforehand helps burn off excess energy and gets them in a calm, focused state.
Short Sessions, Big Wins
Keep photo training light and fun. I cap mine at 10-15 minutes tops. If you push too long, both of you will get frustrated — and let’s be real, no one looks cute with that vibe. End on a high note, even if the shot isn’t perfect. Your dog will remember the good vibes more than anything else.
Up next, I’ll share how to transition your dog’s photo training into real-life situations — public events, social media content, and even family portraits. And yes, I’ll let you in on a few behind-the-scenes tricks that make all the difference in nailing that perfect sit.
Taking Photo Training Into Real Life
Once your pup has nailed the sit, stay, and stare-down-the-lens combo at home, it’s time to take the show on the road. Trust me — the real world throws all kinds of curveballs. From noisy parks to chaotic pet events, your dog will be tested. But this is also where the magic happens.
When I started taking my therapy dogs to public events, I realized just how valuable this photo training was. Whether it was an adoption fundraiser or a kids’ hospital meet-and-greet, people always wanted pictures. And having a dog who could sit calmly while being photographed by a dozen phones? That’s a gift — and it comes from practice.
Gradual Exposure Is Key
Start small. Think quiet coffee shops with outdoor seating or a calm neighborhood park. Slowly build up to busier environments. Don’t expect your pup to perform perfectly the first time — even mine didn’t. My dog Harley barked at a balloon arch the first time we tried a community photo booth. It happens.
What matters is helping your dog feel safe and supported. I always carry a treat pouch, keep sessions short, and give them breaks to sniff, stretch, and decompress. That balance between work and rest keeps your dog eager to participate instead of overwhelmed.
Using Social Media for Training & Confidence
If you’re snapping dog pics regularly, chances are they’re ending up on social media — Instagram, Facebook, or even your vet’s bulletin board. And honestly? Sharing your dog’s progress isn’t just adorable — it helps reinforce their training.
Repetition Builds Familiarity
Frequent, bite-sized photo sessions help your dog stay photo-ready. Snap a few pics every couple of days during walks or after playtime. Make it part of your routine. I often ask my dogs to sit for a quick photo before dinner — it becomes a fun, expected part of the day. They associate the camera with treats and praise, not pressure.
Boost Their Confidence
Every successful photo op gives your dog a win. And dogs, like people, thrive on positive feedback. I’ve seen shy rescues blossom just from the steady rhythm of small wins — sit, click, treat, praise, repeat. Over time, that confidence spills over into other areas of life. It’s one of the most underrated benefits of photo training.
Common Challenges and Quick Fixes
Let’s be real — no matter how well-trained your dog is, there will be off days. I’ve had dogs plop down in the mud mid-photo, bark at their own reflection, and even fall asleep while I was adjusting camera settings. Here are a few common hiccups and how I handle them:
- Too Distracted? Lower the level of environmental stimulation. Go back to a quieter place to rebuild focus before jumping back in.
- Not Sitting Consistently? Revisit the basics. Use a high-value treat, and reinforce every successful sit. Dogs sometimes need a refresher — especially after a break or growth spurt.
- Looking Away? Use a target stick, squeaky toy, or even an app with animal sounds to bring their gaze back to you. I once used a duck call — whatever works!
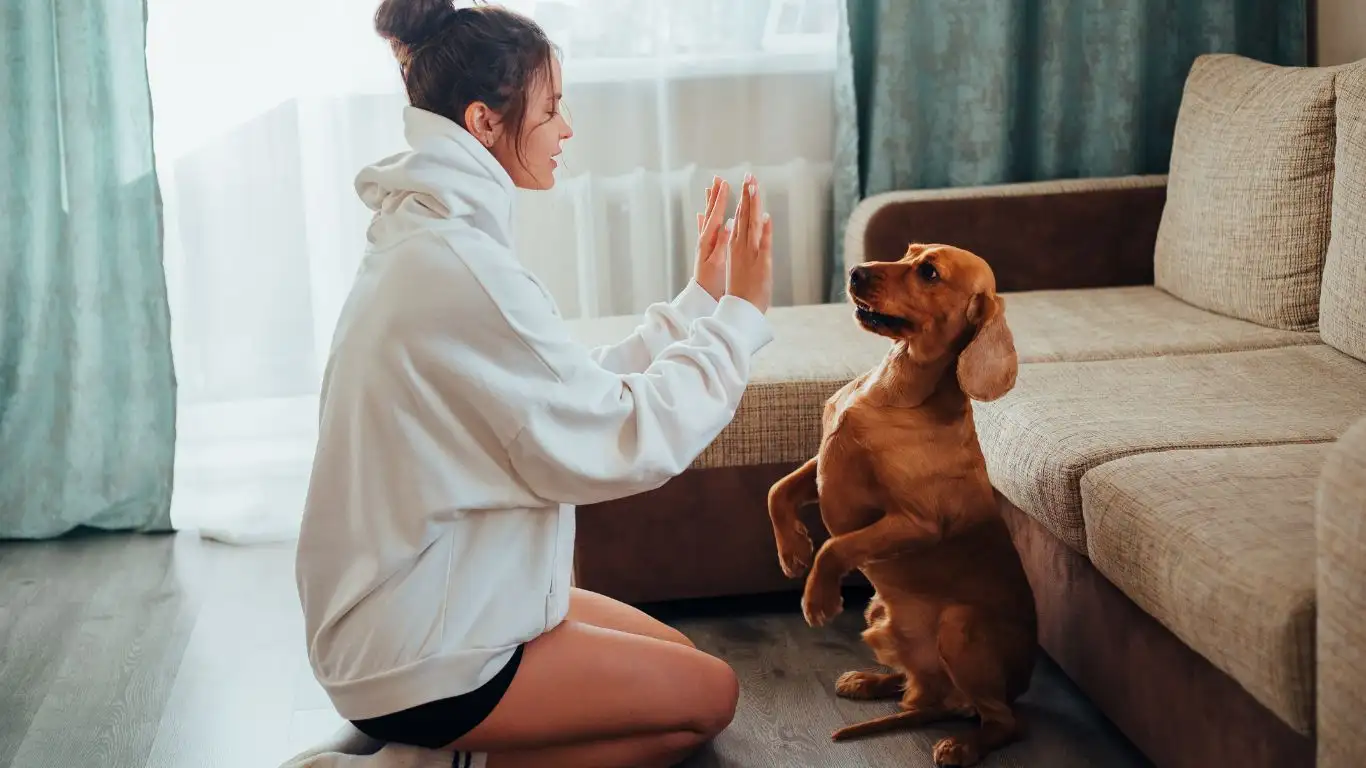
Level Up With Advanced Poses
Once your dog has mastered the sit-for-photos basics, why stop there? You can build on this foundation to teach more advanced photo-friendly behaviors.
Paw Up
Teach your dog to put one paw on an object — like a rock, bench, or even your arm. It’s cute, confident, and makes for great pictures. Start by luring the paw into position with a treat and reward heavily.
Head Tilt on Cue
This one melts hearts. Some dogs naturally tilt when they hear a funny sound. Reinforce that moment and add a cue like “what’s that?” to recreate it on command. I once trained a therapy dog named Marley to tilt whenever someone said “selfie” — instant crowd favorite.
Final Thoughts: Trust the Process
Training your dog to sit for photos isn’t just about getting the perfect Instagram shot — it’s about building patience, focus, and trust. Whether you’re raising a future therapy dog or just want holiday card gold, the path to success is through positive reinforcement, consistency, and a whole lot of love (and snacks).
Every dog learns at their own pace. Celebrate the small wins, laugh off the fails, and always, always end on a good note. You’re not just training a dog — you’re building a connection. And that, in my book, is worth a thousand pictures.
References
- American Society for the Prevention of Cruelty to Animals (ASPCA)
- American Kennel Club (AKC)
- Certification Council for Professional Dog Trainers (CCPDT)
Disclaimer
This article is based on personal experience as a Canine-Assisted Therapy Trainer and is intended for educational and informational purposes only. Every dog is unique, and results may vary. Always consult with a professional dog trainer or behaviorist for personalized guidance tailored to your dog’s needs.